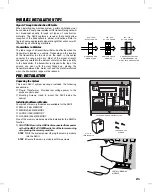
PRE-INSTALLATION PLANNING
Before beginning, take time to plan the installation.
✶
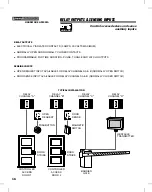
Make a sketch of the installation floor plan showing all
controlled access points.
✶
Select a good location to mount the AM/II.
✶
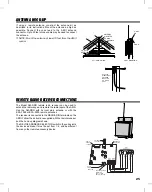
Determine a good location for the antenna.
✶
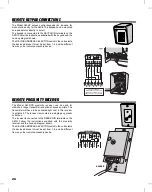
Select locations for the remote accessory devices (keypads,
card readers, remote receivers, proximity receivers).
✶
Research possible places for wire runs to accessories and
access devices.
INSTALLATION OUTLINE
The following outline is intended to guide you through the
installation of an AM/II system.
1.
Unpack the system. Identify the system components
(transformer, antenna, etc.).
2.
Plan the installation by creating an installation diagram.
3.
Mount the AM/II (in an optional cabinet if required).
4.
Connect the antenna.
5.
Install any remote accessory devices.
6.
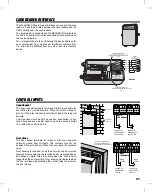
Wire connections to the AM/II terminals.
A. Install a ground stake and run the ground wire or use
a cold water pipe as earth ground for the AM/II.
B. Connect relay outputs to the access device(s) to be
controlled.
C. Turn AM/II POWER switch off and connect the
plug-in transformer or connect the AM/II to a
14-24 VAC or 12-35 VDC auxiliary power supply.
D. Turn the POWER switch on. The green POWER
indicator should light.
E. Adjust the display contrast as desired.
7.
Program the system.
8.
Test the system.
9.
Adjust the red RADIO RANGE knob to limit the maximum range
of the receiver.
LOBBY
AC
C
O
U
N
T
ING
SERVICE
SALES
PRESIDENT
V.P.
V.P.
SALES
PURCH.
ENGINEERING
BATH
BATH
CO
M
P
UT
ER
RO
O
M
STOR.
COPIER
AREA
CHIEF
ENG.
LAB
20


