52
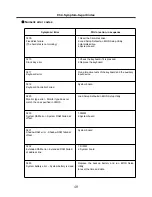
LCD-related symptoms
Note
Before removing or disassembling LCD, power off the computer, unplug all power cords from electrical
outlets, remove the battery pack also.
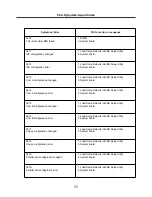
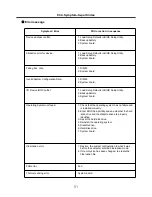
Symptom / Error
FRU or action, in sequence
LCD screen becomes dark suddenly.
Check out Battery Miser.
Nothing displayed on LCD screen.
1. Check out Battery Miser.
2. Choose Never in the Turn off Monitor item on
Power Options Properties.
3. Check the power save mode switch if it is pressed
by something.
4. Check the System is in standby or hibernation
mode.
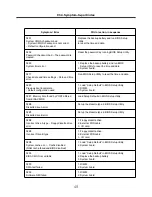
LCD backlight not working.
LCD too dark.
LCD brightness cannot be adjusted.
1. Reconnect inverter to the board connector.
2. Replace inverter.
3. LCD Assembly.
4. System board.
LCD color cannot be adjusted.
LCD screen abnormal.
Characters missing pixels.
LCD screen unreadable.
Wrong color displayed.
1. Reset all LCD connectors.
2. Replace LCD cable.
3. LCD Assembly.
4. System board.
Horizontal or vertical lines displayed
on LCD
LCD Assembly.
Power-on indicator on, and a blank\LCD
during POST.
LCD Assembly.
System board.
Ch4. Symptom-to-part index
Содержание R580 Series U.ARC3BA9
Страница 17: ...17 System Block Diagram Chapter 3 System information ...
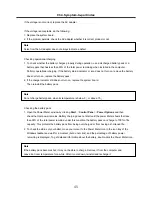
Страница 23: ...23 12 It selects the Exit Saving Change and it stores system a settings and the reboot Ch3 System information ...
Страница 25: ...25 Ch3 System information c Select Disc Image or Saved Project d Select File Format as Image Files iso ...
Страница 26: ...26 Ch3 System information e Open Image File iso which is sent from LGE f Tab Burn then burning will be started ...
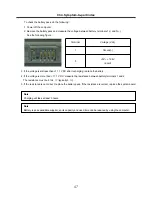
Страница 27: ...27 Ch3 System information g Burn process completed as below and tab OK ...
Страница 30: ...30 Ch3 System information 5 After flashing is completed you can see the PASS on your screen and reboot your PC ...
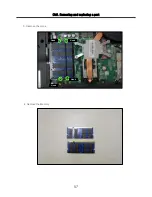
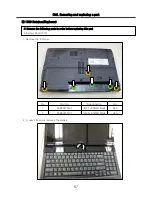
Страница 57: ...57 3 Remove the Hook Ch5 Removing and replacing a part Hook Hook Hook Hook 4 Remove the Memory ...
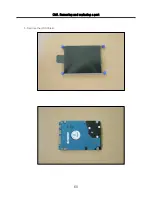
Страница 60: ...60 Ch5 Removing and replacing a part 5 Remove the HDD Shield ...
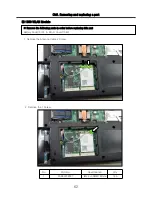
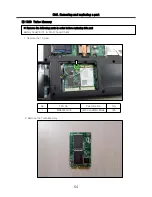
Страница 63: ...63 Ch5 Removing and replacing a part 3 Remove the WLAN Module ...
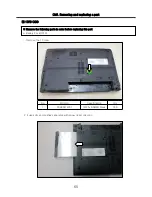
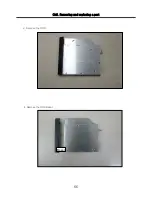
Страница 66: ...66 3 Remove the ODD Ch5 Removing and replacing a part 4 Remove the ODD Bezel Bezel ...
Страница 69: ...69 69 Ch5 Removing and replacing a part 5 Remove the Keyboard 6 Remove the Retainer ...
Страница 71: ...71 71 Ch5 Removing and replacing a part 3 Remove the Display Module ...
Страница 74: ...74 Ch5 Removing and replacing a part 3 Remove the Keyboard deck ...
Страница 79: ...79 Ch5 Removing and replacing a part 3 Remove the Mainboard Case ...
Страница 86: ...86 Ch5 Removing and replacing a part 3 Remove the Hinge Cap ...
Страница 98: ...NLCD07 NLCD05 NLCD09 NLCD03 NLCD01 NLCD04 NLCD08 NLCD02 NWEBC01 ...
Страница 100: ...NMINI02 NMINI01 NKDECK01 NKDECK02 NRTN01 NKEYBD01 ...
Страница 102: ...NMRY01 NMRY01 NMINI04 NTHMO01 NRBS01 NMINI03 NCPU01 NMLB01 ...
Страница 105: ...NCVR02 NCVR03 NCVR01 NHDD02 NHDD01 NBATT01 NODD02 NODD01 NBOTM01 NBOTM03 NHDD03 NBOTM02 ...


