40
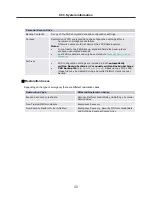
Personal Secure Drive
Backup Contents
A copy of the PSD encrypted data and configuration settings.
Purpose
Restoration of PSD encrypted data and configuration settings after a
hardware or storage media failure.
Otherwise users could not decrypt their PSD data anymore.
Notes:
•
In contrast to the PSD Backup, standard hard disk backup tools
produce unencrypted backups.
•
Lost PSD credentials can only be restored via
Personal Secure Drive
Recovery
.
Archives
•
PSD configuration settings are included in both automatically
written Backup Archives and manually written Backup Archives.
•
PSD backup file (e.g.
SpPSDBackup.fsb
): A backup copy of the PSD
image file may be created during a Security Platform User's manual
backup.
■
Restoration Cases
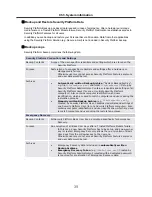
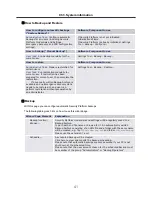
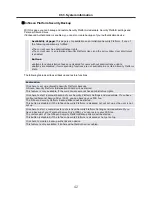
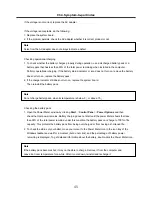
Depending on the type of emergency there are different restoration cases
Restoration Case
Affected Restoration Scope
Broken hard disk or lost data
Security Platform Credentials and Settings, Personal
Secure Drive
New Trusted Platform Module
Emergency Recovery
New Security Platform to be initialized
Emergency Recovery, Security Platform Credentials
and Settings, Personal Secure Drive
Ch3. System information
Содержание R580 Series U.ARC3BA9
Страница 17: ...17 System Block Diagram Chapter 3 System information ...
Страница 23: ...23 12 It selects the Exit Saving Change and it stores system a settings and the reboot Ch3 System information ...
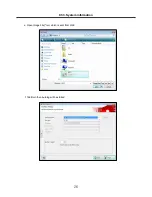
Страница 25: ...25 Ch3 System information c Select Disc Image or Saved Project d Select File Format as Image Files iso ...
Страница 26: ...26 Ch3 System information e Open Image File iso which is sent from LGE f Tab Burn then burning will be started ...
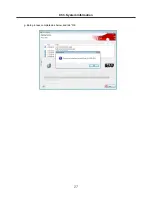
Страница 27: ...27 Ch3 System information g Burn process completed as below and tab OK ...
Страница 30: ...30 Ch3 System information 5 After flashing is completed you can see the PASS on your screen and reboot your PC ...
Страница 57: ...57 3 Remove the Hook Ch5 Removing and replacing a part Hook Hook Hook Hook 4 Remove the Memory ...
Страница 60: ...60 Ch5 Removing and replacing a part 5 Remove the HDD Shield ...
Страница 63: ...63 Ch5 Removing and replacing a part 3 Remove the WLAN Module ...
Страница 66: ...66 3 Remove the ODD Ch5 Removing and replacing a part 4 Remove the ODD Bezel Bezel ...
Страница 69: ...69 69 Ch5 Removing and replacing a part 5 Remove the Keyboard 6 Remove the Retainer ...
Страница 71: ...71 71 Ch5 Removing and replacing a part 3 Remove the Display Module ...
Страница 74: ...74 Ch5 Removing and replacing a part 3 Remove the Keyboard deck ...
Страница 79: ...79 Ch5 Removing and replacing a part 3 Remove the Mainboard Case ...
Страница 86: ...86 Ch5 Removing and replacing a part 3 Remove the Hinge Cap ...
Страница 98: ...NLCD07 NLCD05 NLCD09 NLCD03 NLCD01 NLCD04 NLCD08 NLCD02 NWEBC01 ...
Страница 100: ...NMINI02 NMINI01 NKDECK01 NKDECK02 NRTN01 NKEYBD01 ...
Страница 102: ...NMRY01 NMRY01 NMINI04 NTHMO01 NRBS01 NMINI03 NCPU01 NMLB01 ...
Страница 105: ...NCVR02 NCVR03 NCVR01 NHDD02 NHDD01 NBATT01 NODD02 NODD01 NBOTM01 NBOTM03 NHDD03 NBOTM02 ...

