10
When a CD-ROM drive, DVD drive or the other laser product is installed, note the following :
Caution
Use of controls or adjustments or performance of procedures other than those specified here in
might result in hazardous radiation exposure.
1-4. Laser compliance statement
Opening the CD-ROM drive, DVD-ROM drive or the other optical storage device could result in exposure
to hazardous laser radiation.
There are no serviceable parts inside those drives. Do not open
Danger
Emits visible and invisible laser radiation when open. Do not stare into the beam , do not view
directly with optical instruments, and avoid direct exposure to the bean.
1-5. Backup (Standby) RTC battery safety information
When replacing or disposing of the backup (standby) RTC battery, note the following :
Ch1. Service information
Содержание R580 Series U.ARC3BA9
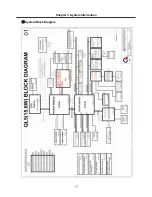
Страница 17: ...17 System Block Diagram Chapter 3 System information ...
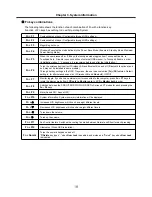
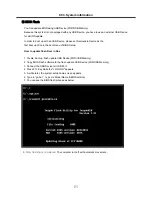
Страница 23: ...23 12 It selects the Exit Saving Change and it stores system a settings and the reboot Ch3 System information ...
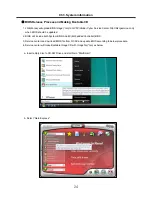
Страница 25: ...25 Ch3 System information c Select Disc Image or Saved Project d Select File Format as Image Files iso ...
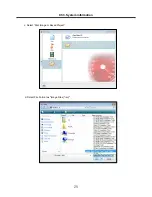
Страница 26: ...26 Ch3 System information e Open Image File iso which is sent from LGE f Tab Burn then burning will be started ...
Страница 27: ...27 Ch3 System information g Burn process completed as below and tab OK ...
Страница 30: ...30 Ch3 System information 5 After flashing is completed you can see the PASS on your screen and reboot your PC ...
Страница 57: ...57 3 Remove the Hook Ch5 Removing and replacing a part Hook Hook Hook Hook 4 Remove the Memory ...
Страница 60: ...60 Ch5 Removing and replacing a part 5 Remove the HDD Shield ...
Страница 63: ...63 Ch5 Removing and replacing a part 3 Remove the WLAN Module ...
Страница 66: ...66 3 Remove the ODD Ch5 Removing and replacing a part 4 Remove the ODD Bezel Bezel ...
Страница 69: ...69 69 Ch5 Removing and replacing a part 5 Remove the Keyboard 6 Remove the Retainer ...
Страница 71: ...71 71 Ch5 Removing and replacing a part 3 Remove the Display Module ...
Страница 74: ...74 Ch5 Removing and replacing a part 3 Remove the Keyboard deck ...
Страница 79: ...79 Ch5 Removing and replacing a part 3 Remove the Mainboard Case ...
Страница 86: ...86 Ch5 Removing and replacing a part 3 Remove the Hinge Cap ...
Страница 98: ...NLCD07 NLCD05 NLCD09 NLCD03 NLCD01 NLCD04 NLCD08 NLCD02 NWEBC01 ...
Страница 100: ...NMINI02 NMINI01 NKDECK01 NKDECK02 NRTN01 NKEYBD01 ...
Страница 102: ...NMRY01 NMRY01 NMINI04 NTHMO01 NRBS01 NMINI03 NCPU01 NMLB01 ...
Страница 105: ...NCVR02 NCVR03 NCVR01 NHDD02 NHDD01 NBATT01 NODD02 NODD01 NBOTM01 NBOTM03 NHDD03 NBOTM02 ...

