34
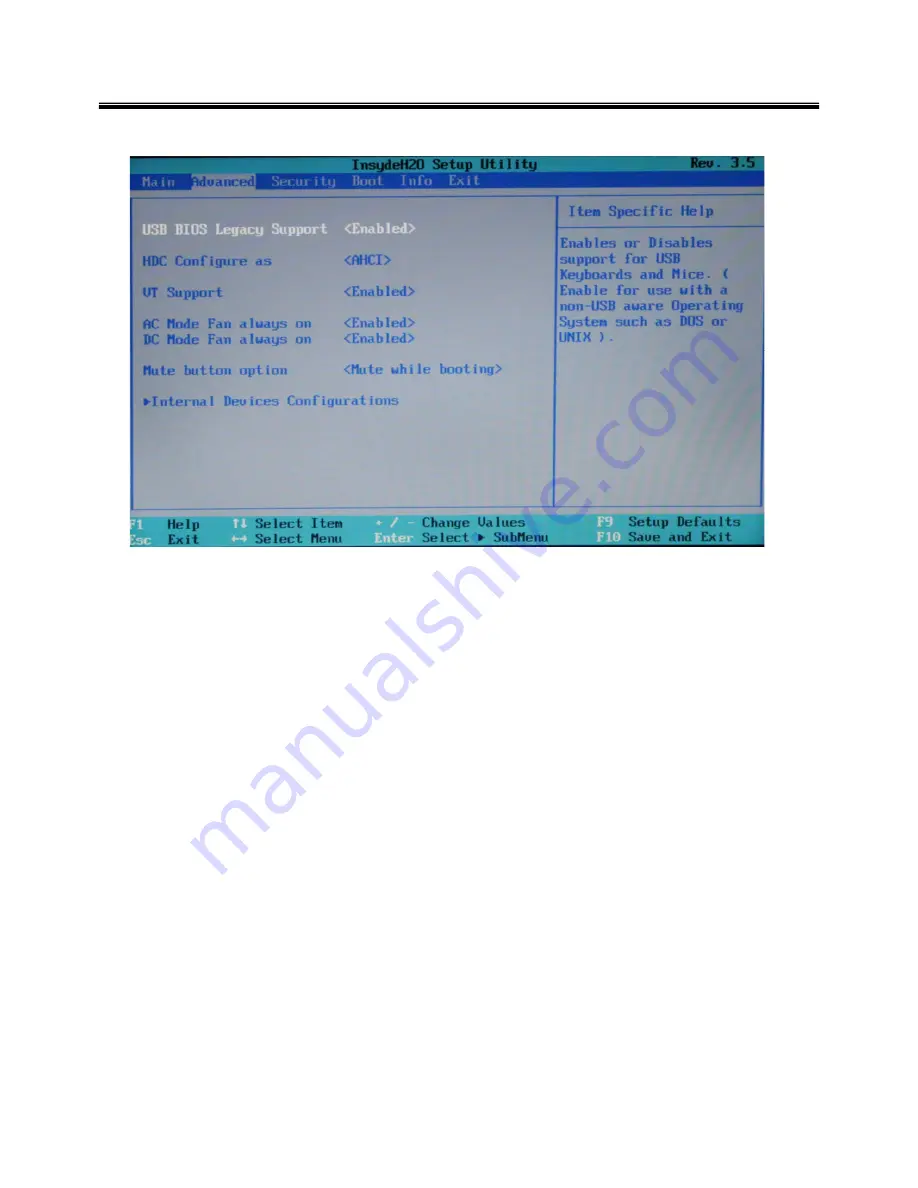
Advanced menu
Ch3. System information
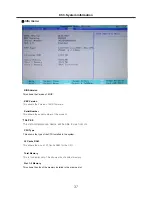
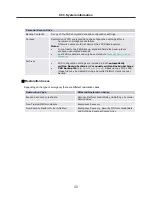
· USB BIOS Legacy Support
This enables to use the USB devices in the MS-DOS environment.
· HDC Configure as
This configures the compatibility settings for the SATA controller.
· VT Support
Set whether or not to support the Intel virtualization technology.
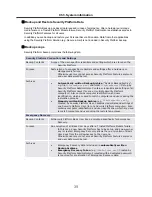
· AC Mode Fan always on
Select any of Normal, Silent, and Cool for the operating speed of CPU cooling fan (for AC power).
· DC Mode Fan always on
Select any of Normal, Silent, and Cool for the operating speed of CPU cooling fan (for DC power).
· Mute button option
Set whether or not to support the Mute function (Fn + F9) during the system startup.
· Internal Devices Configurations
Set whether or not to use the devices such as Auiod, LAN, Wireless, Card reader, Express carder, and
such.
Содержание R580 Series U.ARC3BA9
Страница 17: ...17 System Block Diagram Chapter 3 System information ...
Страница 23: ...23 12 It selects the Exit Saving Change and it stores system a settings and the reboot Ch3 System information ...
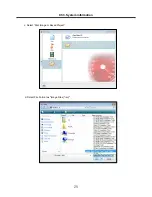
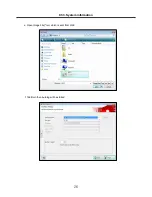
Страница 25: ...25 Ch3 System information c Select Disc Image or Saved Project d Select File Format as Image Files iso ...
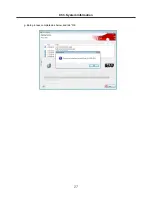
Страница 26: ...26 Ch3 System information e Open Image File iso which is sent from LGE f Tab Burn then burning will be started ...
Страница 27: ...27 Ch3 System information g Burn process completed as below and tab OK ...
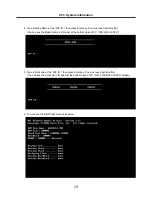
Страница 30: ...30 Ch3 System information 5 After flashing is completed you can see the PASS on your screen and reboot your PC ...
Страница 57: ...57 3 Remove the Hook Ch5 Removing and replacing a part Hook Hook Hook Hook 4 Remove the Memory ...
Страница 60: ...60 Ch5 Removing and replacing a part 5 Remove the HDD Shield ...
Страница 63: ...63 Ch5 Removing and replacing a part 3 Remove the WLAN Module ...
Страница 66: ...66 3 Remove the ODD Ch5 Removing and replacing a part 4 Remove the ODD Bezel Bezel ...
Страница 69: ...69 69 Ch5 Removing and replacing a part 5 Remove the Keyboard 6 Remove the Retainer ...
Страница 71: ...71 71 Ch5 Removing and replacing a part 3 Remove the Display Module ...
Страница 74: ...74 Ch5 Removing and replacing a part 3 Remove the Keyboard deck ...
Страница 79: ...79 Ch5 Removing and replacing a part 3 Remove the Mainboard Case ...
Страница 86: ...86 Ch5 Removing and replacing a part 3 Remove the Hinge Cap ...
Страница 98: ...NLCD07 NLCD05 NLCD09 NLCD03 NLCD01 NLCD04 NLCD08 NLCD02 NWEBC01 ...
Страница 100: ...NMINI02 NMINI01 NKDECK01 NKDECK02 NRTN01 NKEYBD01 ...
Страница 102: ...NMRY01 NMRY01 NMINI04 NTHMO01 NRBS01 NMINI03 NCPU01 NMLB01 ...
Страница 105: ...NCVR02 NCVR03 NCVR01 NHDD02 NHDD01 NBATT01 NODD02 NODD01 NBOTM01 NBOTM03 NHDD03 NBOTM02 ...

