19
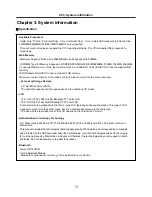
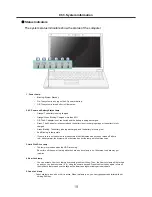
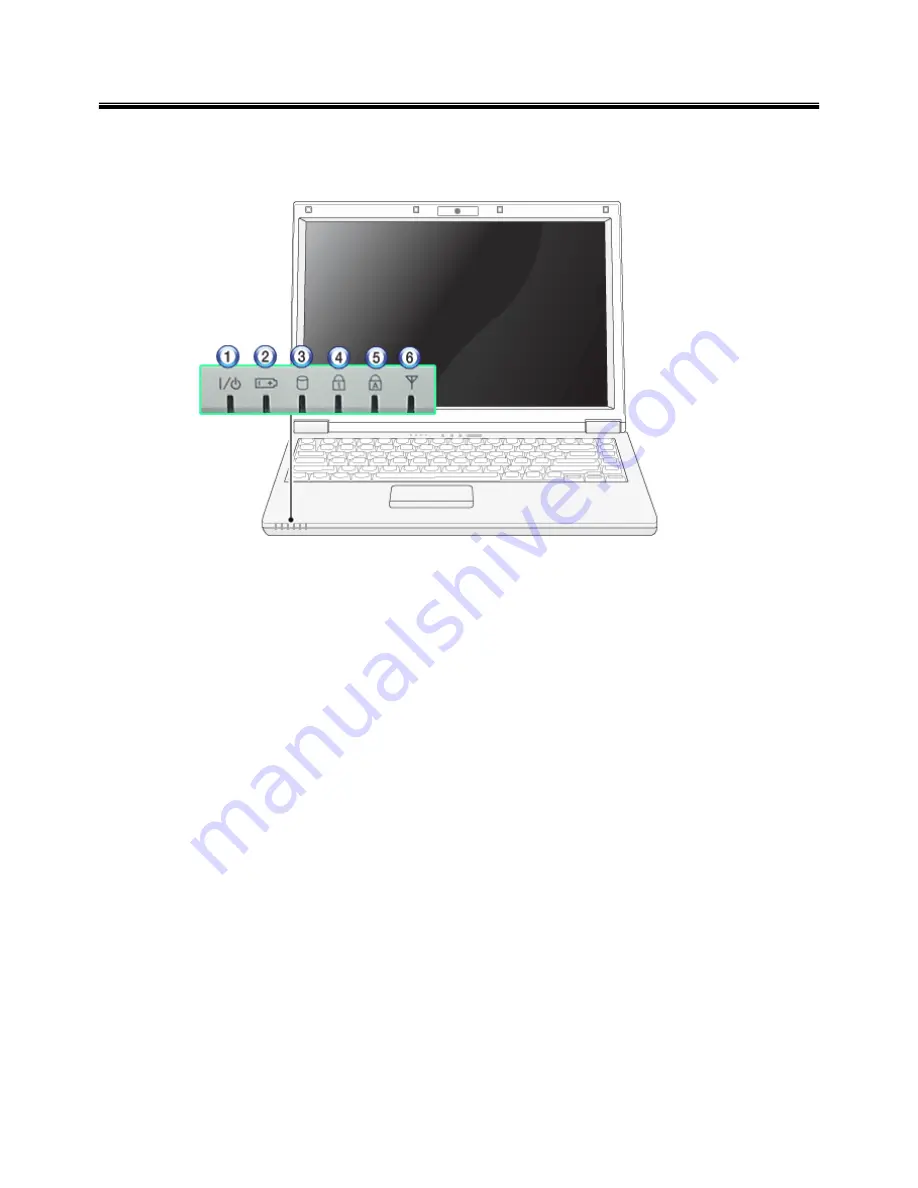
The system status indicators show the status of the computer
1 . Power Lamp:
•
Blinking: System Standby
•
On: The system is running on the AC power or battery.
•
Off: The system is turned off or in Hibernates.
2. AC Power and Battery Status Lamp
•
Orange: The battery is being charged.
•
Orange/Green Blinking: Charged more than 90%
•
Off: The AC adapter is not connected and the battery is being discharged.
•
Green: The AC adapter is connected and the battery is not in charging stage, or the battery is fully
charged.
•
Green Blinking: The battery is being discharged,, and the battery is running low.
•
Red Blinking: In faulty state
•
If you try to turn on the system that has entered the Hibernates mode or been turned off after a
low
‐
battery alarm, the system will not be turned on but the lamp will blink three times.
3. Hard Disk Drive Lamp
•
The lamp is turned on when the HDD is running.
※
Do not turn off the power forcibly while the hard disk drive lamp is on. Otherwise, the data may get
impaired. .
4. Num Lock lamp
•
You can activate Num Lock feature by pressing the Num Lk key. Then, the NumLock lamp will be turned
on and you can input numbers (0 ˜ 9) using the numeric keypad. Press the Num Lk key again to turn off
the NumLock feature and use the keys as the lowercase signs including arrows indicate.
5. Caps Lock lamp
• Caps Lock lamp is on when the it is active. When this lamp is on, you can type uppercase letters without
holding Shift key.
Status indicators
Ch3. System information
Содержание R580 Series U.ARC3BA9
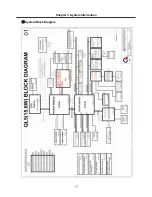
Страница 17: ...17 System Block Diagram Chapter 3 System information ...
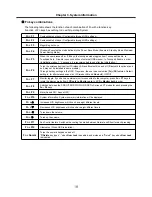
Страница 23: ...23 12 It selects the Exit Saving Change and it stores system a settings and the reboot Ch3 System information ...
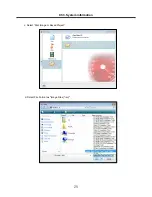
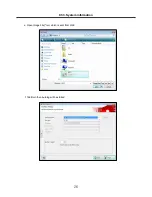
Страница 25: ...25 Ch3 System information c Select Disc Image or Saved Project d Select File Format as Image Files iso ...
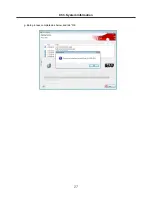
Страница 26: ...26 Ch3 System information e Open Image File iso which is sent from LGE f Tab Burn then burning will be started ...
Страница 27: ...27 Ch3 System information g Burn process completed as below and tab OK ...
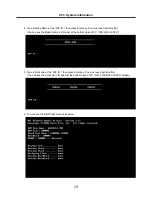
Страница 30: ...30 Ch3 System information 5 After flashing is completed you can see the PASS on your screen and reboot your PC ...
Страница 57: ...57 3 Remove the Hook Ch5 Removing and replacing a part Hook Hook Hook Hook 4 Remove the Memory ...
Страница 60: ...60 Ch5 Removing and replacing a part 5 Remove the HDD Shield ...
Страница 63: ...63 Ch5 Removing and replacing a part 3 Remove the WLAN Module ...
Страница 66: ...66 3 Remove the ODD Ch5 Removing and replacing a part 4 Remove the ODD Bezel Bezel ...
Страница 69: ...69 69 Ch5 Removing and replacing a part 5 Remove the Keyboard 6 Remove the Retainer ...
Страница 71: ...71 71 Ch5 Removing and replacing a part 3 Remove the Display Module ...
Страница 74: ...74 Ch5 Removing and replacing a part 3 Remove the Keyboard deck ...
Страница 79: ...79 Ch5 Removing and replacing a part 3 Remove the Mainboard Case ...
Страница 86: ...86 Ch5 Removing and replacing a part 3 Remove the Hinge Cap ...
Страница 98: ...NLCD07 NLCD05 NLCD09 NLCD03 NLCD01 NLCD04 NLCD08 NLCD02 NWEBC01 ...
Страница 100: ...NMINI02 NMINI01 NKDECK01 NKDECK02 NRTN01 NKEYBD01 ...
Страница 102: ...NMRY01 NMRY01 NMINI04 NTHMO01 NRBS01 NMINI03 NCPU01 NMLB01 ...
Страница 105: ...NCVR02 NCVR03 NCVR01 NHDD02 NHDD01 NBATT01 NODD02 NODD01 NBOTM01 NBOTM03 NHDD03 NBOTM02 ...

