LG Network Client Program
49
5
LG Ne
tw
ork Clien
t P
rogr
am
About the pop-up menu
• User Log-In: Select to connect the DVR/NVR manually.
• User Log-Out: Select to disconnect the site name.
• Connect: Select to connect to the DVR/NVR automatically.
You should set the User ID and Password option of the
connection information setting menu for using this
function.
• Disconnect: Select to disconnect to the site name.
3. Repeat step 1 to 2 to connect the other site name.
NOTE
Up to 5 users can connect to the DVR/NVR system using the LG
Network Client program.
Connect the group device
1. Select the registered group name to connect it.
2. Click the right mouse button on the group name. Select the
[Connect] option. Each site name is connected automatically
and the site name is activated in the group name.
3. Repeat step 1 to 2 to connect the other group name.
Disconnect the site name or group name
1. Select the required site name or group name.
2. Click the right mouse button on the site name or group name.
Select the [Disconnect] option. The site name is disconnected
and deactivated.
3. Repeat step 1 to 2 for disconnection.
Using the Live function
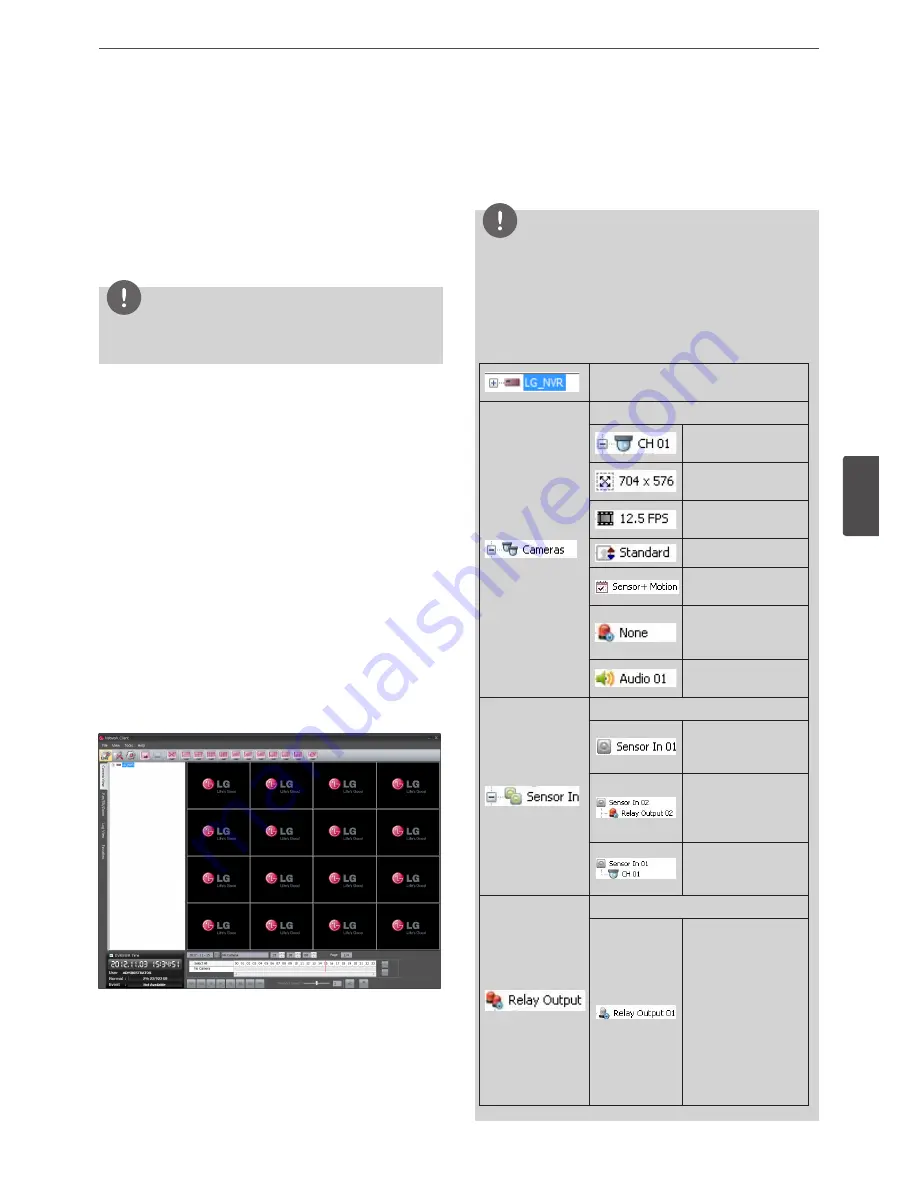
Camera View Tab
1. Select the [Camera View] tab in the live mode.
2. Select the activated site name and double click the left mouse
button or click the plus mark of the registered site name.
3. Select [Cameras] and double click the left mouse button or click
the plus mark.
4. Select the channel number you want to view.
5. Click the channel number and drag and drop to live window
position. If you select [Cameras] and drag and drop to a live
window then all channels are displayed.
6. Live image is displayed in the selected window.
7. Repeat steps 3 to 5 to set the other live windows.
NOTE
• To delete the camera from Live Window, Click desired channel
number on the [Cameras] and then drag drop where not Live
window position but other position.
• Configuration of camera view is set the first time only. This
configuration setup is memorized for the next time and
displayed as it is.
• About the camera view menu tree.
Displays the registered site name or
group name.
Displays the camera information .
Displays the camera
channel name.
Displays the
Resolution.
Displays the Recording
Frame Rate.
Displays the Quality.
Displays the Recording
mode.
Displays the relay
output condition for
motion.
Displays the Audio
information.
Displays the Sensor In information.
Displays the ON/
OFF condition of the
connected sensor.
Displays the relay
output condition for
the selected sensor
input for the motion.
Displays the camera
condition for the
selected sensor input.
Displays the Relay output information.
You can control the
relay output using the
mouse button.
1. Click the right
mouse button on
the relay output.
2. Select the ON or
OFF option.
3. The selected relay
is activated or
deactivated.
Содержание LRN8240D Series
Страница 78: ...AB28 ...


