


16
Operation
3
Oper
ation
Manual snapshot
Click
to take a snaphot of current preview screen.
Start/Stop Manual Recording
Start the video recording instantly. In the preview screen, click
button on the preview operation panel to start recording.
Click
to stop manual recording.
E-zoom
1. Click
to enter the E-zoom control screen as shown in the
figure below.
2. Scroll the mouse wheel for sizing the zoomed area.
3. Drag the red box in the small screen in the corner to move the
zoomed area.
4. Click the right mouse button to return to the preview screen.
Start/End Talkback
Click
to start talkback function. and click
to stop talkback
function.
Channel information
Click
button to display [Digital Channel] menu on the screen. You
can check or edit the channel settings on the menu.
Stream Parameter
Click
button to display video streaming information.
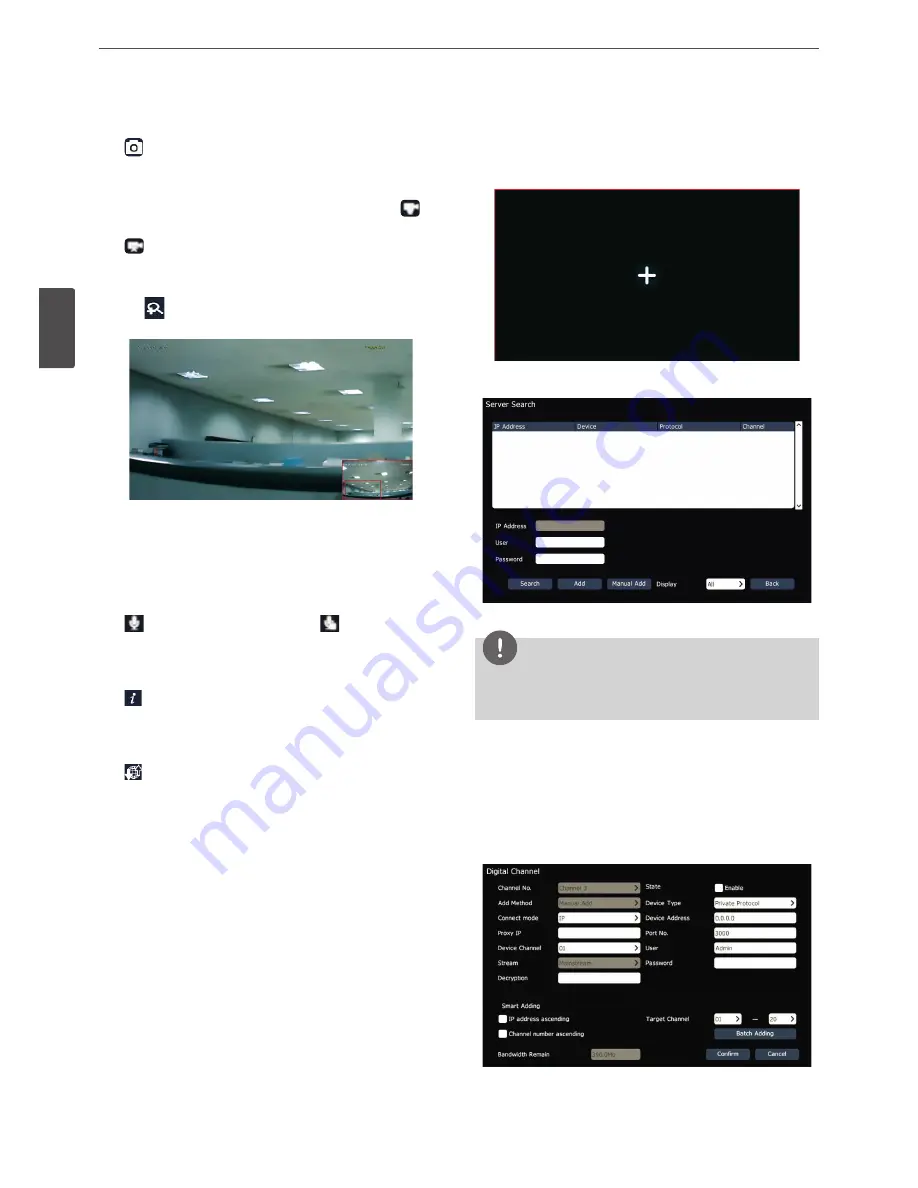
Instant Channel Adding
You can add an IP camera to a channel instantly. The preview status
will be as shown in the figure below if no channel is added to the
channel.
1. Click [+] mark at center of the blank channel on the preview
screen. The server search window appears on the screen.
NOTE
Add channels by default port, user name and password; if the
information of channel does not meet the default information, users
can edit the “Manual Add” to add channels.
2. The system automatically searchs the available cameras and diplay
them on the list. Select an IP address on the list and fill user ID and
password of the selected IP address in the [User] and [Password]
fields.
3. Click [Add] to apply the camera to the channel.
4. You can maually set a channel on the [Server Search] window.
Click [Manual Add]. The [Digital Channel] window appears on the
screen.
5. Input [Device Address], [Port No.], [User] and other fields and click
[Confirm] to add the camera to the channel. The adding can be
completed successfully after the front-terminal IP address, port
No., user name, password and other information are input.
Содержание RNRZ-B510A
Страница 50: ......


