3
Touch
Scan to USB
and adjust the settings if necessary.
Notes:
•
To save the scanned document to a folder, touch
Scan to
, select a folder, and then touch
Scan Here
.
•
If the USB Drive screen does not appear, then touch
USB Drive
on the control panel.
4
Scan the document.
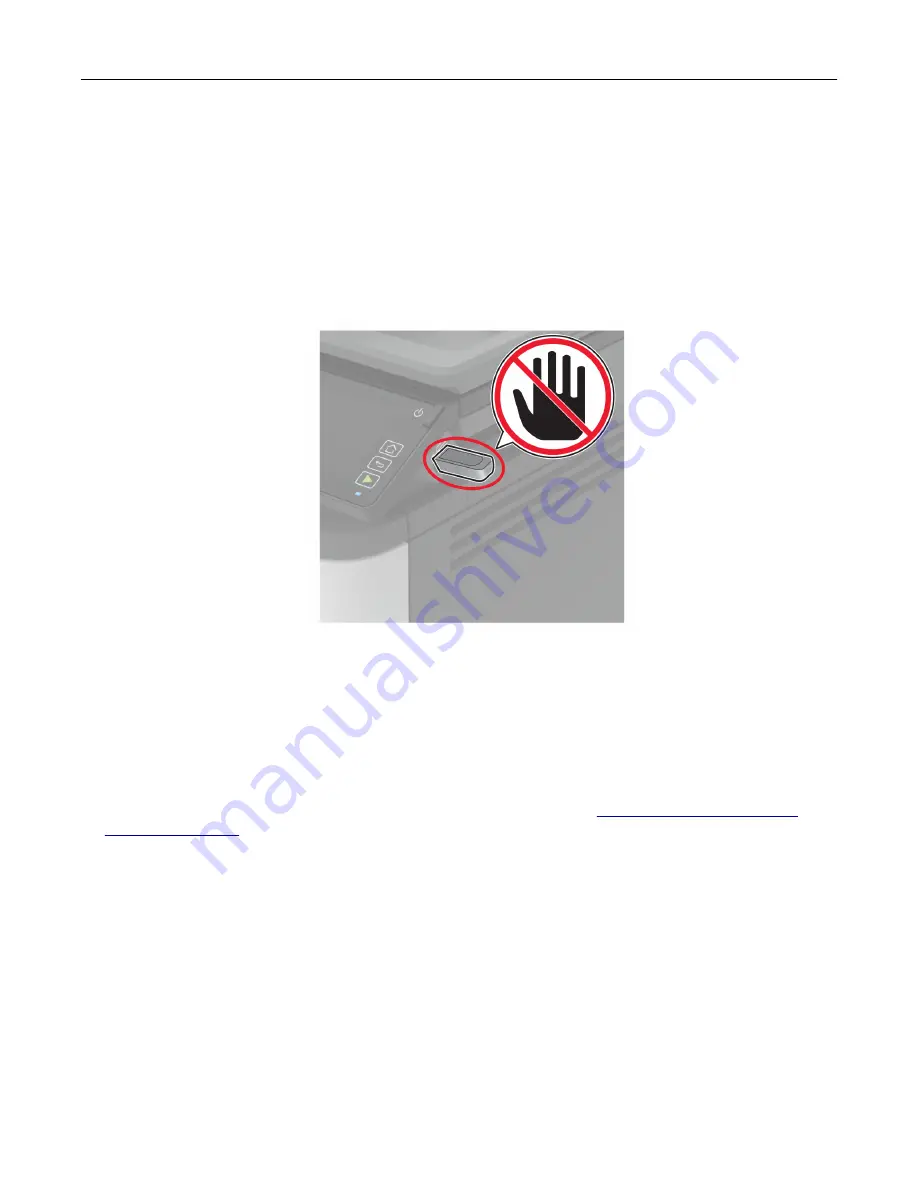
Warning—Potential Damage:
To avoid loss of data or printer malfunction, do not touch the flash drive or
the printer in the area shown while actively printing, reading, or writing from the memory device.
Scanning to a Cloud Connector profile
1
Load an original document into the ADF tray or on the scanner glass.
2
From the home screen, touch
Cloud Connector
.
3
Select a cloud service provider, and then select a profile.
Note:
For more information on creating a Cloud Connector profile, see
.
4
Touch
Scan
, and then assign a filename and destination folder.
5
Touch
Scan Here
.
If necessary, change the scan settings.
6
Scan the document.
Scan
70
Содержание XM1342
Страница 134: ...4 Unpack the new toner cartridge 5 Shake the toner cartridge to redistribute the toner Maintain the printer 134...
Страница 136: ...2 Remove the used imaging unit Maintain the printer 136...
Страница 139: ...3 Open the front door 4 Remove the imaging unit 5 Close the front door 6 Remove the tray Maintain the printer 139...
Страница 144: ...4 Insert the new separator pad until it clicks into place 5 Close the ADF cover Maintain the printer 144...
Страница 148: ...3 Open the front door 4 Remove the imaging unit 5 Close the front door 6 Remove the tray Maintain the printer 148...


