


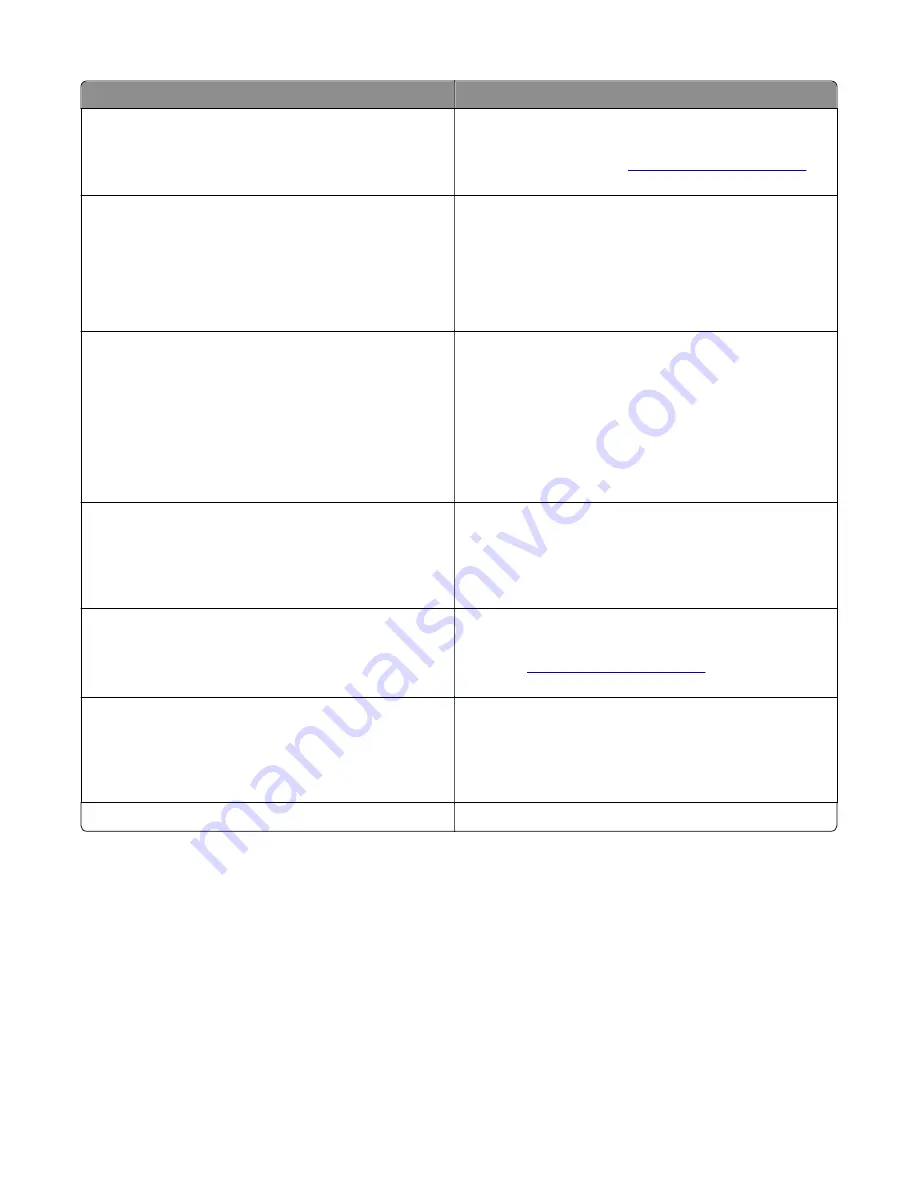
Message
Action
Printer had to restart. Last job may be
incomplete.
From the printer control panel, touch
Continue
to clear the
message and continue printing.
For more information, visit
or
contact customer support.
Reinstall missing or unresponsive
[color] cartridge [31.xy]
Try one or more of the following:
•
Install the missing toner cartridge. For more information,
see the "Replacing supplies" section of the
User’s Guide
.
•
Remove the unresponsive cartridge, and then reinstall it.
Note:
If the message appears after reinstalling the supply,
then the cartridge may be defective. Replace the cartridge.
Reinstall missing or unresponsive black
and color imaging kit [31.xy]
Try one or more of the following:
•
Install the missing imaging kit. For more information, see
the "Replacing supplies" section of the
User’s Guide
.
•
Remove the unresponsive imaging kit, and then reinstall
it.
Note:
If the message appears after reinstalling the supply,
then the imaging kit may be defective. Replace the imaging
kit.
Reload printed pages in Tray [x]
Try one or more of the following:
•
From the printer control panel, select
Continue
to clear
the message and continue printing the second side of the
sheet. For non
‑
touch
‑
screen printer models, press
OK
to
confirm.
Remove defective disk [61]
Remove and replace the defective printer hard disk.
Note:
To replace the printer hard disk, contact customer
support at
or your service
representative.
Remove packaging material, [area name]
1
Remove any remaining packing material from the
indicated location.
2
From the printer control panel, touch Continue to clear
the message. For non
‑
touch
‑
screen printer models, press
OK
to confirm.
Remove paper from standard output bin
Remove the paper stack from the standard bin.
7527
Diagnostic information
82
Содержание XC2132
Страница 18: ...7527 18 ...
Страница 22: ...7527 22 ...
Страница 34: ...7527 34 ...
Страница 54: ...2 Open the top door 7527 Diagnostic information 54 ...
Страница 184: ...7527 184 ...
Страница 226: ...7527 226 ...
Страница 314: ...5 Disconnect the belt C 6 Disconnect the fan and remove 7527 Repair information 314 ...
Страница 317: ...3 Pull out the legs of the exit bail one at a time and lift to remove 7527 Repair information 317 ...
Страница 342: ...Dust cover removal 1 Slightly raise the dust cover 2 Pull the dust cover to remove 7527 Repair information 342 ...
Страница 344: ...Note Feel each rubber surface to verify it turns properly in the direction shown 7527 Repair information 344 ...
Страница 345: ...Component locations Controller board CX310 models 7527 Component locations 345 ...
Страница 346: ...CX410 models 7527 Component locations 346 ...
Страница 352: ...7527 352 ...
Страница 359: ...7527 359 ...
Страница 361: ...Assembly 1 Covers 7527 Parts catalog 361 ...
Страница 363: ...Assembly 2 Scanner 7527 Parts catalog 363 ...
Страница 365: ...Assembly 3 Paperpath 7527 Parts catalog 365 ...
Страница 368: ...7527 Parts catalog 368 ...
Страница 369: ...Assembly 4 Operator panels 7527 Parts catalog 369 ...
Страница 372: ...7527 Parts catalog 372 ...
Страница 373: ...Assembly 5 Electronics 7527 Parts catalog 373 ...
Страница 376: ...7527 Parts catalog 376 ...
Страница 377: ...Assembly 6 Cables and sensors 7527 Parts catalog 377 ...
Страница 379: ...Assembly 7 Media drawers and trays 7527 Parts catalog 379 ...
Страница 382: ...7527 382 ...
Страница 390: ...7527 390 ...
Страница 404: ...7527 404 ...
Страница 422: ...7527 Part number index 422 ...
Страница 428: ...7527 Part name index 428 ...


