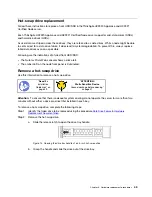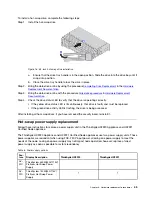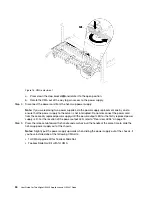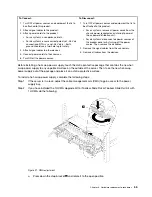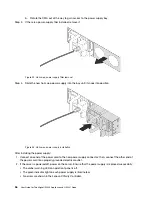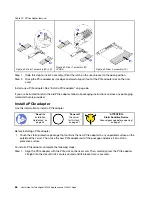
b. Rotate the CMA out of the way to gain access to the power supply bay.
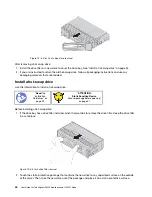
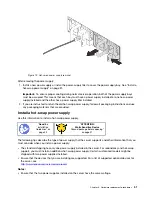
Step 3. If there is a power-supply filler installed, remove it.
Figure 22. Hot-swap power supply filler removal
Step 4. Slide the new hot-swap power supply into the bay until it snaps into position.
Figure 23. Hot-swap power supply installation
After installing the power supply:
1. Connect one end of the power cord to the new power supply connector; then, connect the other end of
the power cord into a properly grounded electrical outlet.
2. If the server is powered off, power on the server. Ensure that the power supply is replaced successfully:
• The amber warning LED on node front panel is off.
• The green indicator light on each power supply is illuminated.
• No errors are shown in the Lenovo XClarity Controller.
56
User Guide for ThinkAgile HX2320 Appliance and HX2321 Node
Содержание ThinkAgile HX2320 Appliance
Страница 1: ...User Guide for ThinkAgile HX2320 Appliance and HX2321 Node Machine Types 7Y89 7Z04 7X83 7Z40 7X41 ...
Страница 4: ...ii User Guide for ThinkAgile HX2320 Appliance and HX2321 Node ...
Страница 16: ...12 User Guide for ThinkAgile HX2320 Appliance and HX2321 Node ...
Страница 32: ...28 User Guide for ThinkAgile HX2320 Appliance and HX2321 Node ...
Страница 38: ...34 User Guide for ThinkAgile HX2320 Appliance and HX2321 Node ...
Страница 86: ...82 User Guide for ThinkAgile HX2320 Appliance and HX2321 Node ...
Страница 90: ...86 User Guide for ThinkAgile HX2320 Appliance and HX2321 Node ...
Страница 92: ...88 User Guide for ThinkAgile HX2320 Appliance and HX2321 Node ...
Страница 94: ...90 User Guide for ThinkAgile HX2320 Appliance and HX2321 Node ...
Страница 96: ...92 User Guide for ThinkAgile HX2320 Appliance and HX2321 Node ...
Страница 99: ......
Страница 100: ......


