5
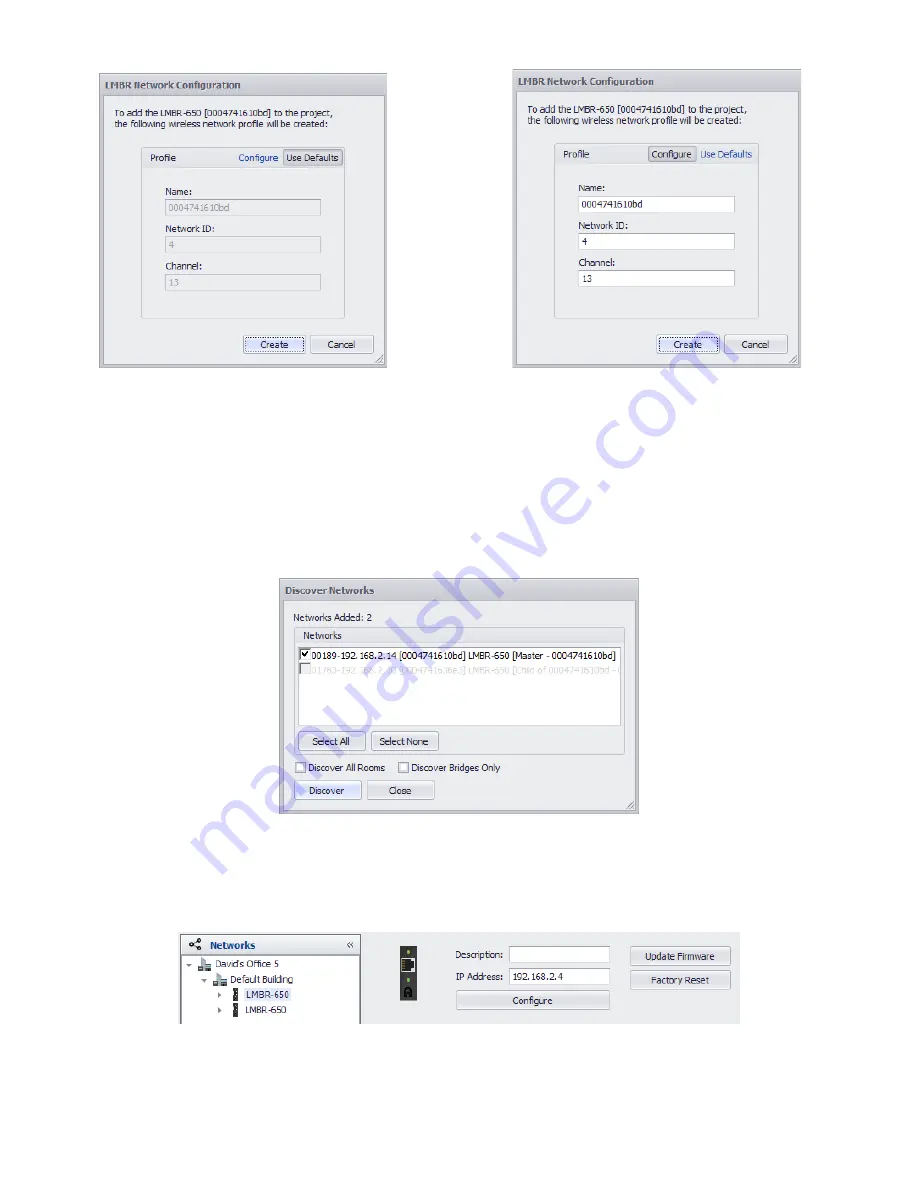
LMBR Network Configuration
Network Configuration with fields enabled
4. Click
Create
. The LMBR will be configured for the chosen
Network ID
and
Channel
. A pop-up will appear informing you that the
clock on the LMBR has been reset. You can update the time in the LMBR using the Site Time/Location Tool. See the LMCS-100
Operation Manual for details.
5. If you have selected more than one LMBR, once the network configuration is complete, the process will repeat for each
subsequent LMBR, with different default values for each LMBR network. Once all networks are configured, the Discover Networks
Dialog changes to show the number of Networks added.
• If there is only a single LMBR, it will show that LMBR with “Single” in the description.
• If there are multiple LMBRs, LMCS will configure the first one in the list to be the Primary LMBR and the others will be
considered secondary LMBRs. The primary LMBR will be enabled, while the others are disabled.
Although the first LMBR is
picked as primary by default, it is likely that a specific LMBR will be intended to be the primary by virtue of where it is
installed. You may therefore need to change the Primary, as discussed in step 12.
Added Networks
6. If the router connected to the LMBRs and computer is going to be removed after configuration, you need to configure the routers
for a static IP address, as shown in the following steps. Click
Close
to exit the Discovery wizard.
NOTE:
If the router is going to remain permanently connected, you can skip to step 14. However, if you need to switch the Primary
LMBR, you will still need to click
Close
and instead go to step 12.
7. Click the
Networks
tab. Expand the tree and highlight the first LMBR in the tree.
LMBR-650 Information
8. Click
Configure
. The
LMBR IP Configuration
dialog opens. By default the, “Obtain an IP Address automatically” option is
selected.


