crystal standard configuration User Manual
Version: 6.4.0/4
41/149
7. System Setup
7.4.4
Updating the RAVENNA IO Card
In the Compact Engine, the RAVENNA IO card has its own firmware which must be checked and updated
separately.
To do this, you will need a valid network connection to one of the streaming ports, either ETHERNET A or
ETHERNET B. You can check the current network settings from the Compact Engine's front panel display.
If ETHERNET B has not been configured for streaming, then its default IP address = 192.168.110.253. To
make the connection, you may need to adjust the
of your PC's LAN port.
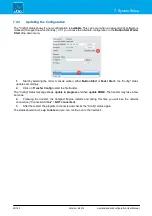
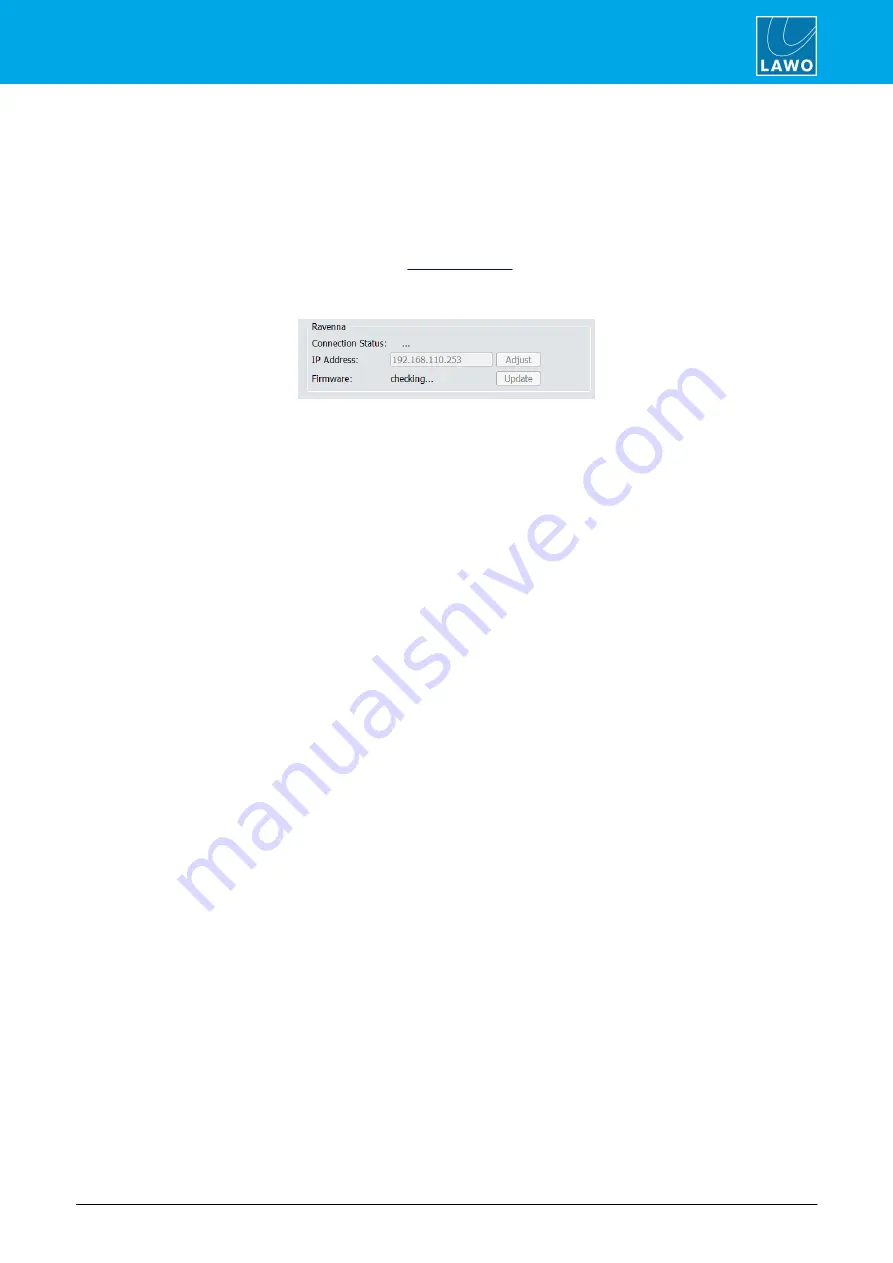
1.
To establish a connection, enter the IP Address of the streaming port into the "IP Address" field, and
select
Adjust
:
2.
Once a valid network connection is detected, the "Connection Status" will show
Connected
, and the
program begins checking the "Firmware" status - this may take a few seconds.
If the "Connection Status" shows an
ERROR
, then there is a problem with the network communication. Check
that the "IP Address" has been entered correctly. Then check the physical connections and the TCP/IP settings
of your computer's Network Interface Card.
3.
If new "Firmware" is
available
, then this is shown in the status field. Click on
Update
to start the
update.
The "Firmware" status message shows
update in progress
while the necessary data is transferred. This may
take a while.
4.
Once the update is complete, the "Firmware" status changes to
done
.
The RAVENNA IO card update is now complete. Note that, in this instance, the Compact Engine does not
require a restart.
7.4.5
Selecting the DisplayDock Monitor
At the bottom of the DisplayDock Admin window, you can select the monitor which will be used for the
DisplayDock GUI. If only one monitor is connected, then this is automatically selected. If the PC has more than
one monitor connected, then you will see multiple entries. In each case, the resolution is shown in the monitor
icon.
To change the monitor used by the DisplayDock start script:
1.
Click on an icon to select the monitor you wish to use - an ID appears briefly on the connected screen.
2.
Then close DisplayDock Admin to update the start script accordingly.
When you next open the DisplayDock session, the GUI will appear on the selected monitor.


