


9
Setting Up the HVS448 Hardware for Operation
1.
Ground your HVS448 using any of the methods recommended above.
2.
Connect the 50 Ω terminator into the master interlock
3.
Plug the power cable from the back of the HVS448 into a 90–250 VAC power outlet.
4.
Connect the RS232 cable to the back of the HVS448 and to a free serial port on the PC.
Note
: If connecting to a computer without a RS232 port, use a RS232-USB adapter and attach to the computer’s
USB port.
5.
Press the
Power
button on the front of the HVS448.
6.
From your computer, run the Sequence software.
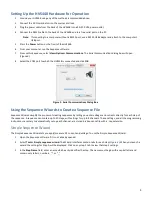
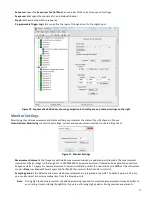
7.
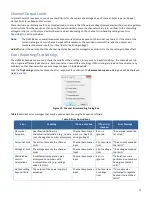
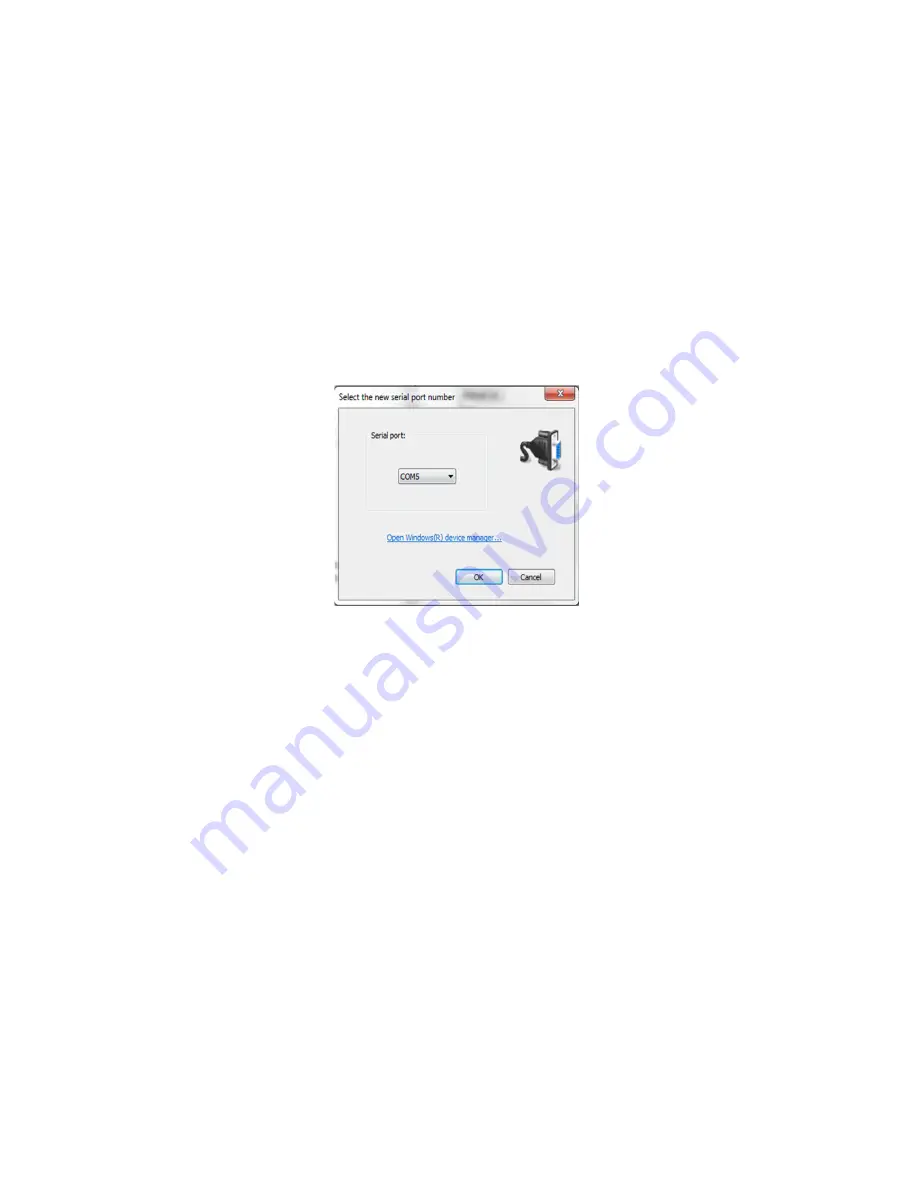
From within Sequence, select
View>Options>Communications
. The Serial Communications dialog box will open
(
Figure 3
).
8.
Select the COM port to which the HVS448 is connected and click
OK
.
Figure 3. Serial Communications Dialog Box
Using the Sequence Wizards to Create a Sequence File
Sequence Wizards simplify the process of creating sequences by letting you enter voltages and currents directly for each step of
the sequence. A sequence can contain up to 20 steps, with settings for up to 8 channels. These settings, and all the programming
instructions necessary to automatically set up each channel, are stored in a Sequence file with a .seq extension.
Simple Sequence Wizard
The Simple Sequence Wizard lets you apply/measure DC current and voltage. To use the Simple Sequence Wizard:
1.
Open the Sequence software if it is not already opened.
2.
Select
Tools > Simple sequence wizard.
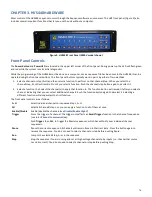
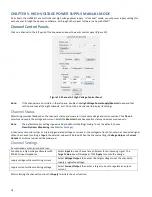
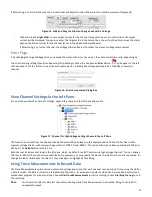
The Wizard interfaces contain tabs for each step (
Figure 4
). When you launch a
wizard the settings for Step A will be displayed. Click on any step’s tab to view that step’s settings.
3.
In the
Step Name
field, enter a name which easily identifies the step. The name must begin with a capital letter and
contain only letters, numbers, “.” or “_”.


