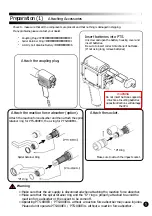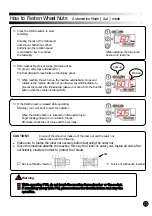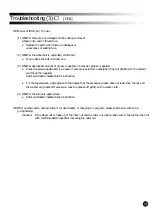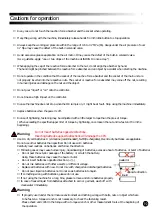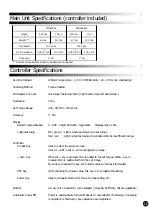
⑤ Press the throttle button to start
fastening.
Rotating the nut at the high speed
until the nut bottom out. When
bottoms out, the rotation speed
is switched to low to continue
While operating, the torque will
the fastening.
be shown in real time.
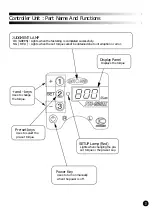
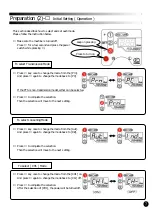
⑥ Once reaches the pre-set torque, OK lamp will be
lit ( green ) and stops automatically.
*1
The final attained torque blinks on the display panel.
*1 When reaching the set torque, the machine automatically stops and
rotates in the reverse direction at an ultra-low speed immediately to
prevent the socket bite. Immediately release your hand from the throttle
button when the counter-rotating starts.
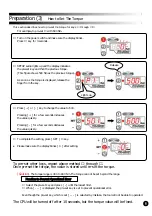
⑦ If the throttle lever is released while operating,
NG lamp ( red ) will be lit to alert the operator.
When the throttle button is released or interrupted due to
finger slipping, make sure to re-fasten the nut.
Otherwise, check the set torque and the set mode.
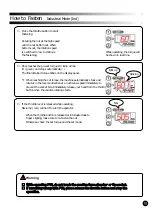
CAUTION!!
In case of the wheel nut made up of the inner nut and the outer nut,
please make sure the following.
●
Make sure to fasten the inner nut securely before fastening the outer nut.
●
Since this machine absorbs the reactive force by the (inner or outer) nut, fasten all nuts after
sufficiently inserted in order to protect the thread.
○
Nut is sufficiently inserted.
×
Nut is not sufficiently inserted.
Warning
・ While operating PTS, do not touch the reaction force absorber or the socket.
・ If something wrong with PTS, please release the throttle button and stop the
operation.
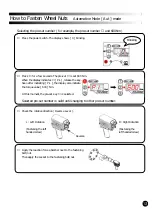
How to Fasten Wheel Nuts
Automotive Mode [ Aut ] mode
Nut
light up
blinking

