bizhub 42/36
5-9
5.2
Installer-based auto install
5
11
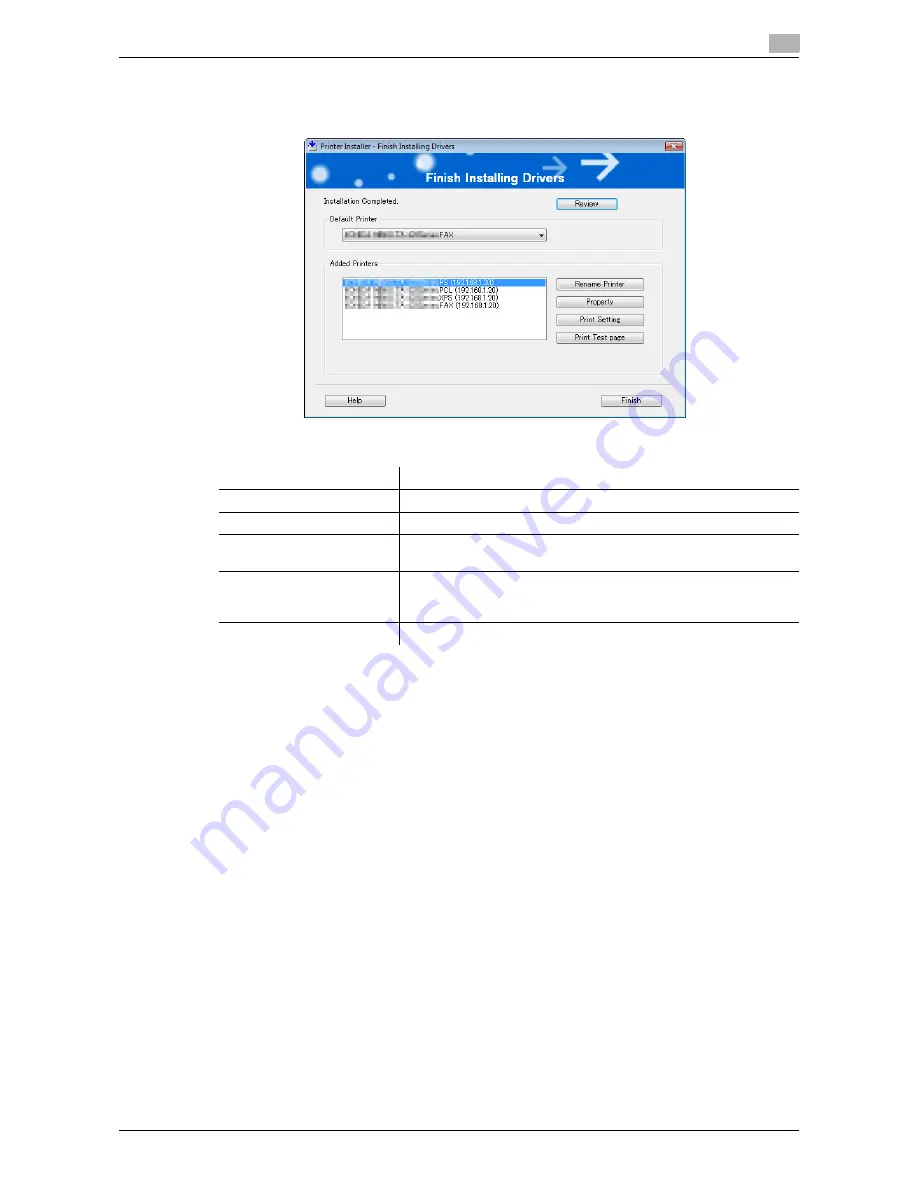
On the [Finish Installing Drivers] page, click [Finish].
The installation is complete.
On the [Finish Installing Drivers] page, you can confirm the installed items or change settings.
12
Click [Exit] to finish installation program.
13
Remove the Drivers CD-ROM from the CD-ROM drive.
This completes the fax driver installation.
Item Name
Functions
[Review]
Click this button to check the installed items.
[Rename Printer]
Click this button to rename the printer.
[Property]
Click this button to configure property settings for the fax driver. For
details, refer to page 8-10.
[Print Setting]
Click this button to display the [Printing Preferences] page of the fax
driver and configure various function settings. For details, refer to
page 8-14.
[Print Test page]
Click this button to perform test print.
Содержание bizhub 36
Страница 1: ...User s Guide Fax Operations ...
Страница 8: ...1 Introduction ...
Страница 12: ...2 Before using the Fax function ...
Страница 21: ...3 Control Panel Liquid Crystal Display ...
Страница 29: ...4 Registering the basic information ...
Страница 35: ...5 Installation of Fax Driver ...
Страница 57: ...6 Sending G3 I FAX ...
Страница 66: ...bizhub 42 36 6 10 6 3 Favorites 6 6 3 Favorites Allows you to select a set address for favorites ...
Страница 86: ...7 Receiving G3 I FAX ...
Страница 96: ...8 Sending a PC FAX ...
Страница 121: ...9 Convenient functions G3 I FAX PC FAX ...
Страница 129: ...10 Description of reports and lists ...
Страница 141: ...bizhub 42 36 10 13 10 6 Common lists 10 ...
Страница 142: ...11 User Mode Settings ...
Страница 148: ...12 PageScope Web Connection ...
Страница 170: ...13 Troubleshooting for fax problems ...
Страница 179: ...14 Appendix ...
Страница 189: ...15 Index ...
Страница 195: ...Copyright 2011 A3EW 9554FD 11 Printed in China 2011 11 http konicaminolta com ...


