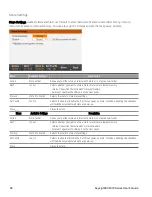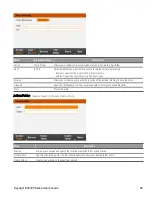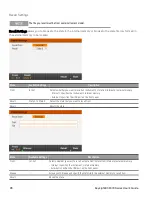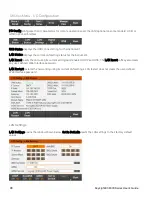
Items
Description
4
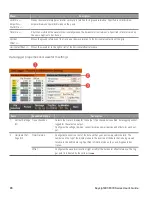
Offset time
Indicates the time that the right gridline is offset or away from the end of the data log. When this value is
zero, it means that the right gridline is positioned at the end of the data log. Adjusting the offset using the
Horizontal and Offset – in Waveform Settings will move the grid away from the end of the data log,
as indicated by the Offset Time.
5
Time elapsed
Indicates the time elapsed during the data log and the total duration. The values match when data logging
finishes.
6
Filename
Indicates the filename of the data that is being logged.
7
Output traces
Voltage trace labels appear on the left side of the grid (V1 V2, V3) as shown in the display.
Current trace labels appear on the right side of the grid (I1, I2, I3).
Power trace labels appear on the center of the grid (P1, P2, P3).
Press Auto Scale to auto-scale the data traces.
8
Ground reference
The ground reference of the trace. Ground references are offset so that they do not overlap. The ground ref-
erence offset value is referenced to the horizontal center line of the grid.
9
Grid time
Displays the time on the gridline.
10 Out of view arrows
Indicate that the trace, V3 in the figure, is out of view. Use the Vertical Volts/Div + and Volts/Div – or the
Vertical and Offset – in Waveform Settings to bring the trace into view. Press Auto Scale to auto-
scale the data traces.
11 Trigger point indicator
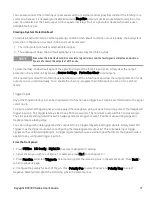
Indicates the trigger position in the data log. In this example the trigger point was offset by 0% and the
post trigger data was logged. The time at the trigger point is always zero. Change the trigger offset in the
Data Logger Logging Settings.
Menu
Description
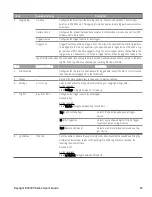
13 Waveform Settings
Sets the waveform display. See
Adjusting the Waveform Display
14 Run Stopped
Run or stop data logging.
15 Properties
Sets the data logging and waveform displays properties. See
Data Logger Properties and Waveform Set-
.
16 Auto Scale
Auto scales the traces on the display.
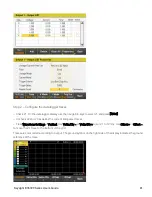
Adjusting the waveform display
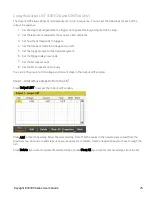
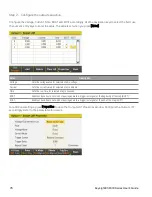
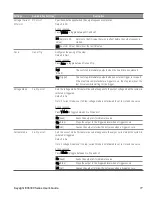
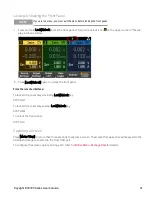
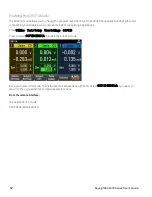
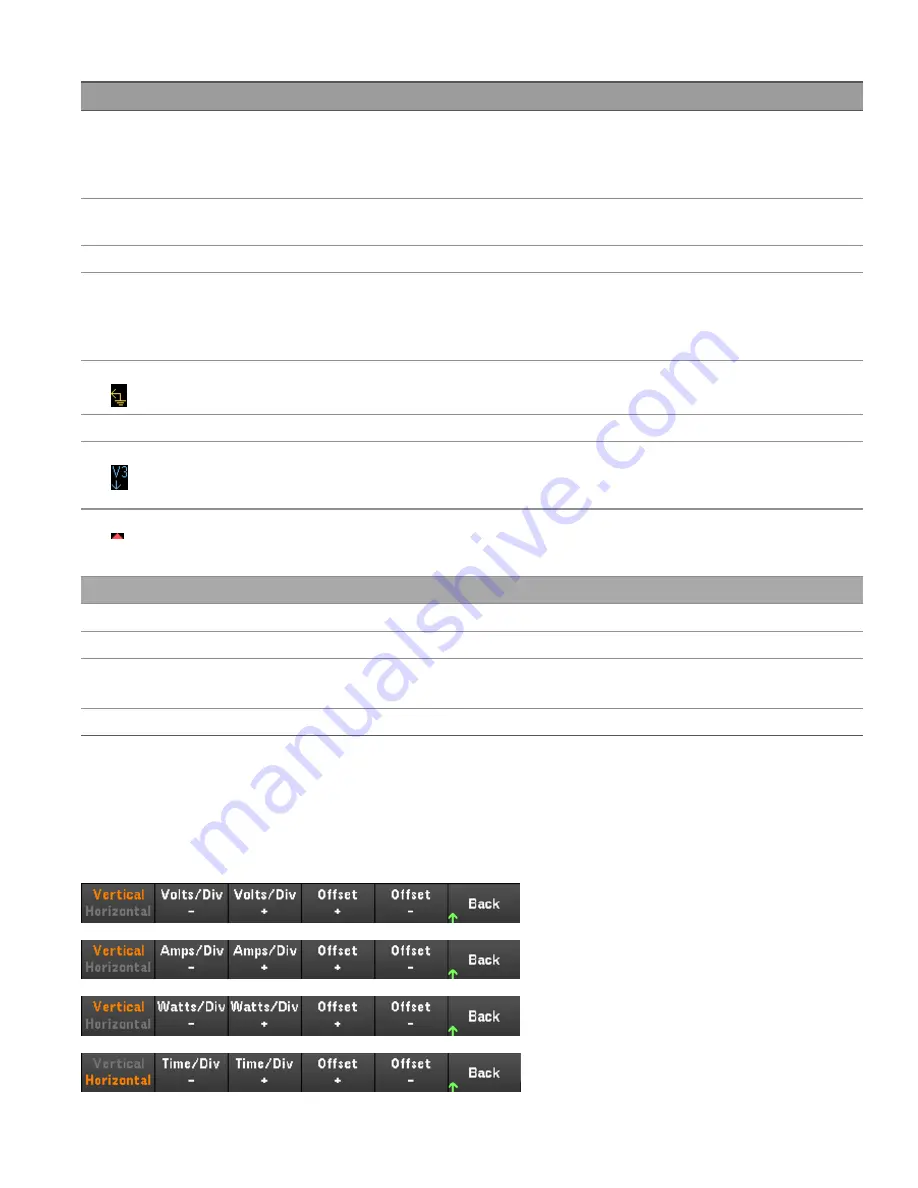
Press
Waveform Settings
to access the waveform settings menu. Press the first softkey to toggle between
Vertical
and
Horizontal
to display the vertical and horizontal settings menu. The Vertical settings menu will change
accordingly to the selected trace.
Keysight E36300 Series User's Guide
85
Содержание E36300 Series
Страница 1: ...User s Guide E36300 Series Programmable DC Power Supplies ...
Страница 12: ...12 Keysight E36300 Series User s Guide ...
Страница 29: ...Front panel Rear panel E36312A and E36313A only Keysight E36300 Series User s Guide 29 ...
Страница 106: ...106 Keysight E36300 Series User s Guide ...

