HD Intelligent Speed Dome Camera
User Manual
68
4) Edit OSD texts: select the checkbox to show the content, double click the OSD textbox and
input characters on the popup interface.
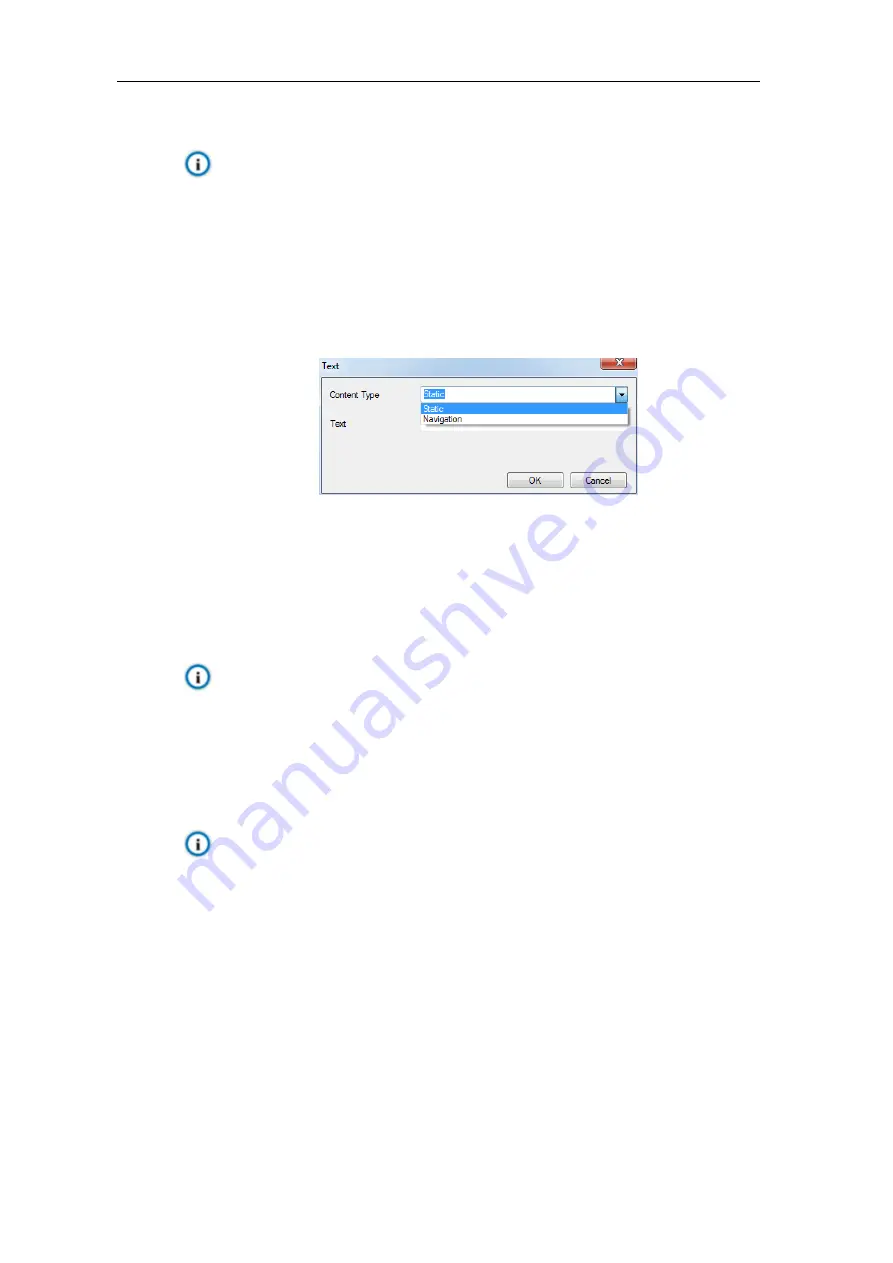
In “Content Type”, select “Static” or “Navigation”;
Attention: The default content type is static and cannot be edited. Go to Settings > System >
System Maintenance > Advanced, and select “Enable” to enable dynamic plug-in to
display option of “Magnification”.
When selecting
“Static”, enter the characters in the textbox below and click “OK” to show it
on the image.
When selecting
“Navigation”, click “OK” and the image will display the real-time location of
the camera.
Picture 6-16 Text setting
5) Edit OSD positions: select the OSD in the window with mouse and drag to change its position.
The dark blue box and the light blue box can move freely in the yellow box and they can even
overlap with each other. The time, label and alarm OSDs in the dark blue box move with the
box; while the custom OSDs and PTZ OSD in the light blue box move freely in the light blue
box and the light blue box can be downsized within the yellow box up to actual request;
Note: The OSD box size changes with the font size, and the sizes of dark blue and light blue
boxes change with the sizes of OSD boxes.
6)
Load font: Click “
Load
” to configure the OSD font conveniently. Options include “Default Font”,
"Large Font", "Medium Font" and "Small Font";
7) Click "
Save
" to validate setting.
Note:
A number, an English letter or a punctuation mark occupies one character.
You can load “Default Font”, "Large Font", "Medium Font" or "Small Font". Then edit
content and position according to the above steps.
6.3 Video
Go to
Settings > Camera > Video
and configure Encoding Format, ROI, Privacy Mask and Video
Info Overlay.


