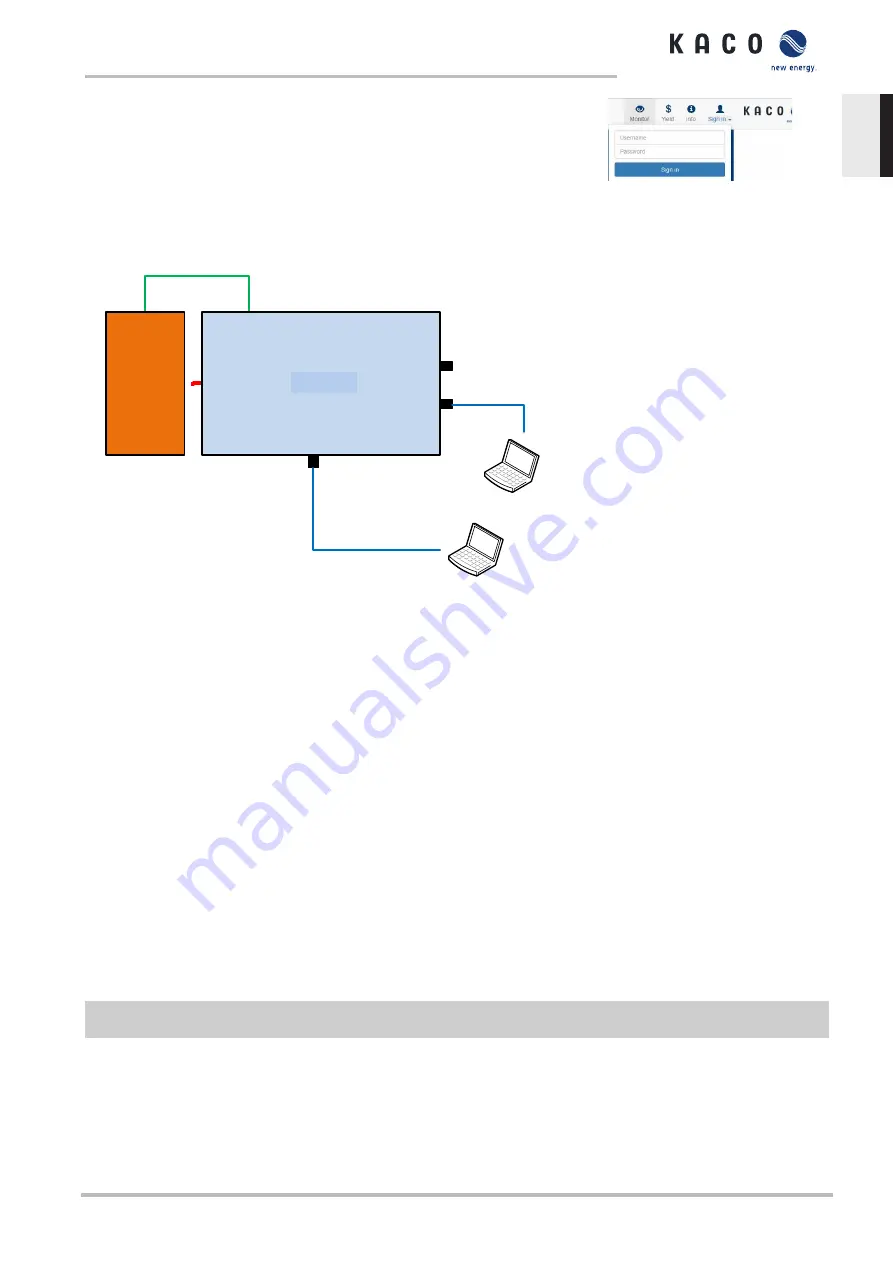
1. At the Login/register icon, log in as:
2. User name: user
3. Password: kaco-user
Fig. 38:
Login screen
8.3.2
Start-up via cable connection
MODBUS RTU
RS485
DC
Argus
SC
BP125
Et
h
er
n
et
P
o
rt
1
(D
H
C
P
)
Ethernet
Notebook
Ethernet
Notebook
Ethernet Port 0
(Static IP)
Inverter
Notebook
Notebook
Ethernet
Ethernet
Fig. 39:
Start-up via Ethernet
Application
The planned network infrastructure or AC-coupling is not yet in place or has not been completed.
A DC supply to the KACO device is sufficient for start-up.
Required components
– Notebook with Ethernet interface
– Ethernet cable (uncrossed patch cable)
Establishing a connection to the KACO device
1. The device must be opened in order to connect the Ethernet cable! For safety reasons, KACO therefore recommends
establishing a connection via WiFi.
2. The device's communication circuit board has 3 Ethernet ports that can be used:
1. The 2 neighboring shielded Ethernet ports are marked LAN1 and LAN2. These ports have an internal switch and, in
their factory default state, they expect to receive an IP address from a DHCP server. As such, these can only be used if
the connected PC makes a DHCP service available.
2. The port marked CON700 that can be used to speak to the device using the static IP address 169.254.1.1. This option
is preferable if you have decided to go with a wired solution.
F
NOTE: Please do not under any circumstances connect the Ethernet cable to the unshielded RJ45 slot
marked J200 as this typically causes damage to the printed circuit board!
1. Launch the browser on the terminal device and enter the IP address of the device:
1. http://<Geräte-IP-Adresse> (if ports LAN1 or LAN2 have been used)
2. http://169.254.1.1 (if the port marked CON700 has been used)
ð
The device configuration page is displayed.
Manual
Commissioning | 8
KACO blueplanet 100 TL3
Page 35
EN


