7.
Use the
SRS Database Owner Password
option to enter the SRS database password.
The password requires a minimum of eight characters and is case-sensitive. Reenter
it in the second text box.
8.
Click
Submit
to save the options and return to the NSM Configuration Main Menu.
Installing NSM Software
After you submit all your configuration options, click
Install
to install the NSM software
on your NSMXpress appliance. Installation takes a few minutes. A status indicator shows
the progress of the installation. Wait until installation is finished before continuing to use
the Web interface.
Managing NSM Administration
Expand
NSM Administration
in the left navigation tree to access the options described
in this section. These options are available only after installing NSM.
The following sections explain how to use each of the NSM Administration options:
•
Changing the Superuser Password on page 17
•
Downloading NSM MIBS (Regional Server Only) on page 18
•
Exporting Audit Logs on page 18
•
Exporting Device Logs (Regional Server Only) on page 18
•
Generating Reports (Regional Server Only) on page 19
•
Modifying NSM Configuration Files on page 19
•
Backing Up the NSM Database on page 20
•
Changing the NSM Management IP on page 21
•
Scheduling Security Updates on page 21
Changing the Superuser Password
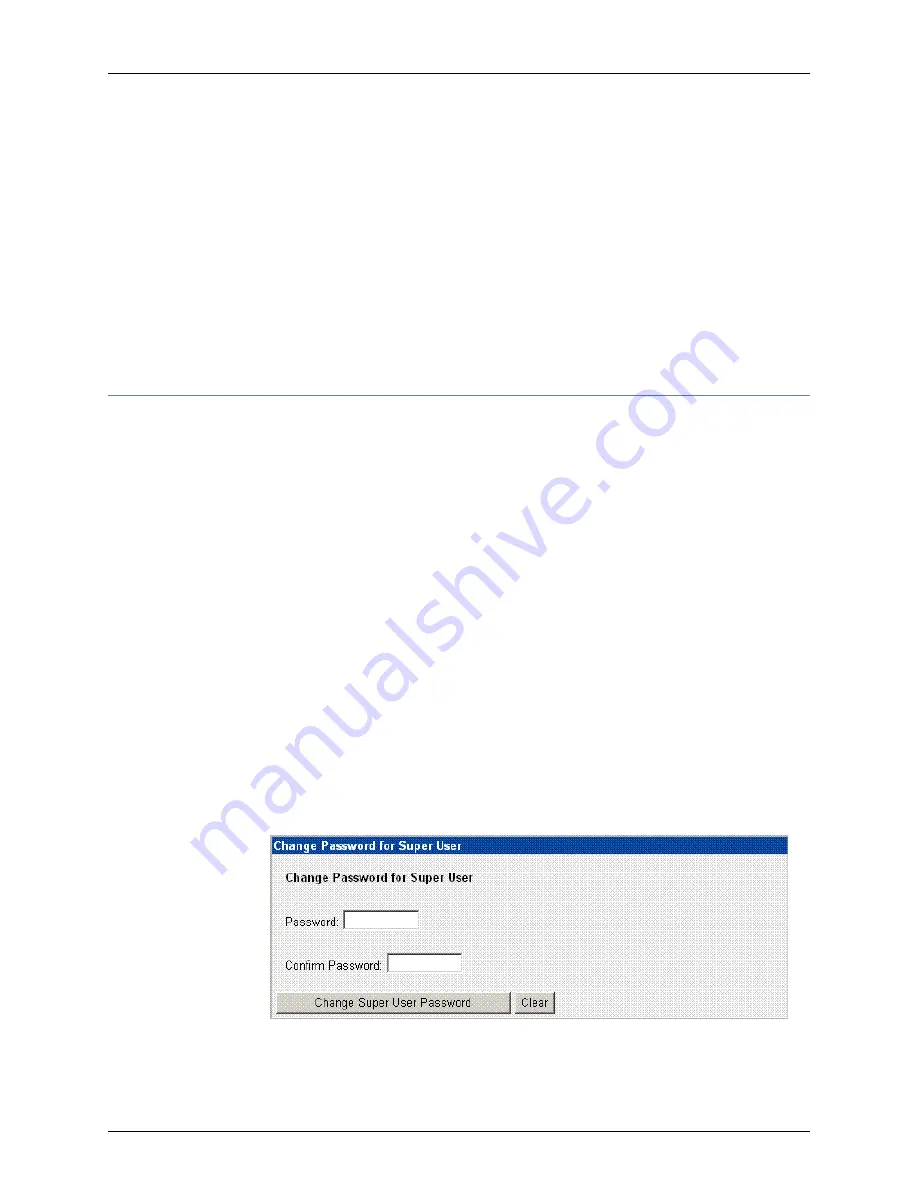
To change the superuser password, select
NSM Administration > NSM Super User
Password
. See Figure 13 on page 17.
Figure 13: Change Superuser Password
17
Copyright © 2010, Juniper Networks, Inc.
Managing NSM Administration


