


4. Operation 32
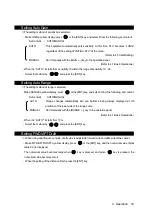
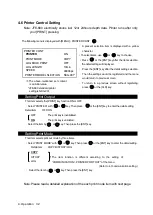
4.6 Printer Control Setting
Note: JFE-680 electrically stores last 12or 24hours depth data. Printer runs after only
your [PRINT] pressing.
The following menu is displayed with [MENU]
・
PRINTER CONT .
Setting Print Output
This item selects the [PRINT] key function ON or OFF.
・
Select “PRINTER” with or key. Then press or the [ENT] key to enter the detail setting.
Detail item
:
OFF/ON
OFF
:
The print key is invalidated.
ON
:
The print key is validated.
・
Select the item by or key. Then press the [ENT] key.
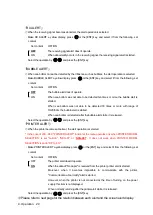
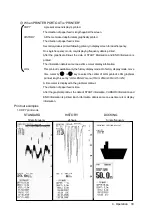
Setting Print Mode
This item selects print out mode by three items.
・
Select “PRINT MODE” with or key. Then press or the [ENT] key to enter the detail setting.
Detail item
:
COPY/HISTORY/LOG
COPY
:
HITORY
:
LOG
:
(Refer to 4.7 communication setting.)
・
Select the item by or key. Then press the [ENT] key.
Note: Please read a detailed explanation of the each print mode item with next page.
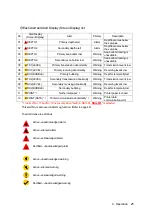
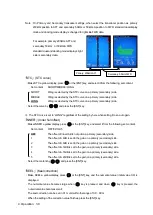
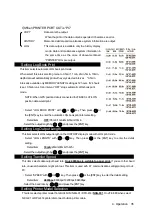
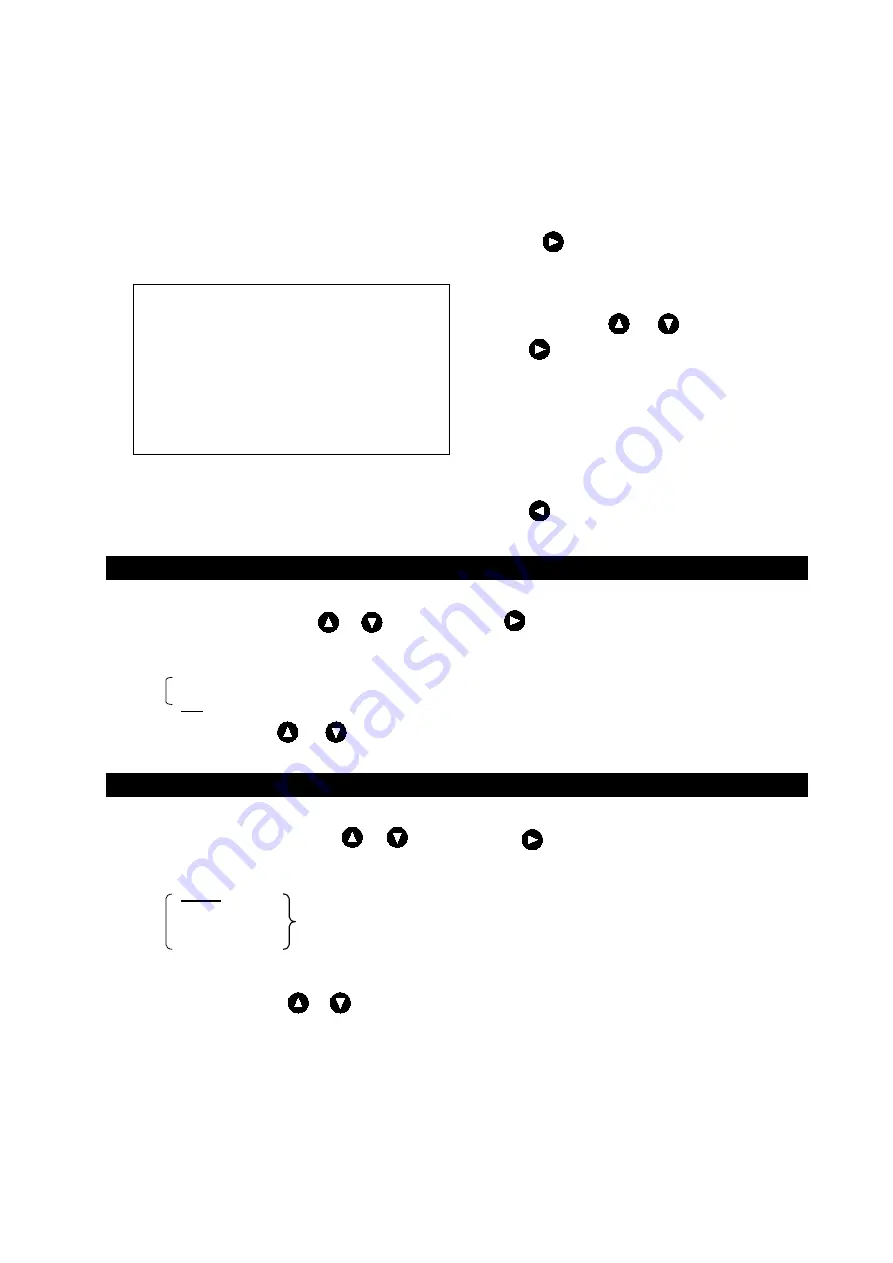
PRINTER CONT
PRINTER
ON
PRINT MODE
COPY
LOG BOOK PRINT
OFF
LOG LENGTH
10min
SPEED
4800bps
PRINTER MODEL SLECTION NKG-901*
・
A present selection item is displayed with a yellow
character.
・
To select items, use or key to choose.
・
Press or the [ENT] key after the item selection,
the detail setting will displayed.
・
Press the [ENT] key after the detail setting selection.
Then the settings would be registered and the menu
would return to previous screen.
・
To return to a previous screen without registering,
press or the [CLR] key.
※
The above-mentioned set content
is an initial value.
The item function is different according to the setting of
“COMMUNICATION > PRINTER PORT OUT" of the menu.
*JFE-680 standard printer
setting is NKG-901.
Содержание JFE-680 -
Страница 2: ......
Страница 9: ...External View External View vii NO ALERT ...
Страница 18: ...1 5 System Configuration 1 Introduction 6 alert alert alert alert alert alert alert ...
Страница 46: ...4 Operation 34 2 HISTORY print mode 3 LOG print mode 24hours history 30minutes log 1hour time mark ...
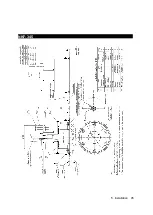
Страница 54: ...5 1 Installing the Recorder Unit Flush Mount Equipment Figure 3 1 5 Installation 42 Unit mm ...
Страница 55: ...Wall Mount Equipment Figure 3 2 5 Installation 43 Unit mm ...
Страница 57: ...NKF 345 5 Installation 45 ...
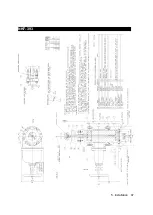
Страница 58: ...NKF 392C 5 Installation 46 ...
Страница 59: ...NKF 393 5 Installation 47 ...
Страница 60: ...NKF 394 5 Installation 48 ...
Страница 61: ...NKF 396 5 Installation 49 ...
Страница 79: ...Appendix Noise Bubble Noise Bubble Interruption Interference Noise from other ship Plankton layer Appendix 67 ...
Страница 84: ......
Страница 85: ......