


DP320 User's Manual
- 28 -
printed pages. When the printer receives data, it automatically reverses the
paper to the top-of-form position and starts printing, so you can use whole of the
next sheet. When you use the tractor to print on labels, set this feature to Off.
PRINT DIR
You can choose unidirectional, bidirectional or auto as the print direction for
graphics. The printer usually prints text bidirectionally for fast printing and prints
graphics unidirectionally for precise vertical alignment of print dots. To print
graphics faster, select bidirectional printing.If auto is set, the command
controlling the print direction is priority. Otherwise either unidirectional or
bidirectional is set, the command is of no effect.
AUTO LF
When the auto line feed feature is on, each carriage return code is
accompanied by a line feed (LF) code. If your printed text is unexpectedly
double-spaced, set this feature to text lines print on top of each other, set it to
On.
INTERFACE
When this feature is set to Auto, the printer determines which interface is
receiving data and switches to that interface until the end of the print job (when
no data is received from the selected interface for the amount of time specified).
Set this option to Parallel only if you want the printer to ignore data from the
serial interface or to Serial only if you want the printer to ignore data from the
parallel interface.
BAUD RATE
Selects a data transfer rate for the serial interface.
PARITY BIT
Selects the parity for the serial interface.
DATA LENGTH
Selects the number of data bits for the serial interface.
COMPRESS PRINT Select compressed print mode (100% is normal print mode).
LANGUAGE
Select language English or Chinese.
3.2.2 Config Setup
Input the setup menu system
1. The printer is in online mode
2. Holding the “
LOAD/EJECT”
key for 3 seconds,
3. Use the
LOAD/EJECT
key to point the print head to the desired setting.
Use the
L F / F F
key to confirm the current setting
Use the
ONLINE
key to go back the previous menu (Press and hold the
ONLINE
key to go
back the main menu).
Press and hold the
TEAR
key to save settings and exit.
4.
Turn off the printer, and turn on angain.
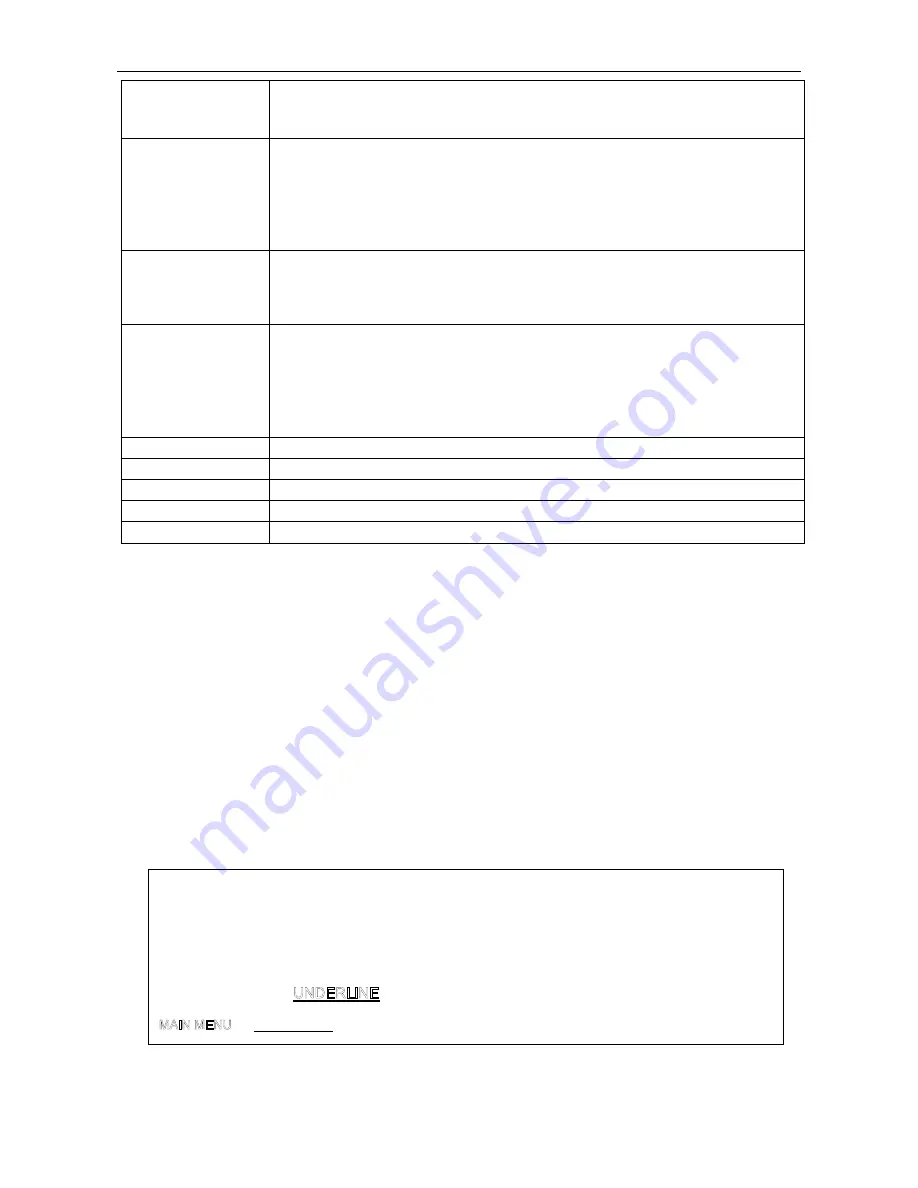
The following printout in Figure 3 shows the selections from the Setup Menu System and is
followed by a description of how to use it in Table 2 (Options of the Setup Menu System).
Figure 3 Setup menu system
SETUP MENU SYSTEM
Use the
LOAD/EJECT
key to point the print head to the desired setting.
Use the
L F / F F
key to confirm the current setting
Use the
ONLINE
key to go back the previous menu (Press and hold the
ONLINE
key to go
back the main menu).
Press and hold the
TEAR
key to save settings and exit.
Current settings are
New settings will be
FILLED
.
CHARACTER PAGE LAYOUT PRINT SETUP SERIAL I/F HEAD PIN
Содержание DP320
Страница 1: ...User s Manual DP320 Dot Matrix Printer...
Страница 45: ......


