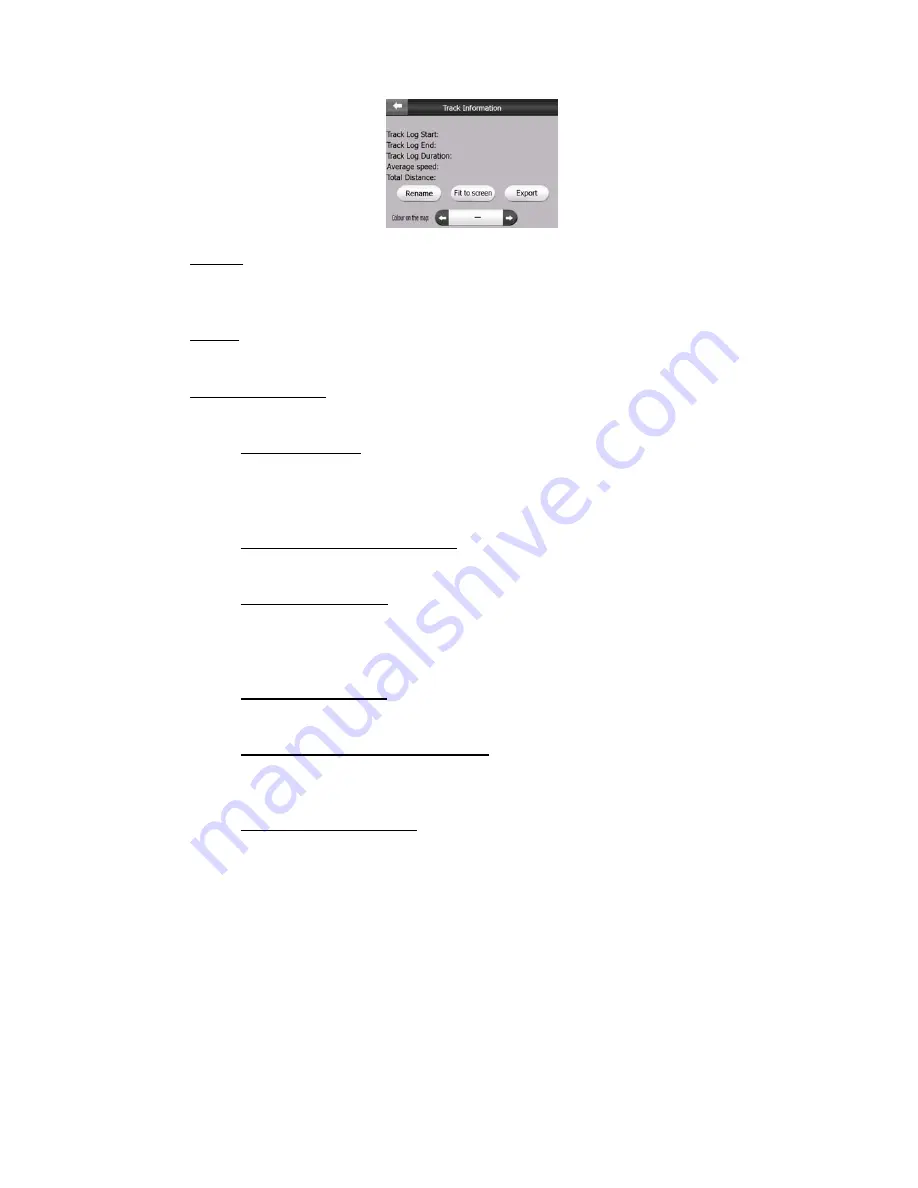
background image


• 

Replay: push this button to see a simulation of the saved track log on the map. 
A green icon (4.5.12) will appear on the map screens to let you know it is not a 
fly over but a simulation based on a real saved log. 

• 

Delete: you can delete a track log if it is not needed any more. Touch & Go 
Navigator will ask you to confirm this action. 

• 

Track log options: this button in the upper right corner leads to a settings 
screen where you can set up the track logging parameters: 

Update interval is how often track points will be saved. Position 
information is normally received once a second from the GPS. If you do 
not need such a detailed log, you can increase this number to save 
track log space. 

Current autosave track size: this figure shows how much memory is 
used by the automatically saved track logs. 

Enable auto-saving: when auto-saving is enabled, you do not need to 
turn track log saving on and off manually. Touch & Go Navigator will 
automatically start recording the track log as soon as GPS position is 
available. 

Limit track DB size: here you can set whether or not to maximise the 
size of the database where the automatically saved track logs are kept. 

Maximum track database size: here you can set the maximum 
database size if the track database size limit is enabled using the 
previous switch. 

Create NMEA/SIRF log: independently of the normal track log, you can 
instruct Touch & Go Navigator to record the native GPS data received 
from the GPS device. Touch & Go Navigator is capable of working with 
GPS devices using either the NMEA or the SiRF protocol, so the saved 
data will be in one of these formats. These logs are saved as separate 
text files on the SD card, and they cannot be shown or replayed in 
Touch & Go Navigator. They are for post-processing needs, should you 
have any. Be careful when saving native GPS data, as it can soon eat 
up available memory. 


49

Содержание NVX227

Страница 1: ...User Manual Touch Go Navigator 2007 SD GPS navigation software for Audiovox NVX227 English Owners manual 128 7910 VER 00...

Страница 2: ...any time without prior notification This manual or any parts of it may not be reproduced transmitted in any form either electronically or mechanically including photocopying without the express writte...

Страница 3: ...you read through this manual to clearly understand the exact function of each button and icon NOTICE TO DRIVERS IN CALIFORNIA AND MINNESOTA State law prohibits drivers in California and Minnesota fro...

Страница 4: ...itches 16 3 2 6 Switches in the Quick menu 16 3 2 7 Virtual keyboards 16 3 2 7 1 ABC type keyboards 17 3 2 7 2 QWERTY type keyboards 17 3 2 7 3 The numeric keyboard 18 4 Discovering the program throug...

Страница 5: ...2 35 4 5 11 Sound muting No 13 35 4 5 12 Track Log recording playback indicator No 14 36 4 5 13 Cursor menu No 15 36 4 5 14 Current street No 16 38 4 5 15 Travel and Route data No 17 38 4 5 16 Distanc...

Страница 6: ...t Map mode map details 60 5 2 3 Alternative Road Names 60 5 2 4 Show Street Labels 60 5 2 5 Textured Polygons 61 5 3 Sound settings 61 5 3 1 Master sound volume switch 61 5 3 2 Voice guidance volume s...

Страница 7: ...2 5 6 4 3 Cross border planning 72 5 6 4 4 Keep position on road Lock on Road 72 5 6 5 User data management 72 5 6 5 1 Backup Data 73 5 6 5 2 Restore Data 73 5 6 5 3 Remove Pins 73 5 6 5 4 Clear Data...

Страница 8: ...ed to change route parameters Touch Go Navigator has a built in optional Safety Mode that will prevent you from using the screen functions if your car is in motion Unless a passenger will be the only...

Страница 9: ......

Страница 10: ...nsert the memory card and go You do not need a stylus to use Touch Go Navigator All screen buttons and controls are designed so that you can operate them with your fingertips When using Touch Go Navig...

Страница 11: ......

Страница 12: ...possible pushbuttons and lists are provided to make accessing functions or changing settings as easy as possible 3 1 Hardware buttons Hardware buttons are mostly used on map screens to zoom tilt and...

Страница 13: ...Zoom function will do the necessary zooming for you when navigating zooms out if the next turn is at a distance to let you see far ahead and zooms in when approaching a turn to give you a better view...

Страница 14: ...nformation screen Alternatively tap the bottom section of the Cockpit screen 4 5 14 or the Info button 4 7 3 6 in the Route menu to display this screen 3 1 6 Main menu If pressed while having the Cock...

Страница 15: ...le the rightmost position represents the maximum value This control can be operated in two ways Either drag the handle to move the slider to its new position or tap the slider where you want the handl...

Страница 16: ...ed states 3 2 7 Virtual keyboards Touch Go Navigator is designed in a way that you only need to enter letters or numbers when it is inevitable In these cases a full screen keyboard pops up that can ea...

Страница 17: ...uter keyboards you may consider trying one of the QWERTY type keypads 3 2 7 2 QWERTY type keyboards QWERTY type keyboards have both letters and numbers on them Their layout is the same as of the stand...

Страница 18: ...ains numbers on huge buttons The special keys you find on the other keyboards except Space are available here as well Although QWERTY type keyboards also contain number keys when entering a house numb...

Страница 19: ......

Страница 20: ...om each other to reduce the number of actions needed to initiate a function or change a setting 4 1 Main menu The Main menu is the first screen of Touch Go Navigator Most parts of the program are dire...

Страница 21: ...ayed The virtual sky on the left represents the currently visible part of the sky above you with your position as the centre The satellites are shown at their current positions The GPS receives data f...

Страница 22: ...ished yet so you need to set it up by using the Detect or Config buttons a slowly blinking yellow lamp means that there is no connection to the GPS receiver but Touch Go Navigator is trying to connect...

Страница 23: ...ime you have and controls to manually correct the time with or without a valid GPS time It also gives you the chance to correct the time after synchronization if your PND does not support time zones o...

Страница 24: ...er mode but the next time you enter this screen the preset look will reappear 4 4 2 Zoom levels Touch Go Navigator uses high quality vector maps that let you see the map at various zoom levels always...

Страница 25: ...ed upon the current date and GPS position by which Touch Go Navigator calculates the exact sunrise and sunset times on the particular day at the particular location Using that information Touch Go Nav...

Страница 26: ...witching is on even when using Smart Zoom At first you may find it odd but later you will discover how it adjusts the displayed information to the current view of the map It is important as the driver...

Страница 27: ...ap point also known as the Cursor If you tap the map somewhere or select a specific item in Find it will become the selected point on the map marked with a small red dot and permanently radiating red...

Страница 28: ...arge enough to recognize the symbol and semi transparent so as not to cover the streets and junctions behind them When the map is zoomed out the icons are not shown As you zoom in small dots appear at...

Страница 29: ...the night In both cases it is the most conspicuous part of the map even when in the background of a 3D map view The line of the route is displayed on the driving side of the road for two way and on t...

Страница 30: ...t Touch Go Navigator so it always opens the Map screen like that see 5 6 1 1 The Cockpit screen is for driving purposes Besides showing the map it contains some additional travel information if you ar...

Страница 31: ...l and Route data Opens Route Information screen 18 Cockpit only Distance to next turn n a 19 Cockpit only Next street n a 20 Cockpit only Approaching next turn n a On Map screen only when a route is a...

Страница 32: ...already described in 3 1 1 this function modifies the vertical viewing angle of the map in 3D mode You can change the angle in a wide range starting from a top down view 2D view is seamlessly integrat...

Страница 33: ...3 3 This can be turned on for re enabling both Lock to Position and Smart Zoom 4 5 5 Cursor No 7 As described in 4 4 7 if you tap the map somewhere or select one specific item in Find it will become...

Страница 34: ...s similar to the North up mode with one difference the zoom level in this mode has a fixed default to give you a better look of where you are on the map You can change the zoom level at any time this...

Страница 35: ...d two arcs represent a 3D GPS position Touch Go Navigator is ready to navigate 4 5 10 Battery status No 12 The status of the PND battery is also shown by Touch Go Navigator You can estimate the availa...

Страница 36: ...fact tapping the screen anywhere stops the simulation 4 5 13 Cursor menu No 15 The Cursor is the selected point on the map marked by a red dot and radiating red circles around it or the current GPS p...

Страница 37: ...the destination of the route This is the way to build a multi point route in reverse order when you wish to insert a stopover go to A but first get some fuel at B or want to influence the direction o...

Страница 38: ...s normally shown together with the primary name in this field You can hide these alternative names in Map settings 5 2 3 4 5 15 Travel and Route data No 17 The contents of these three fields are diffe...

Страница 39: ...vigating a route 4 5 18 Approaching next turn No 20 This bar is only visible when approaching the next route event It appears on the screen to visualise the distance when you get closer than 300 meter...

Страница 40: ...k to the left When Touch Go Navigator needs to recalculate the route the arrow will not jump back to the left as when reaching a via point but it may drift a bit as the length of the new route may be...

Страница 41: ...ffic jams and other possible delays If via points exist tap and tap again any of the fields to see the estimated arrival at the first second etc via point 4 6 1 6 Destination Via point This field show...

Страница 42: ...route that does not match all your preferences given at the Route Parameters settings The recommended route contains areas only accessible to pedestrians The recommended route contains unpaved roads...

Страница 43: ...enu is Find It lets you select a destination without first having to locate it on the map The Find menu will be described in detail later in 6 3 4 7 2 Quick tab This provides quick access to some conf...

Страница 44: ...you can set all the parameters of POIs that you have created and the visibility of the built in POIs that come with the map Manage built in POI visibility The maps in Touch Go Navigator come with a hu...

Страница 45: ...howing and hiding a subgroup is done the same way as for the main groups Manage My POI By highlighting then tapping again the My POI switch on the Manage POI main screen you can manage the POI groups...

Страница 46: ...level of a previously created My POI group Previous Next if your groups fill several pages these buttons will let you browse through them The green field left of these buttons shows the current page...

Страница 47: ...e map screens also opens a pop up box with the selected street name house number and the name of the nearby POIs if any Tip Tapping one of the blue Information icons behind the POI names shows the det...

Страница 48: ...ice to make it visible In this screen you have the following options Record this will initiate track log recording A new line appears in the list and GPS position data will be saved until you stop the...

Страница 49: ...ng is enabled you do not need to turn track log saving on and off manually Touch Go Navigator will automatically start recording the track log as soon as GPS position is available o Limit track DB siz...

Страница 50: ...consider using it when you travel on a road parallel to that recommended by the route In this case Touch Go Navigator may not recalculate the route for some time but you can force recalculation here T...

Страница 51: ...s option returns directly to the map screen without recalculating the active route If you choose this option when manual route recalculation is configured in 5 1 5 2 navigation stops and will be activ...

Страница 52: ...tructions by tapping the Mode button once you will see the list of events that need your attention i e the list of manoeuvres during the route These are the events shown in the Turn preview field and...

Страница 53: ...Over Tap Fly Over to quickly run through the route Touch Go Navigator will fly the route in Cockpit mode at high speed to give you a rough overview of the route events Touch Go Navigator is tweaked to...

Страница 54: ...st one in the list the previous via point will be promoted to be the final destination Optimise you can optimise the order in which you will drive through the via points if there is no specific order...

Страница 55: ......

Страница 56: ...re accessible from other parts of the program 5 1 General settings These are the basic settings of Touch Go Navigator 5 1 1 Safety Mode Safety mode will disable the touch screen above 10 km h 6 mph to...

Страница 57: ...the automatic night mode Touch Go Navigator will change between the daylight and night color schemes a few minutes before sunrise and a few minutes after sunset based on the time and location informa...

Страница 58: ...he previous one Move the slider to its rightmost position to turn off the alternative speed warning Then the settings of the upper slider will determine the warning for all roads 5 1 4 3 Alternative s...

Страница 59: ...Automatic recalculation was selected Drop Next Via Point Delete Route Touch Go Navigator will remove the next via point from the list and recalculate the route without it If you have only one target l...

Страница 60: ...h Go Navigator hides and shows certain map features when zooming in or out Setting a higher detail level will result in objects appearing sooner when zooming in Although the map visualisation of Touch...

Страница 61: ...level When you exit the program the device settings return The left part of this control works as a mute button Tap to mute all Touch Go Navigator sounds This works in tandem with the Mute button 4 5...

Страница 62: ...each its highest volume determined by the Master volume slider in Sound settings at the given maximum speed Tap the Dynamic Volume button to turn on the feature This will also open the screen where yo...

Страница 63: ...allest total distance of all possible routes between the given points This is usually preferred by pedestrians cyclists or slow vehicles 5 4 2 2 Fastest Choosing Fastest will result in the quickest po...

Страница 64: ...ng icon will be shown on the Route Information screen 4 6 and the road not matching your preference will be displayed in red yellow at night on the map 5 4 4 1 Unpaved Roads Unpaved roads are excluded...

Страница 65: ...y default Use this switch if your vehicle is authorised to enter 5 4 4 6 Toll Roads Toll roads are included in your routes by default If you wish to travel more to avoid paying a toll disabling them w...

Страница 66: ...guidance languages If you select a measurement unit that is not supported by the chosen voice guidance language you will see a red warning message under the selector 5 5 4 Set Date Time Format You can...

Страница 67: ...t of the map It is usually done in a 3D view with the current direction towards the top of the map By default Touch Go Navigator uses the same look of the map in both Map and Cockpit modes Use this sw...

Страница 68: ...no active route but for Navigation mode you can change their content here The available values are listed in 4 5 15 5 6 2 Backlight settings Here you can set how the PND backlight behaves when using T...

Страница 69: ...st driving Smart Zoom will zoom in if you drive slowly and zoom out to the limit set here when you drive at high speed These automatic features can be personalised on this screen 5 6 3 1 Smart Zoom se...

Страница 70: ...become deactivated and the view freezes Tapping the Lock button makes Touch Go Navigator follow your position again Lock to Position and also re enables Smart Zoom You can make Touch Go Navigator push...

Страница 71: ...screen described in 5 4 On this screen you have some more ways to influence route planning and route recalculation 5 6 4 1 Off route sensitivity and Recalculation delay Depending on the quality of yo...

Страница 72: ...order planning By default Touch Go Navigator plans routes using the border crossing points However if you live near the border you can disable border crossing with this switch to remain within one cou...

Страница 73: ...ouch Go Navigator will then restart and all your previous POIs track logs settings city and find history lists will also appear on the new PND 5 6 5 2 Restore Data If you have accidentally deleted thi...

Страница 74: ...Advanced Settings There are a multitude of Advanced settings in Touch Go Navigator Some changes may cause Touch Go Navigator to behave in an unsatisfying manner Tap this button to restore the default...

Страница 75: ......

Страница 76: ...and start navigation 6 1 Find GO Main menu As just mentioned the fastest way to find your destination and start navigating is to tap Find GO in the Main Menu 4 1 This will put you on the Find screen a...

Страница 77: ...e in the Find Address module If you know at least a part of the address this is the quickest way to find the location The following illustration shows the structure of the address search module There...

Страница 78: ...ntains settlements you will not visit in the near future you can choose to empty the list by the Clear button in the bottom left corner Selecting a new settlement to search in If you are looking for a...

Страница 79: ...es exist for the entered pattern s Touch Go stops searching and displays 300 at the right end of the input line Enter more letters to narrow the list Note When the name of the settlement contains a ch...

Страница 80: ...to select a settlement by entering a part of its name or postcode then selecting from the list of available matching items as described before Note In Australia you can skip this part by tapping Done...

Страница 81: ...d to first enter the street name you are looking for Tip If you are looking for an intersection choose the street that has a rare or unusual name first This way you need to enter fewer letters to get...

Страница 82: ...cal dealer for details Tip If you do not know the house number just press Done and the midpoint of the street will be used as the selected location 6 3 1 4 How to select an intersection instead of a h...

Страница 83: ...most GPS devices When you enter this page the coordinates of the current GPS position or the selected map point Cursor if Lock to Position is inactive are shown at the top of the display The coordinat...

Страница 84: ...can select your destination from the thousands of POIs included with Touch Go Navigator or from the ones you have previously created This screen helps you find the one you are looking for POI items ar...

Страница 85: ...ubgroups highlight one of the POI groups by tapping or using the direction buttons then press Enter or tap it again to see the list of subgroups Using the same action you can move deeper into subgroup...

Страница 86: ...st of the nearest POIs Use the Next button in the bottom right corner to turn the page if you cannot see the desired place on the first page of the list 6 3 5 Find one of the Favorites Home Work If yo...

Отзывы: