31
5.
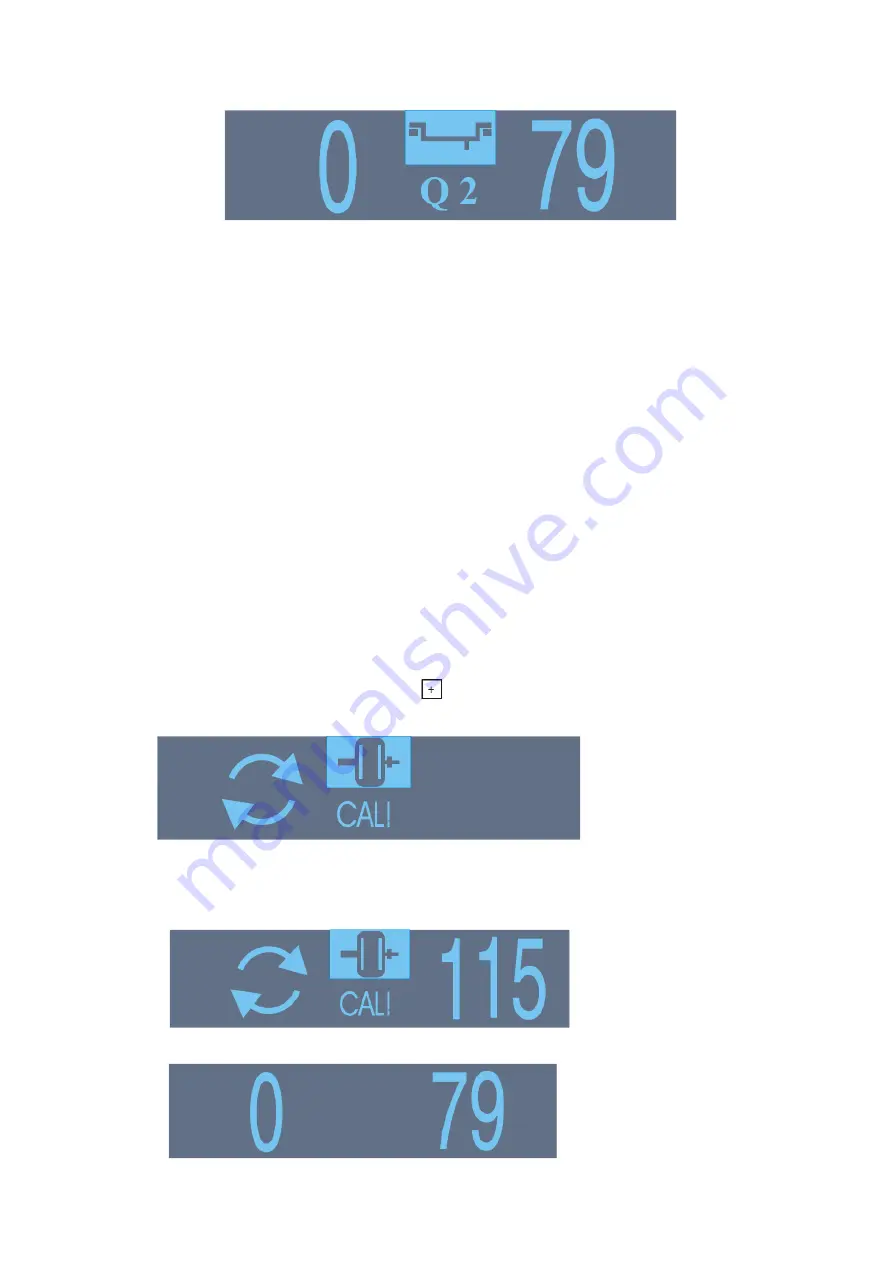
Calibration cycle ends when the indicator displays numbers 0 and 79 or 0 and 80.
CAUTION:
Any other values signify incorrect calibration. In such a case contact the service centre. If there is
no calibration device, the calibration should be performed with the use of a balanced wheel and
weight of 80 g.
CALIBRATION WITH THE USE OF A WHEEL
Calibration of the wheel balancer should be carried out in the following manner:
1. For testing, select a wheel with known parameters and possibly minor imbalance and mount it
on the adapter.
Enter DIAMETER and WIDTH into the memory of the machine, using suitable buttons on the
keyboard.
Parameter DISTANCE should be entered by means of a controller being approached to the edge
of the rim.
Set the cut-off threshold to the lowest value, i.e. 2 g.
It should be noted that parameters WIDTH, DIAMETER, DISTANCE and the balancing
programme must comply with the parameters of the wheel used for calibration.
2. Attach the weight of 80 g to any point on the rim edge.
3. Press button CAL, release it, then press
, hold it until a sound signal is heard and the
following pictogram displayed
4. Spin the shaft so as to reach the rotational speed > 115 rpm. Calibration cycle starts when the
shaft revolutions are brought up to the speed of 115 rpm.
5. Calibration cycle ends when the indicator displays numbers 0
–79 or 0–80.


