22
6X-1050a
3960 CAMERA
INSTALLATION AND OPERATION
4.0 MOUNTING METHODS
Since installation of a 3960 may require that it
be mounted to any of a variety of structures, differ-
ent types of mounting assemblies are required. This
section is a generic description of typical installa-
tions for each of the mounting assemblies that can
be optioned with the 3960. Each mounting site will
likely have its own unique requirements.
A 3960 can be ordered with any one of six
mounting arrangements. Two of these are related to
base plates for the 3960 and the remaining four are
actual mounting arms and brackets for an installa-
tion.
Before preparing to mount a 3960 it is impor-
tant to have either pre-installed the system cable or
to have verified that the cable can be routed to the
location of the mounting assembly. This often
requires pulling cable through conduit and other
tight places. It is also necessary to plan for weather-
proofing any through-wall holes
4.1 PEDESTAL MOUNT INSTALLATION -
SMALL BASE PLATE
This is the simplest configuration. Only the
3960 is supplied. It bolts directly onto the top of a
site-supplied pedestal having the correct hole
pattern or to an adapter plate providing the proper
hole pattern.
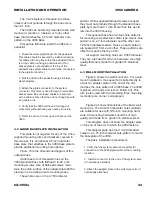
Figure 17 is a dimensional diagram of the hole
pattern on this plate. This base is a 6-inch diameter
0.375-inch plate permanently mounted to the 3960.
It provides four 1/4-20 threaded bolt holes
spaced 90° apart on a 4.75-inch diameter hole
pattern.
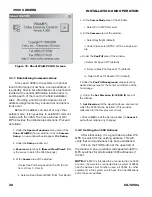
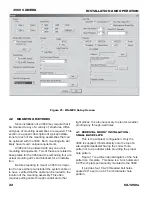
Figure 21. WinMPC Setup Screen


