


Chapter 10: Camera setup
TruVision NVR 11 User Manual
77
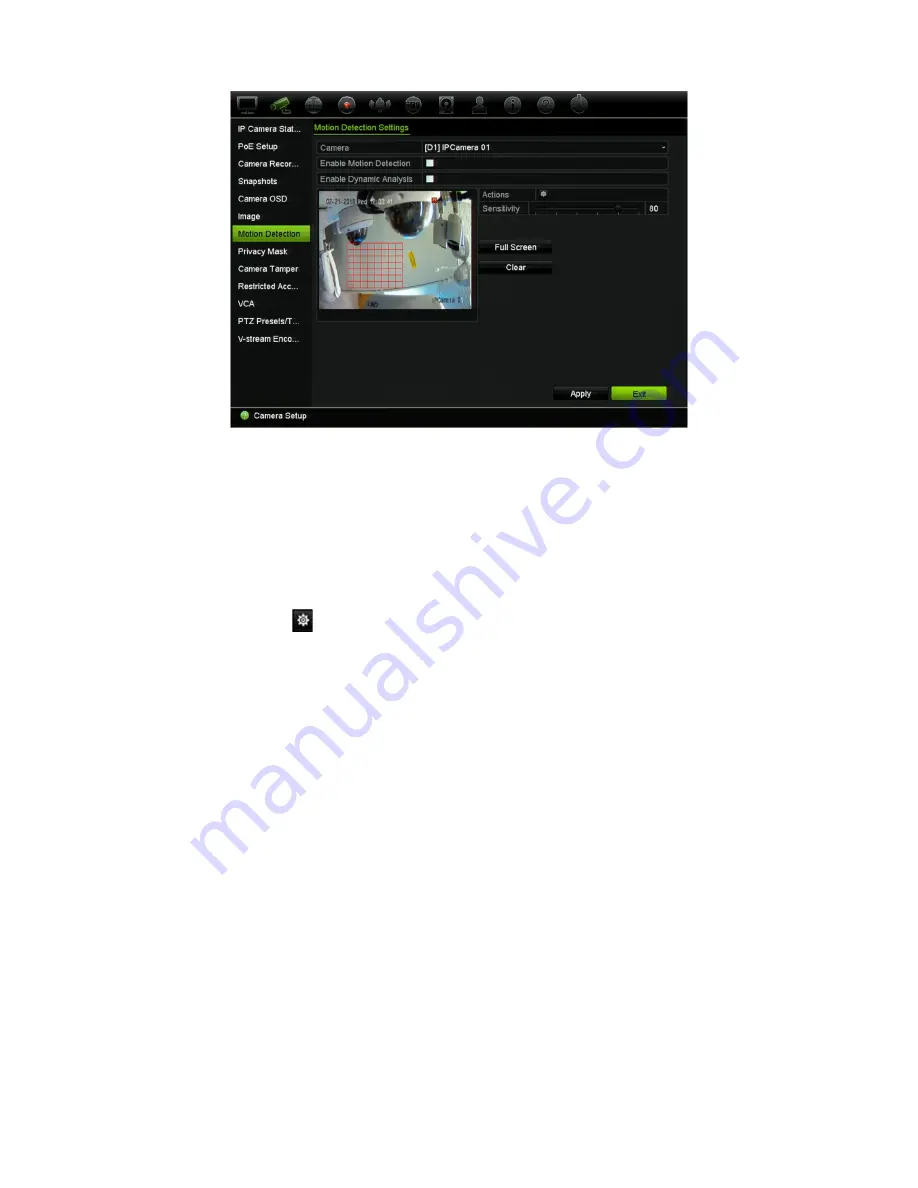
Click
Full Screen
to activate the whole screen or
Clear
to clear the screen.
6. Set the sensitivity level.
Drag the Sensitivity scroll bar to the desired sensitivity level. Default is 80. Maximum
sensitivity is 100.
7. Select the cameras that will start the motion recording schedule once motion is
detected.
Click the
Actions
button. The Actions window appears. Click the
Trigger
Channel
tab and select the cameras that will record when a motion alarm is
triggered. Click
Apply
to save the settings.
8. Select the arming schedules for motion detection.
In the Actions window, click the
Arming Schedule
tab and select the day of the
week and the time periods during the day when motion can be recorded. You can
schedule up to eight time periods in a day. Default is 24 hours. Note that when
motion detection is enabled, motion events will always trigger event recording,
regardless of the arming schedule.
Note:
Time periods defined cannot overlap.
Click
Apply
to save the settings. Click
Copy
to copy the settings to other days of
the week.
9. Link the corresponding action to motion detection.
In the Actions window, click the
Actions
tab to define the method by which you want
the recorder to notify you of the alarm: Full-screen Monitoring, Enable Alarm Audio,
Notify Alarm Host, Send Email, Upload Snapshots to FTP, and Trigger Alarm
Output. See “Event notification” on page 107 for the list of alarm notification types
available. More than one option can be selected.
Click
Apply
to save settings
.
Содержание TruVision NVR 11
Страница 1: ...TruVision NVR 11 User Manual P N 1073397 EN REV B ISS 17APR18...
Страница 4: ......


