


Chapter 12: Recording
TruVision NVR 11 User Manual
101
Motion detection will also not be recorded if it is not enabled (see “Motion detection” on
page 76).
Define a schedule from the recording schedule window
To set up a daily recording schedule:
1. From the menu toolbar, click
Recording
>
Recording Schedule
.
2. Select a camera.
3. Select the
Enable Recording
checkbox to indicate that video from this camera is to
be recorded.
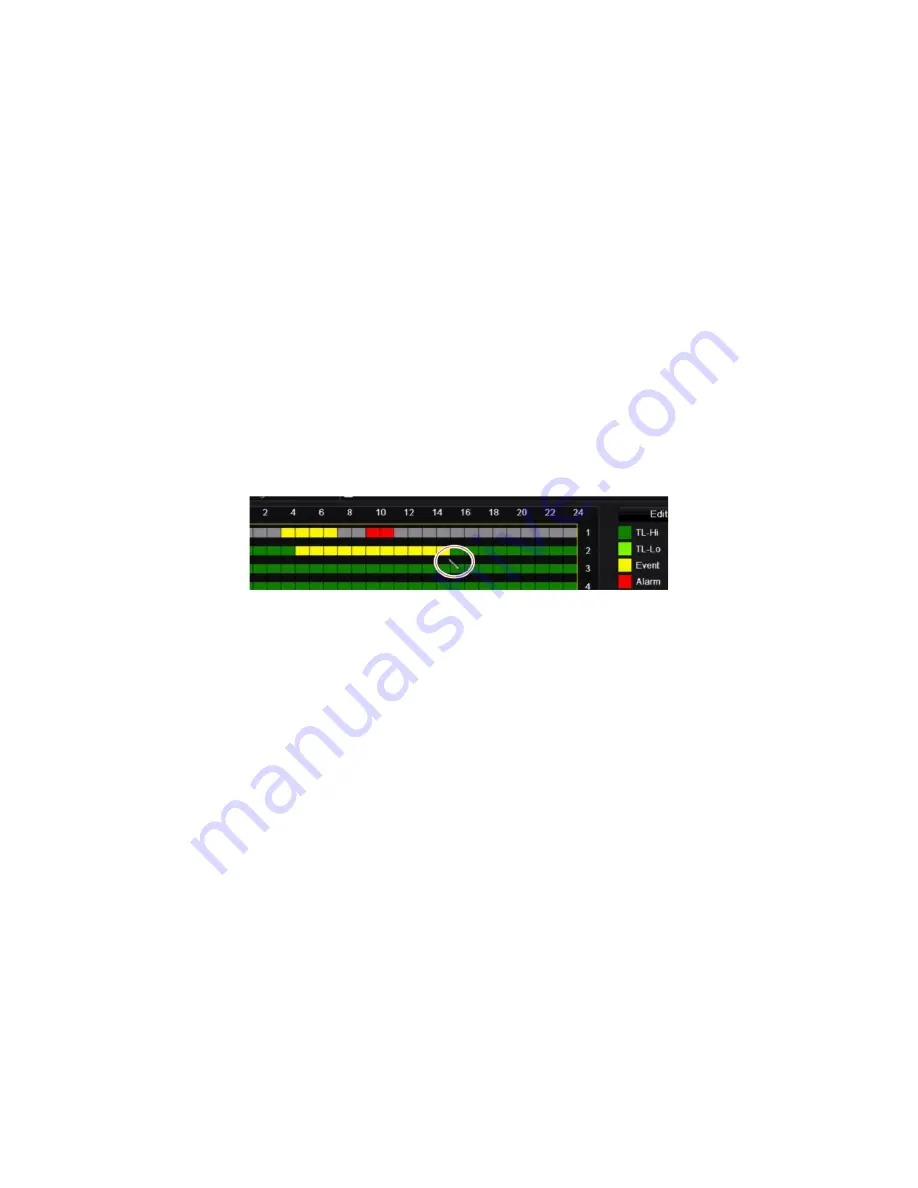
4. Click a recording type in the legend to activate that record type. The cursor changes
to a pen, and a yellow box appears around the schedule map and selected
recording type.
5. Drag the pen cursor across desired hours and days in the schedule overview to
mark those times with that specific record mode. To mark areas with a different
record type, click on a different record type to activate it.
Note
: You can schedule up to eight time periods in a day.
6. Click
Apply
to save the settings and
Exit
to return live view.
Define a schedule from the Edit menu
To set up a daily recording schedule:
1. From the menu toolbar, click
Recording
>
Recording Schedule
.
2. Select a camera.
3. Select the
Enable Recording
checkbox.
4. Click
Edit
. The following window is displayed:
Содержание TruVision NVR 11
Страница 1: ...TruVision NVR 11 User Manual P N 1073397 EN REV B ISS 17APR18...
Страница 4: ......


