9
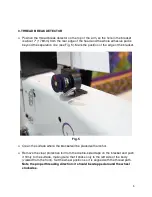
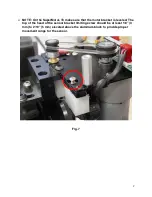
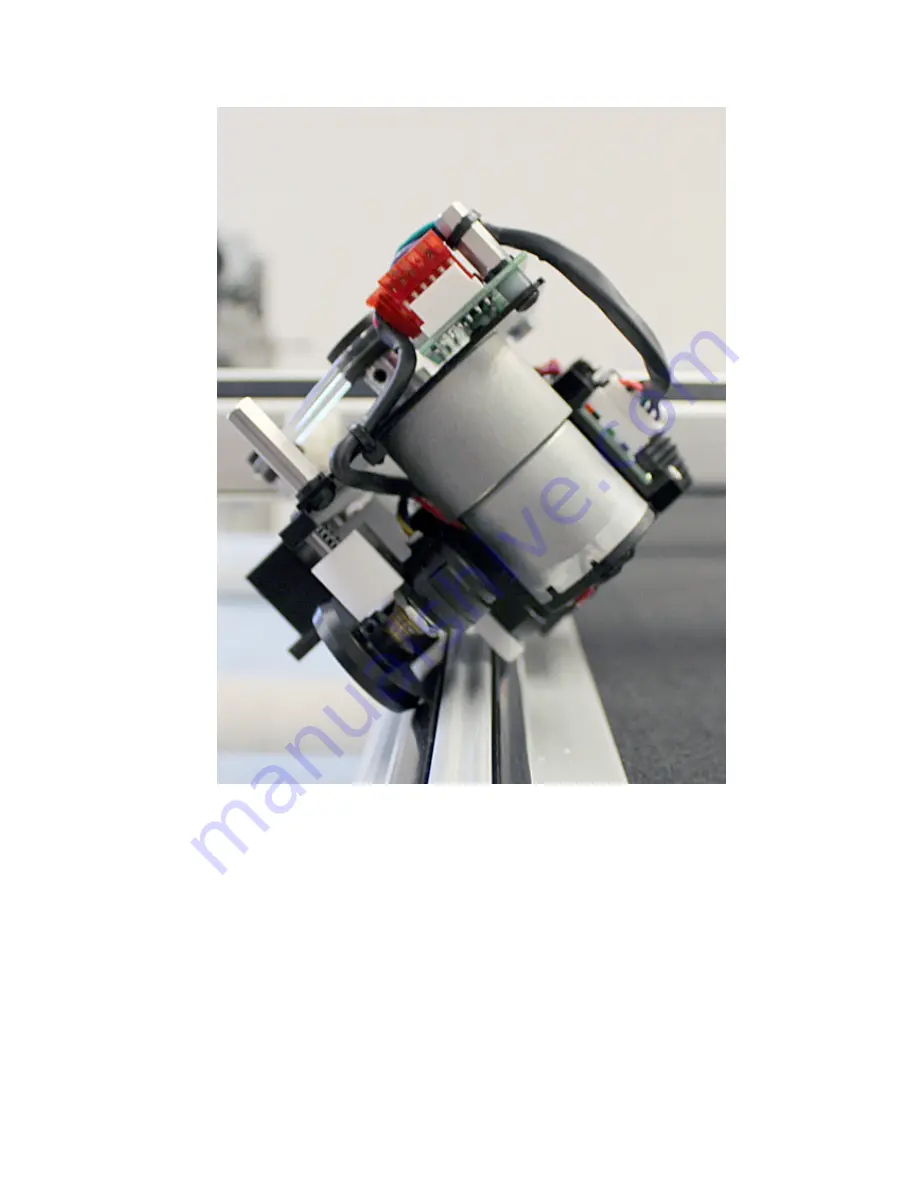
Fig. 9
Adjust the X-motor’s position using the four-screw cluster on the bracket, so both
the drive roller and the sensor wheel run securely on the plastic insert, as shown on
Fig. 9. There should be a 1/16" gap (about one credit card thickness) between the
drive roller and the track when all the screws are fully tightened. Move the drive
roller and sensor wheel in/out to achieve the best alignment.
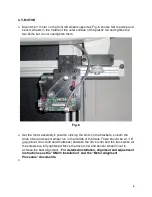
For detailed
installation, alignment and adjustment instructions see the "SM-V3
Installation” and the “Motor Alignment Procedure" documents.
Содержание HQ-AVANTE 03.25.16
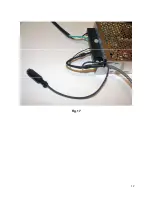
Страница 17: ...17 Fig 17 ...
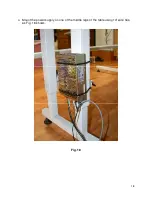
Страница 18: ...18 Mount the power supply on one of the middle legs of the table using 14 wire ties as Fig 18 shows Fig 18 ...
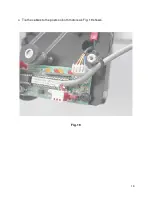
Страница 19: ...19 Tie the cables to the posts on both motors as Fig 19 shows Fig 19 ...
Страница 22: ...22 COPY THE LOGS AND POST THE logs tar gz FILE TO THE SUPPORT PAGE OF www intelliquilter com ...


