8
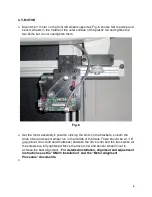
5. X-MOTOR
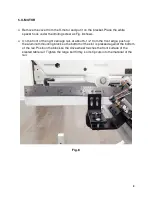
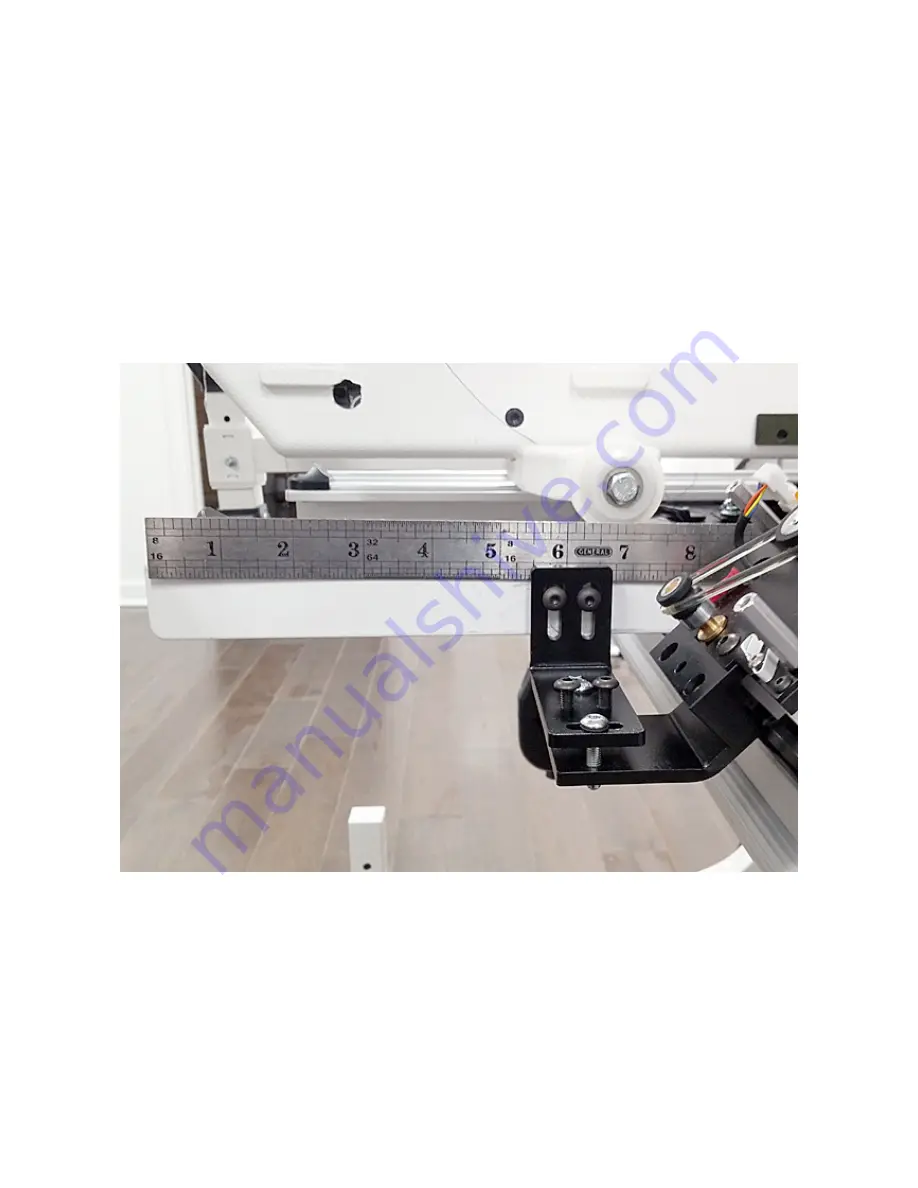
Remove the cover from the X-motor and put it on the bracket. Place the white
spacer hook under the limiting screw as Fig. 8 shows.
On the front of the right carriage rail, at about 5-1/2” from the front edge, push up
the aluminum mounting block so the bottom of the slot is pressed against the bottom
of the rail. Position the block so the drive wheel touches the front surface of the
slanted table rail. Tighten the large bolt firmly, so its tip cuts into the material of the
rail.
Fig. 8
Содержание HQ-AVANTE 03.25.16
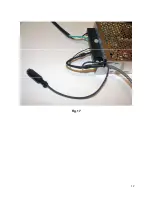
Страница 17: ...17 Fig 17 ...
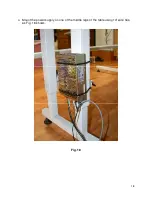
Страница 18: ...18 Mount the power supply on one of the middle legs of the table using 14 wire ties as Fig 18 shows Fig 18 ...
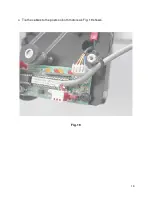
Страница 19: ...19 Tie the cables to the posts on both motors as Fig 19 shows Fig 19 ...
Страница 22: ...22 COPY THE LOGS AND POST THE logs tar gz FILE TO THE SUPPORT PAGE OF www intelliquilter com ...


