11
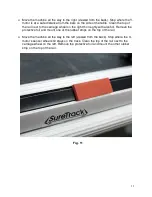
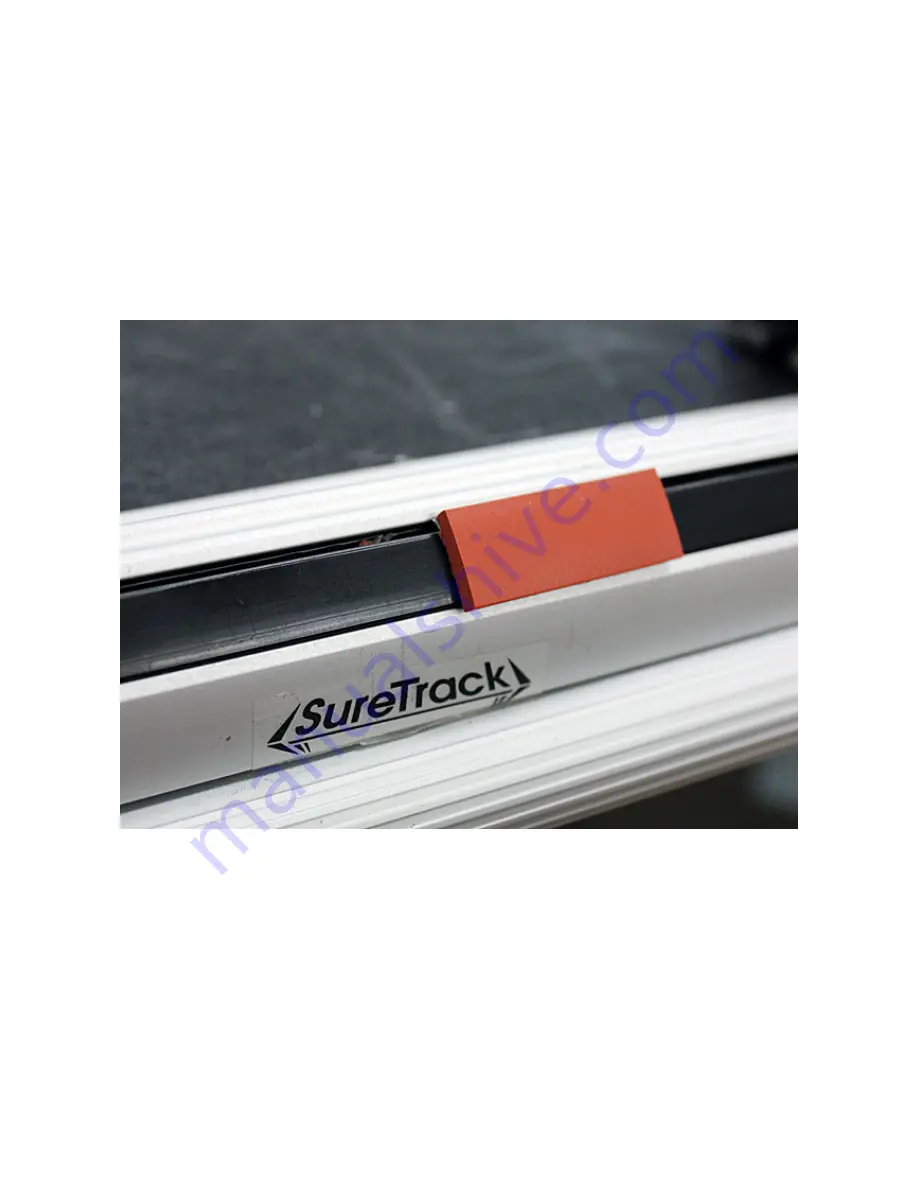
Move the machine all the way to the right (viewed from the back). Stop where the Y-
motor is at a safe distance from the bars on the side of the table. Clean the top of
the rail next to the carriage wheel on the right thoroughly with alcohol. Remove the
protective foil and mount one of the rubber strips on the top of the rail.
Move the machine all the way to the left (viewed from the back). Stop where the X-
motor’s sensor wheel still stays on the track. Clean the top of the rail next to the
carriage wheel on the left. Remove the protective foil and mount the other rubber
strip on the top of the rail.
Fig. 11
Содержание HQ-AVANTE 03.25.16
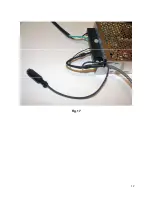
Страница 17: ...17 Fig 17 ...
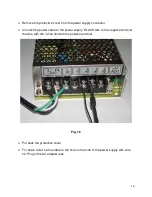
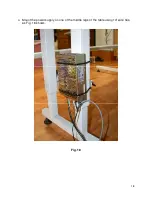
Страница 18: ...18 Mount the power supply on one of the middle legs of the table using 14 wire ties as Fig 18 shows Fig 18 ...
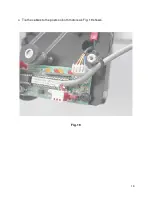
Страница 19: ...19 Tie the cables to the posts on both motors as Fig 19 shows Fig 19 ...
Страница 22: ...22 COPY THE LOGS AND POST THE logs tar gz FILE TO THE SUPPORT PAGE OF www intelliquilter com ...


