Platform Setup
Dual-Core Intel® Xeon® Processor LV and Intel
®
3100 Chipset
User’s Manual
January 2007
34
Order Number:315879-002
2.2.5
Changing the CMOS Battery and Clearing CMOS
2.2.5.1
Changing the battery
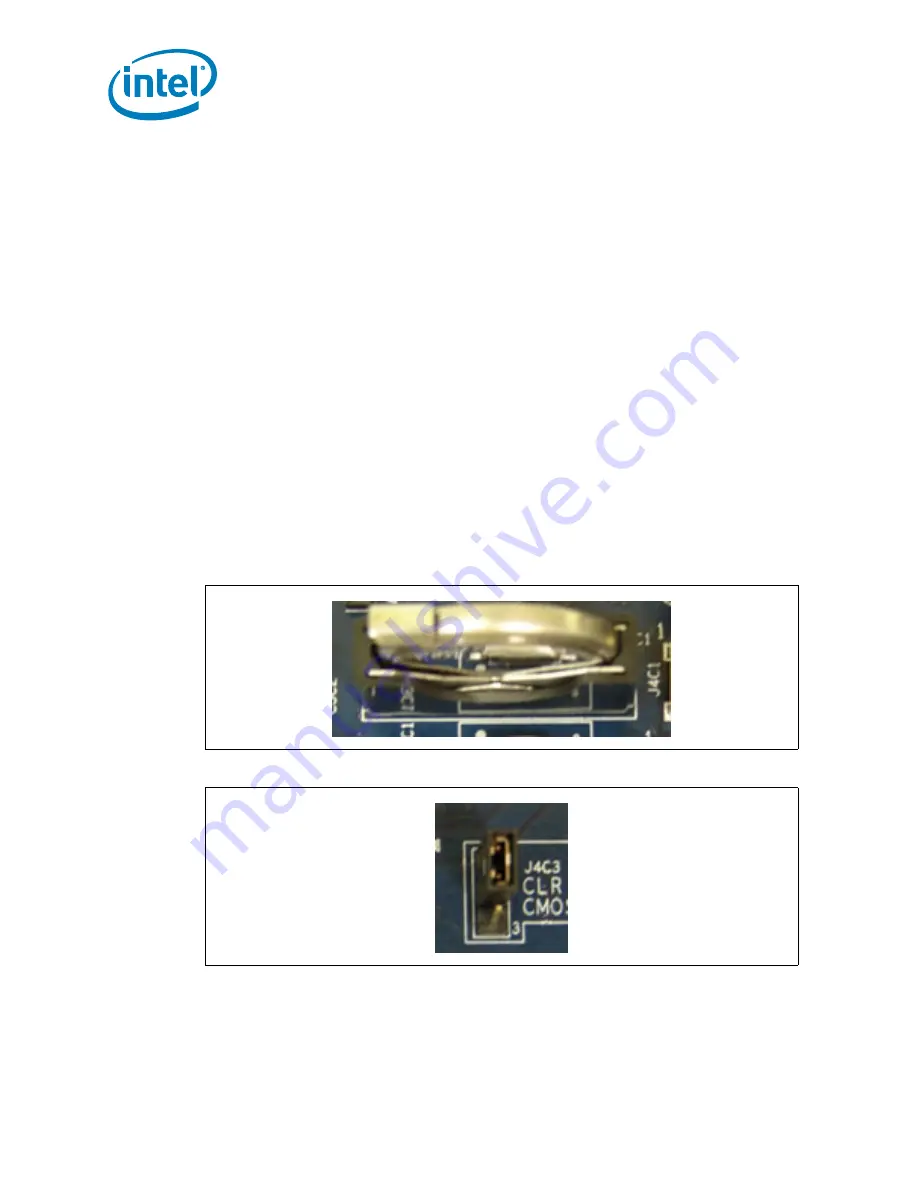
a. With the board shut down (power supply still in on position), remove the battery
and replace with a new battery. picture in
Figure 24, “CMOS Battery” on
page 34
.
Note:
CMOS batteries rarely go bad, but a good indication that one is bad is that after
unplugging the system and plugging it in again, you have to restore your BIOS settings
and system time. This will occur every time power is removed from the powers supply.
2.2.5.2
Clearing the CMOS
a. With System shutdown unplug the power supply and/or switched the Power
supply switch to the off position (no power to board).
b. Remove jumper J4C3, shown in
Figure 25, “CMOS Clear Jumper” on page 34
.
from pins 1 and 2 and place it on pins 2 and 3.
c. Leave the Jumper in place for approximately a minute
d. Remove the jumper from pins 2 and 3 and place it back on pins 1 and 2.
Tip:
If the CMOS did not clear at this point, make sure power is removed from platform and
leave the jumper on pins 2 and 3 for a longer duration to assure CMOS is cleared. The
board should bring up a setup prompt before booting to either go with defaults or enter
BIOS.
2.3
Connect Power
Note:
Not all Kits come with a power supply, therefore please use a standard ATX Power
supply and connect as described below
Figure 24.
CMOS Battery
Figure 25.
CMOS Clear Jumper


