


1) Tap the RemoteLinc 2 scene button of choice (on or off buttons will both work)
The Responder will respond
2) Press & hold the RemoteLinc 2’s Set button until it beeps
RemoteLinc 2’s LED will blink
GREEN
3) Press & hold the RemoteLinc 2’s Set button until it beeps again
RemoteLinc 2’s LED will blink
RED
4) Press & hold the Responder’s Set button until it double-beeps (or LED blinks)
RemoteLinc
2
will
(Beep)-(Beep)
and its LED will stop blinking
5) Confirm that Unlinking was successful by tapping the scene button on and off
The Responder will not respond
6) If you wish to remove multiple responders from RemoteLinc 2, repeat steps 1-5 for each additional
responder (or see
Remove Multiple Responders from a Scene
)
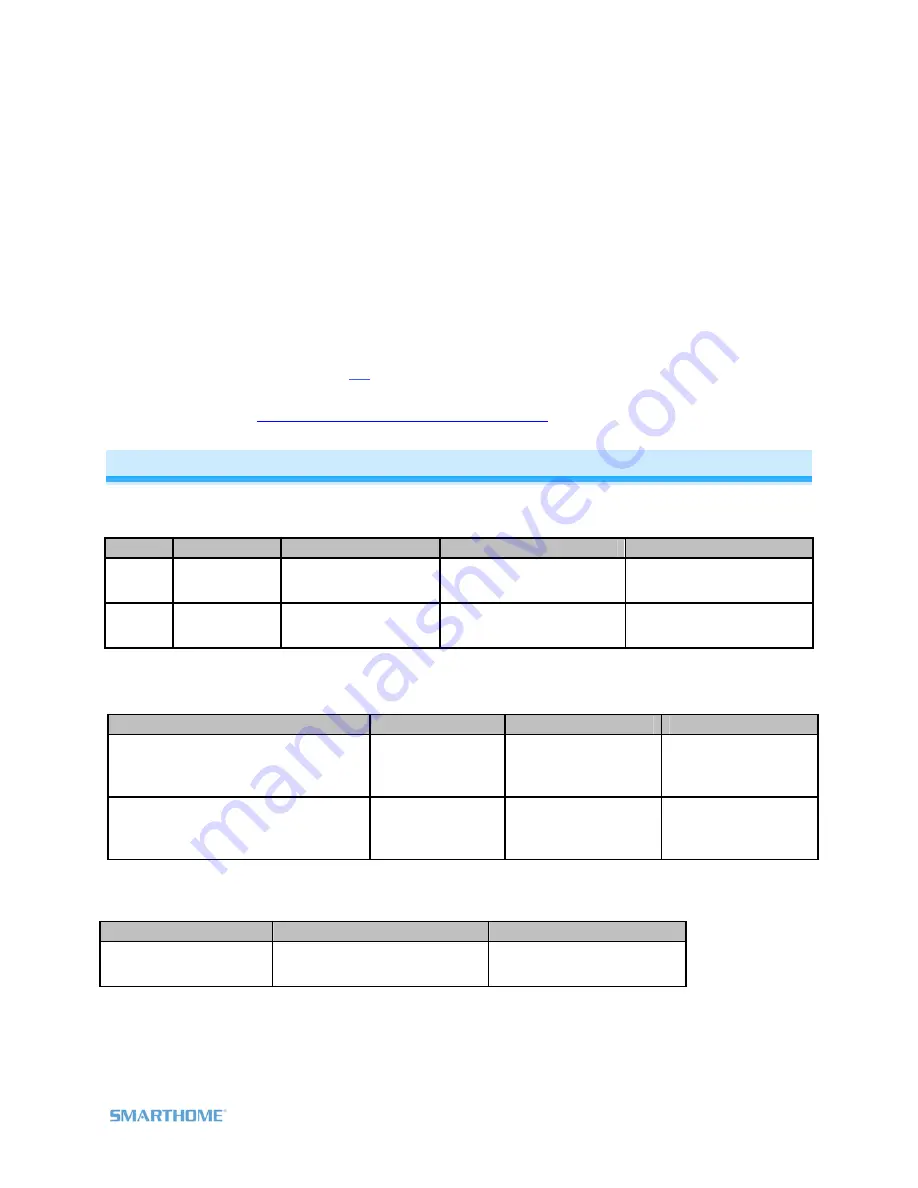
Using RemoteLinc 2
4 Scene Mode (Default)
The On/Off button pairs each control all their scene members as follows:
Button
Side
Icon
Tap
Press & hold
Double-tap
On Right ^
Turn scene on
Brighten scene members
until released
Turn scene members full-
bright instantly
Off Left v
Turn scene off
Dim scene members
until released
Turn scene members off
instantly
8 Scene Toggle Mode
Each button will control all its scene members as follows:
Last Command Sent
Tap
Press & hold
Double-tap
Off or Dim
Turn scene on
Brighten scene
members until
released
Turn scene
members full-bright
instantly
On or Bright
Turn scene off
Dim scene members
until released
Turn scene
members off
instantly
8 Scene Non-Toggle Mode
(Always On)
Each button will control all its scene members as follows:
Tap
Press & hold
Double-tap
Turn scene on
Brighten scene members until
released
Turn scene members full-
bright instantly
Note: Devices in scenes that respond to the scene trigger by turning off do not respond to scene dims
and brights. Devices in scenes that only support On/Off (such as switches and relays) do not respond to
scene dims and brights.
Page 7 of 15 2444A2xx4 Rev: 10/24/2011 10:50 AM


