


54
55
note:
●
After changing the Logo pin Code to a new number, please remember it and keep it safe.
The Logo pin Code cannot be changed again if the new password is lost or forgotten.
Logo pin Code Change
You may change the Logo pin Code to any 3-digit number you like.
press OK key to select Logo pin Code change.
The Logo pin Code change dialog box prompts, press arrow
button to give a valid new code.
The new Logo pin Code dialog box prompts. Set up a new Logo pin Code, check contents
contained in the dialog box, select Set and the new password is set now.
please remember your new password and keep it safe. You cannot change the Logo pin Code
again if you forgot the password you have set.
Set a password to lock the control panel or remote
controller keypad to prevent unauthorized personnel
from operating your projector. Once the projector is on,
the [enter Logo password] screen will be displayed.
1) press
button to select [Security] menu.
2) press <OK> button.
3) press
button to switch required item.
Security
Security menu
Logo pin Code lock
LOgO pin Code lock
This function helps preventing unauthorized personnel from changing the Logo screen.
Off......The Logo screen may be changed with the Logo menu.
On.... ..
The [Logo password] screen will appear when the projector is on.if you want to change
the pin Code Lock or password (for three digits), you must enter the password. The factory
default password is "111."
Reset password
·
To change the logo screen password protection, press OK button, and the Logo pin Code
change popup dialog box prompts.
press arrow
button to select a number, then press OK button to enter it and move the
cursor.
·
The number you typed is displayed as “ * ”. To edit number you have entered, press menu
button to move the cursor to the number you want to change, press
button to select the
correct one.
·
Repeat this step to type in a 3-digit number.
·
enter a three-digit number, move the cursor to "set" . press the OK button, you can start to operate the
projector.
·
if the password is invalid, the password displayed as “ *** ” will be in red. please try again with a
valid one.
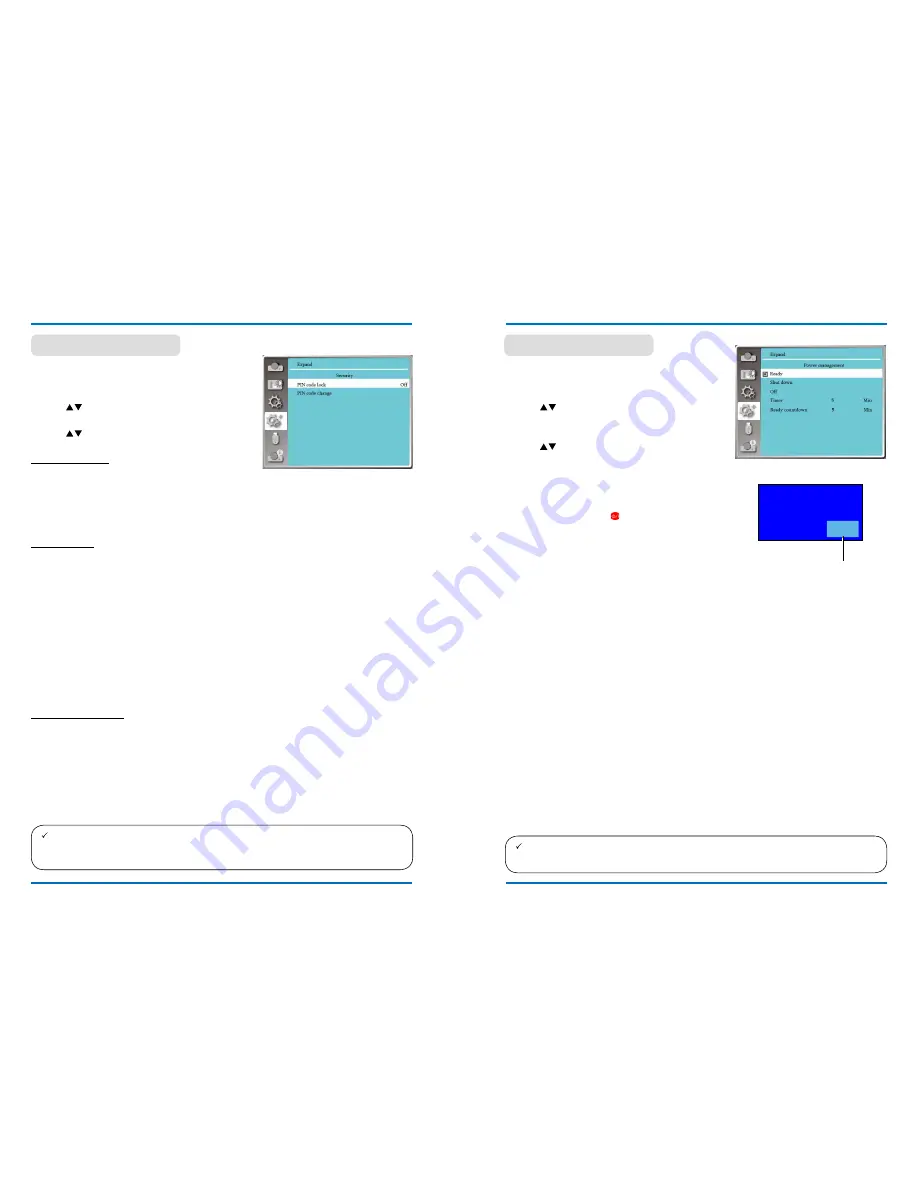
expand
expand
power management
To reduce power consumption and maintain life cycle
of lamp, the power management function will turn off
the projection lamp if your projector has no signals for a
period of time.
1) press
button to select [power management]
menu.
2) press <OK > button.
3) press
button to switch required item.
Ready..........The pOWeR
light indicator flashes
green when the lamp is fully cooled
down. The lamp turns on again if an
input signal is connected or any key
(except the power button ) on the
rear panel and remote controller is
pressed during this period of time.
power Off.....The projector shut down after the lamp
is fully cooled down.
Off................Disable the power management
function.
Timer............Once the input signal is interrupted
and no keys has been pressed for 30
seconds afterwards, the “no signal”
message displays in the timer. The
timer counts down until the lamp turns
off. press arrow key to set up the timer
in range of 1~30 minutes.
Ready Countdown...
·
Set up the interval from ready
mode change to standby (0 to
30 minutes) automatically. A
setting of zero minute keeps
your projector from auto
transition.press the power
key to change your projector
from ready to standby mode
and any other key to power it
on. of zero minute keeps your
projector from auto transition.
·
press the power key to
change your projector from
ready to standby mode and
any other key to power it on.
power management
Remaining time before
poweroff the lamp.
power management menu
note:
●
Factory default for standby time: 5 minutes. Count down for ready mode: 5 minutes.
0 1
:
2 0
No signal


