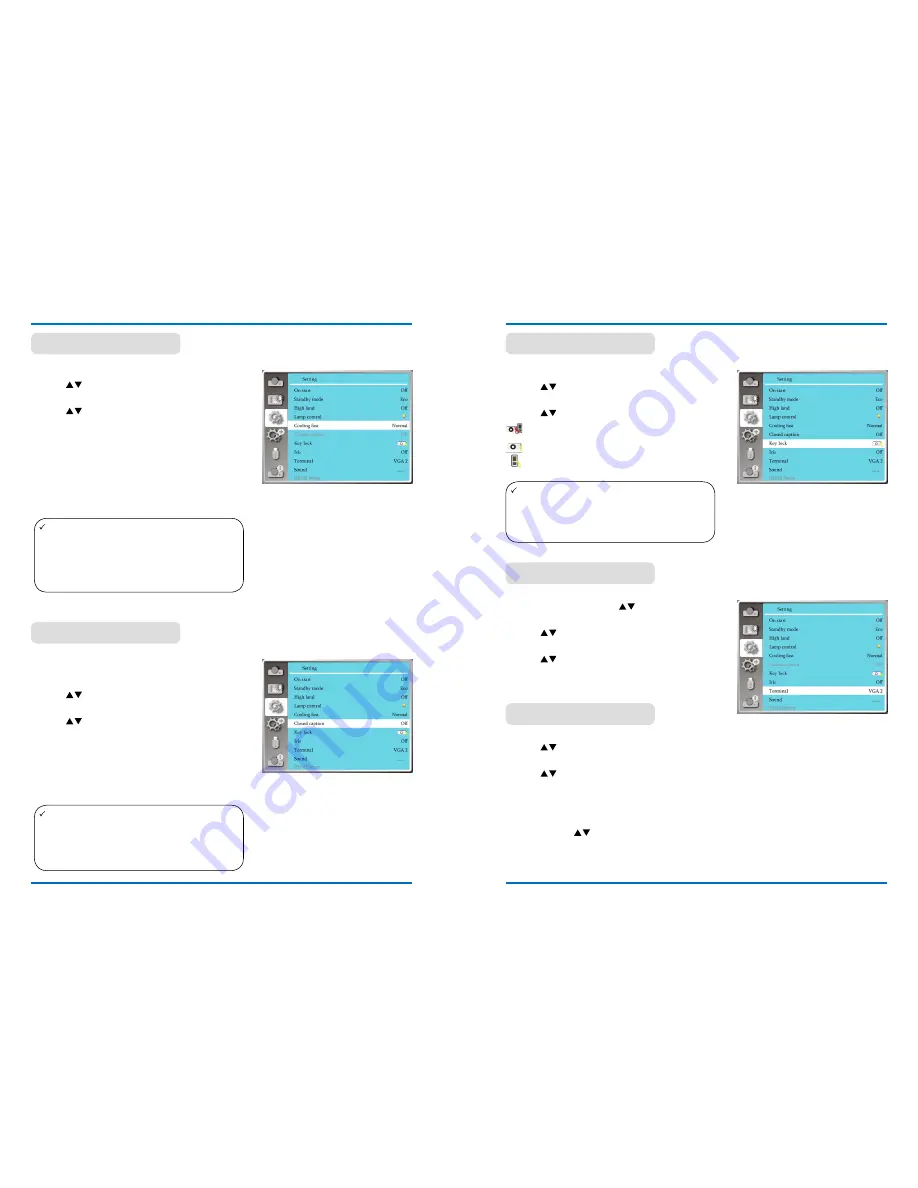
INFOTO PCL-LT112W Скачать руководство пользователя страница 24

46

47

Setting

 note: 


When set the option 0 seconds, user cannot re-

start the projector immediately after turning off it. 


While sometimes,the lamp may take a longer 

time to cool off than usual to light again for high 

temperature.

 note: 


The icon display gray if the Closed caption 

function is invaild.


The Closed caption function is invaild when the 

OSD menu and Timer display on the screen.

After your projector is powered off, select cooling fan 

speed to shorten the cooling time .

1) press 

 button to select [Cooling fast] menu. 

2) press <OK> button.
3) press 

  button to switch required menu.

normal............Running in normal way.
60 seconds.....Running faster than in normal mode with 
                         shorter time but a louder sound.
0 seconds.......Select this function allow you to unplug 
                         the AC power directly after the shutdown,
                         without waiting for the projector cooling 
                         off.                   

Cooling fast

Closed Caption is used for displaying the program 

sound or other information on the screen. Select this 

function to switch channel with input signal of closed 

caption .

1) press 

 button to select [Closed caption] menu. 

2) press <OK> button.
3) press 

  button to switch required menu.

OFF:no closed caption.
CC1......Display CC1 data.
CC2......Display CC2 data.
CC3......Display CC3 data.
CC4......Display CC4 data.

Closed caption

Setting

Select this function to lock and unlock the control panel or 

remote controller keypad.


1) press 

 button to select [Key lock] menu.

2) press <OK> button.
3) press 

  button to switch required menu.

     Off...............The control panel or remote controller 

                           keypad are effective.

     projector......Control panel keypad is invalid.

     Remote controller.......Remote controller keypad is 

                                         invalid.

Key lock

VgA in 2/VgA OuT terminal can be used for computer 
input or 

monitor output. press 

 button to select  

input or output.


1) press 

 button to select [Terminal ] menu.

2) press <OK> button.
3) press 

  button to switch required menu.

VgA 2......input signal for VgA 2.

monitor out......Output signal to monitor.

 Terminal

 note: 


if you lock the top of the control panel, but 

without a  remote controller or something wrong 

with the remote controller, please contact your 

dealer or service center.

Select this function to a

djust the sound.

1) press 

 button to select [Sound] menu.

2) press <OK> button.
3) press 

 button to switch required menu.

Volume......press

button  to  increase  volume,range    

                  from 0~+25.

                  press

button  to  decrease  volume,range    

                  from 0~+25.

mute......... press 

  button to switch on or off 

                  mute function.
                 On:no audio output.

                 Off:Audio output.

Sound 

Cooling fast

Closed caption

Key lock

Terminal

Содержание PCL-LT112W

Страница 1: ...shown in this document may differ slightly from your product Please read the instructions carefully before using the product and keep safely for future reference The manual is subject to change withou...

Страница 2: ...deline 4 Safety operation guideline 4 Air ventilation 8 Place your projector correctly 8 Moving your projector 9 Lens protection ring 9 Compliance 10 Accessory 11 Name and function of your projector 1...

Страница 3: ...e inside with risks of electric shock Operation and maintenance tips about these components Safety operation guideline Caution Precautions on air outlet Keep adequate clearance around your projector f...

Страница 4: ...ity waste collection recycling centre Please help us to conserve the environment we live in Caution Contains mercury For more information on safe handling procedures the measures to be taken in case o...

Страница 5: ...hen it is not in use Apply torque driver instead of power driver or impact driver in your projector DO NOT tilt your projector more than 10 degrees DO NOT tilt your projector more than 10 degrees DO N...

Страница 6: ...ipment does cause harmful interference to radio or television reception which can be determined by turning the equipment off and on the user is encouraged to try to correct the interference by one or...

Страница 7: ...connect the output signal from a computer to this terminal for monitor output output the signal from to other monitors VIDEO IN terminal Connect video output signal to this terminal MoNo L R terminal...

Страница 8: ...me and function of your projector Top control panel and indicators name and function of your projector Remote controller POWER Power on or off your projector INPUT Open or close the INPUT menu vga Sel...

Страница 9: ...48 6 096x4 572 frame max 0 888m 3 017m 4 537m 6 058m 9 099m frame min 1 071m 3 629m 5 456m 7 283m 10 937m Screen size WxH m 16 9 aspect 30 100 150 200 300 0 664x0 374 2 214x1 245 3 321x1 868 4 428x2 4...

Страница 10: ...me MIN Frame Midline 0 888m 0 969m 3 017m 3 289m 4 537m 4 946m 6 058m 6 602m 9 099m 9 916m 10 937m 11 917m 0 938 m 1 111m 3 219m 3 796m 4 848m 5 713m 6 477 m 7 631m 9 735 m 11 466m 16 086m 18 943m 30...

Страница 11: ...s of your projector and all external equipment before connecting any cable to them installation Audio output Unplug power cords of your projector and all external equipment before connecting any cable...

Страница 12: ...s AC 100 240V It adapts to different input voltage automatically Your projector employs single phase power cord with neutral ground cable Do not use any other type of power cords or you may face the r...

Страница 13: ...play in screen You can do nothing but powering off your projector during the welcome image is displaying Basic operation Move the cursor to Set button then press the ok button Power off your projector...

Страница 14: ...ers to match the VGA format Aspect normal widescreen fullscreen advanced Project way Choose Front Rear Ceiling Front Ceiling Rear Auto ceiling Front and Auto ceiling Rear Menu position set screen menu...

Страница 15: ...button to adjust keystone distortion You may save your settings for keystone adjustment h v keystone Adjust the projected image when the projector is on the horizontal or vertical keystone distortion...

Страница 16: ...cancel the freeze function then the image replay and the sound is restored mute mute Press the mute button on the remote control to turn off the sound To remove the mute func tion please press the mut...

Страница 17: ...Basic operation Press the INPUT button on the control panel or on the romote control to select one of the fol lowing input VGA 1 VGA 2 component video S Video HDMI 1 HDMI 2 MHL DVI Memory viewer netwo...

Страница 18: ...on V position h size to be compati ble with the computer automatically menu operation auto pc adj Press menu button on the remote controller or on the top control panel to display the OSD menu Press b...

Страница 19: ...ly for PC VGA1 signal input Advanced splicing screen only for PC VGA1 signal input aspect aspect menu display h total set the H total and images will be vertical division by the set value Adjustment r...

Страница 20: ...t function may detect scores of signal format If a PC is selected as the input signal source your projector will detect and adapt to its signal for mat automatically Correct image can be displayed wit...

Страница 21: ...ease set scanning mode on the left manually Video S video displays in the PC system menu computer system menu color adjust image mode for pc Colorboard Direct operation Press the Image Select button o...

Страница 22: ...on on the remote controller or on the top control panel to display the OSD menu Press button to select the Color adjust menu then press OK or button 1 Press button to select reqiured item 2 press OK b...

Страница 23: ...s operating at 1 Press button to select high land menu 2 press OK button 3 Press button to select required menu off Normal speed set the option off when operat ing the operator if the altitude is not...

Страница 24: ...no closed caption CC1 display CC1 data CC2 display CC2 data CC3 display CC3 data CC4 display CC4 data Closed caption setting Select this function to lock and unlock the control panel or remote control...

Страница 25: ...button Display HDMI Setup instantly 3 Press button to select Image or Sound 4 Press OK button HDMI setup Note The best settings about projectors may differ slightingly from your external output device...

Страница 26: ...jector or unpluging the AC power reset value keystone function will be cancelled after closing the projector or unpluging the AC power when the standby mode is set to eco mode When the standby mode is...

Страница 27: ...w button to give a valid new code The New Logo PIN Code dialog box prompts Set up a new Logo PIN Code check contentscontained in the dialog box select Yes and the new password is set now Please rememb...

Страница 28: ...on to move the cursor to the number you want to change press button to select the correct one Repeat this step to type in a 3 digit number Enter a three digit number move the cursor to set Press the O...

Страница 29: ...ect Filter counter menu 2 press OK button 3 Press button to switch required item When the projector reaches the user set cleaning time filter warning icon will appear on the screen to notify the user...

Страница 30: ...r 2 Acquire the IP address with DHCP set to on and auto IP allocation set to On You may set DHCP to Off and set up IP address manually if you are somehow familiar with networking 3 Enter the network s...

Страница 31: ...Replay the first document after playing the last one off return to the thumbnail display screen after playing the last one apply only be used in playing slides 1 Press button to select apply menu 2 p...

Страница 32: ...computer network cable 2 Connection Connect your projector to a router or switch in the LAN with normal or jumper network cable In case a normal network cable failed to connect successfully use a jump...

Страница 33: ...connect any mobile devices with the projector wirelessly to realize high speed transmission between devices allowing users to enjoy high definition video display without the need for cables circumstan...

Страница 34: ...s option to display the General Setup page picture Setup Click this option to display the picture Setup page image Setup Click this option to display the image Setup page Network Setup Click this opti...

Страница 35: ...firmware version of the projector lan status Displays the LAN connection status System status page image setup page aspect ratio switch the aspect ratio of the projected image Phase adjust the phase...

Страница 36: ...e or variable size and 5 pwPresenter software when the input signal source is chosen as the network the network will be used to project computer image After entering the IP address of the projector in...

Страница 37: ...and black list etc Parameter setting Global setting remote control setting sound capture and screen capture etc Multicast setting volume setting bandwidth sampling frequency etc network control netwo...

Страница 38: ...emory is independent of the partition it will display more than one USB icon 3 Press button to switch required items The root directory of the USB memory is displayed in a thumbnail display memory vie...

Страница 39: ...als note It allows the insertion or removal of the USB memory when the projector is in any power status When using Windows select this function to can project the image and audio from the computer thr...

Страница 40: ...ower indicator turns steady yellow Note The POWER indicator stops flashing when your projector s internal temperature cooled down to normal and it is powered on again Maintenance and cleaning mac os o...

Страница 41: ...ng surface Place your projector in proper container after use to protect it from dirt and dust and being scratched filter counter Maintenance and cleaning Recommendations Please do not use your projec...

Страница 42: ...turns red Restart your projector until the POWER light indicator turns red It indicates your projector is ready for power on again Check the lamp Disable the Key Lock function of your projector Logo...

Страница 43: ...set in Ceiling function Image distorted or disappeared Check and revise the PC Adj menu or Screen menu A password prompt displays after power on You have set up the Logo PIN Code lock function Remote...

Страница 44: ...ightness 0 63 Color temp High middle Low Red 0 63 Green 0 63 Blue 0 63 Sharpness 0 15 main menu sub menu setting Remarks color adj Contrast 0 63 Component input S video input video input Brightness 0...

Страница 45: ...e Logo pIn Code Lock On Off Logo pIn Code Change power management Ready power Off Off Timer Ready Countdown Filter counter Filter counter Timer Filter counter reset filter check Text pattern Off Gray...

Страница 46: ...x1024 60 51 1280x1024 70 52 1280x1024 75 53 1280x1024 85 54 1366x768 50 55 1366x768 60 56 1400x1050 60 57 1400x1050 75 58 1440x900 60 59 1600x900 50 60 1600x900 60 61 1600x1200 60 62 1680x1050 60 63 1...

Страница 47: ...9 5 GND LAN Terminal 1 TX 5 2 TX 6 RX 3 RX 7 4 8 HDMI Terminal HDMI Type A 19 1 TMDS Data2 11 TMDS Clock Shield 2 TMDS Date2 Shield 12 TMDS Clock 3 TMDS Date2 13 CEC 4 TMDS Date1 14 Reserved N C on de...

Страница 48: ...in x1 VGA IN 2 VGA OUT Mini D sub 15pin x1 HDMI HDMI A type 19 pin mhl HDMI A type 19 pin lan 100 Base TX 100Mbps 10 Base T 10Mbps RJ45 USB B USB connector B type x1 USB A USB connector A type x1 RS 2...

Страница 49: ...ve successfully ACK CR receive unsuccessfully CR 2 8 COMPONENT command command C33 CR details select component input return value receive successfully ACK CR receive unsuccessfully CR 2 1 POWER ON com...

Страница 50: ...e successfully ACK CR receive unsuccessfully CR 2 11 USB Display command command C17 CR details select RGBHV input return value receive successfully ACK CR receive unsuccessfully CR 2 12 Video command...

Отзывы: