GB - 27
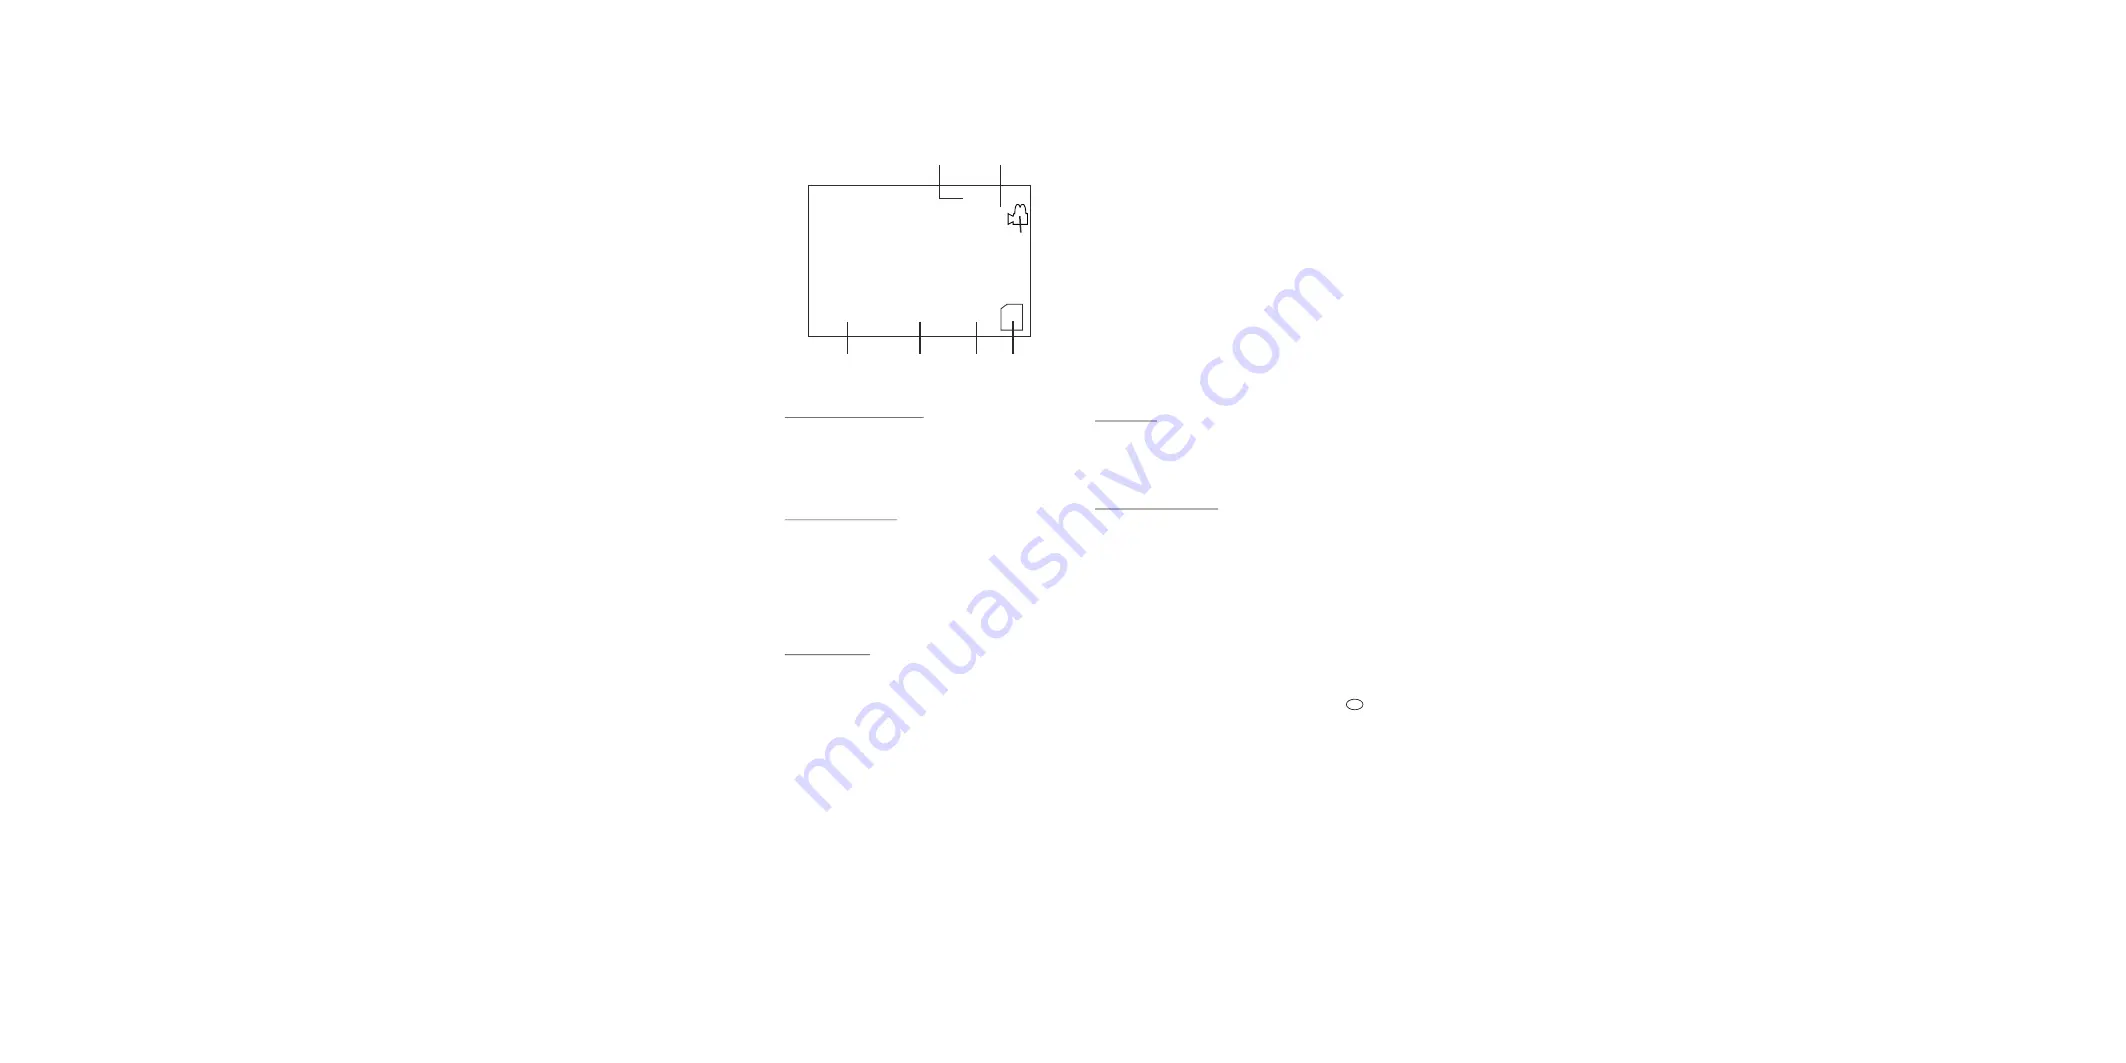
During recording the following symbols are displayed,
according to the recording mode:
Recording time selected camera
schedule recording indicator
recording indicator (flashes) current date current time SD card inserted
The following 3 recording modes are selectable:
manual selected continuous recording
!
Press the manual record button [12]. The recording is started and is
indicated by a flashing REC symbol
!
press the record button once more to stop the recording.
The recording is split into sequences in order to facilitate the search during
playback
Schedule continuous recording
!
Press the schedule button [18]. In the top right hand corner of the screen
the schedule recording indicator will be shown. The recording will
automatically start from the set start time and end at the set end time (see
chapter 10.2 Schedule Time). The recording is split into sequences in order
to facilitate the search during playback
!
To interupt or stop the schedule recording press the schedule button once
again.
Motion Detection mode
In this mode the selected camera image is monitored by the internal motion
detection software. If changes in the live image are detected a video sequence
is recorded on the inserted SD memory card. An internal continous recording
memory enables the data to be recorded approx. 10 seconds before the
detection (pre-alarm function). The total sequence duration is approx. 23
seconds.
!
Press the motion detection button [19], the indicator "Detecting" flashes in
the lower left hand corner of the screen. When motion is detected in the set
area and with the set sensitivity (see Chapter 10.2 Motion detection) the
indicator "REC" flashes and the recording is started. The recording will
contnue until the motion is no longer detected.
!
To interupt or stop the motion detection recording press the motion
detection button once again.
10.4 Playback mode
In this mode, you can view the stored images on a TV or a video monitor.
Alternatively, you can view the images stored on the SD card on a PC with a
video viewer application (Media player). Viewing the images on a digital
camera or outputting them directly to a photo printer is not possible due to the
different file structure.
Playback on a PC
!
Switch off the recorder using the On/off button [5] or off button [17].
!
Remove the SD card from the memory card slot [20].
!
Insert the SD card into a card reader of your switched-on PC.
!
Select the "DCIM""100VIDEO" directory on the corresponding drive.
Playback on a video monitor or TV
!
Connect the recorder to a video monitor or to a TV as described in Chapter 8.
!
Open the point "Playback" in the menu
The recorded files are displayed in a list
eg.
File Name
Date
Start Time
00000001
2011/11/15
13:31:00
ie. the oldest recording began on 15 November 2011 at 13.31
!
Select the required file using the
,
·
,
º
and
»
buttons. To select the
latest recordings press the
º
button.
!
Confirm the file using the OK button
!
Press the OK once more to start the playback
Example of Display in playback mode
00:32:15
CH1
REC
2011/11/08 10:23:16


