Big Buck Hunter II Page 8
Version 03/04
Insert the supplied button into the large hole. Two
pins on the lower edge of the button are used to lock
the button into position.
Tighten the large plastic nut securely onto the plastic
button housing.
Snap the micro-switch and lamp into the button
housing.
Attach the button assembly switch and lamp to the
main harness connectors. Refer to the manual for
correct wiring.
Volume and Test Switches
If your cabinet does not have switches or buttons inside
the cabinet, you will need to install them for volume
control and access to diagnostics and testing modes.
Big Buck Hunter requires three external switches to
navigate through Operator Mode. Install a Test, Volume
Up and Volume Down switch in a convenient location
inside your coin door. Volume Up and Volume Down
double as scroll up and scroll down when in Operator
Mode. Refer to the JAMMA Connections diagram for
proper wiring.
G
RAPHIC
O
VERLAYS
BIG BUCK HUNTER comes equipped with graphics
that will accommodate a variety of existing game
cabinets. Remove any old control panel graphics and
make sure the panel is clean and free of dirt, grease
or adhesives before installing your new graphics.
Control Panel Overlay Installation
1. Make sure the control panel is clean and free
from dust, grease, metal filings, and sawdust.
The background overlay provided with the game
is oversized to accommodate most control panel
sizes. Center the background overlay on the
control panel surface. Be sure to leave enough
excess material above and below the control
panel in order to trim it evenly.
2. Remove the protective backing from the
background overlay. Center the background
overlay over the control panel and place down
gently, making sure to keep it square. Using your
hands, press down firmly, starting from the center
and smooth the background overlay outward,
making sure all bubbles have been pressed out
for a clean, flat surface.
3. Using a sharp razor knife, trim any excess from
the background overlay. Carefully pierce through
the overlay above the control panel hole that you
have marked. Cut out material covering the pre-
drilled holes with the razor knife. Be sure to cut
and trim the background overlay cleanly and
evenly.
Function Labels Overlay Installation
Line up the supplied function labels to correspond
with the control panel layout on the previous page.
Remove the backing and carefully press into place.
Be sure they are straight. Refer to the control panel
diagram for optimal placement.
It is highly recommended that you protect your control
panel with a Plexiglas overlay. Cut it to fit and install
now.
Insert the Start button into the control panel and
tighten securely. Refer to the Wiring section of this
manual for correct button wiring.
Marquee Installation
If your cabinet needs a new marquee glass,
determine the correct size and cut to fit. Using the old
marquee glass as a template, center the Plexiglas on
your new marquee, making sure that all the printed
images will be visible.
Using a razor knife, score the new marquee deeply,
following the edges of the old glass. Carefully break
off excess material. Be sure the light behind the
marquee works and that the glass is clean on both
sides. Now install the marquee graphics and glass
securely.
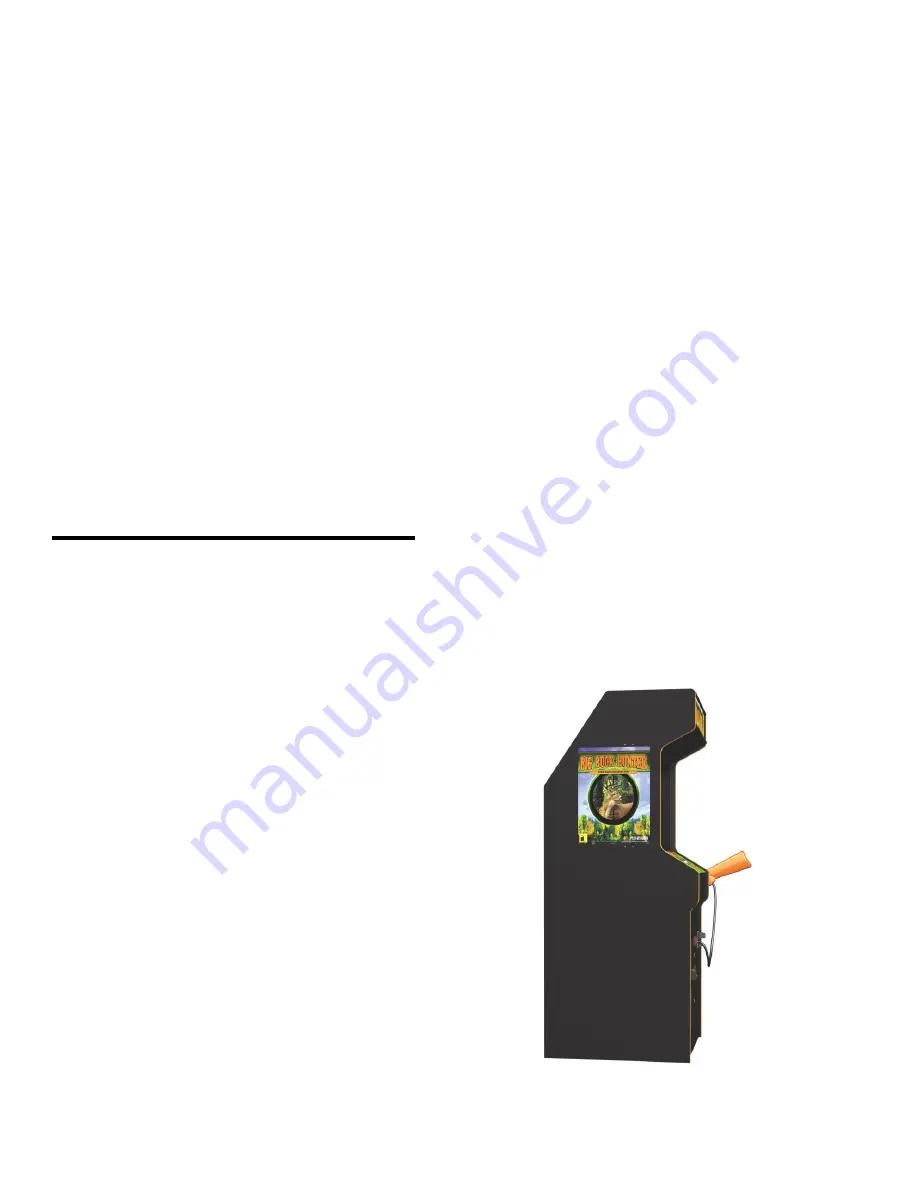
Cabinet Side Graphics Installation
Carefully remove the backing from the supplied logo
stickers and smooth in place on the side of your
cabinet. Refer to the diagram below for optimal
placement.
Preferred Side Graphics Layout


