ImpulseRadar PinPointR User Manual V1.5
Page 22 (36)
toolbar. If the radargram does not fit on the screen when data is zoomed in, scrolling may be done by
dragging one finger up and down on the screen.
Other buttons provide functionality for controlling the collection of data, including Start, Pause/
Resume, and Stop. Press the Pause button to halt the data collection without fully stopping the profile.
Press the same button again, to resume data collection.
Markers
Under user preferences, chose your preferred
marker standard from the presets available, or
define a custom code with your text and colour
symbols. This selection must be made before the
start of a project because once started, the
selection is locked.
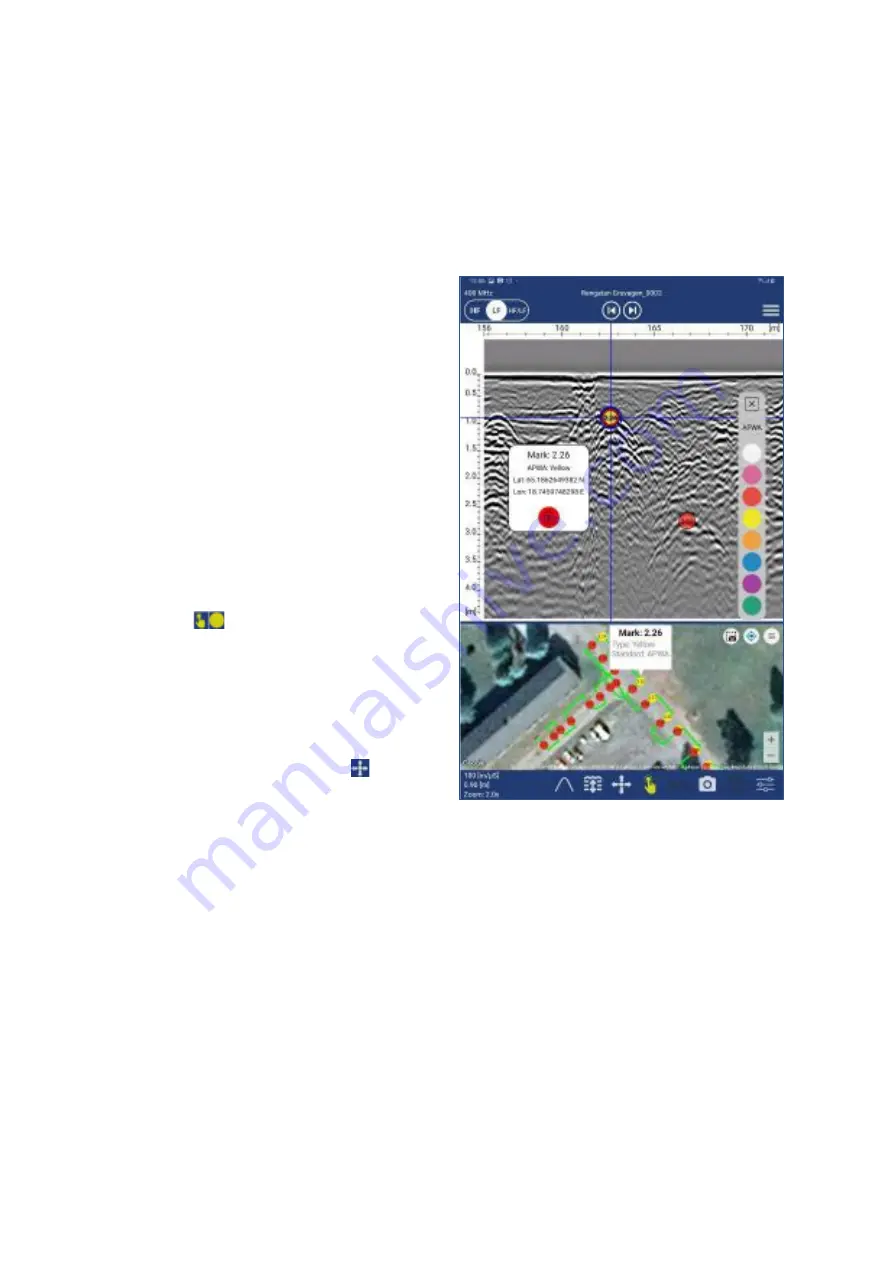
Marker assignment or editing can only be done
when observing data in a single-channel view (LF or
HF). The marker icon is located centrally in the
footer toolbar. The marker icon is shown as a solid
coloured dot, but can be toggled to quick mode in
which case the icon changes to show a finger
pressing a smaller dot. The colour of the icon
matches the marker colour. Toggle between the
two modes by pressing the icon, which will change
accordingly (
). Regardless of the selection, a
marker palette offers colour choices according to
the defined marker standard, as shown in
When the quick marker mode is active, every tap
on the radar data will result in the assignment of a
marker. Ordinarily, the arrow icon
is used to
fine-tune the position of a marker in respect of a
target in the radargram. Touch the screen to move
the crosshairs to the desired location, then use the
arrow icon to fine-tune the final position. Tap the coloured ring in the centre of the arrow icon to assign
the marker, which will simultaneously appear in the map view (if that option is active). Designated
markers are semi-transparent so the radar data can be viewed below. Markers are referenced with
numbers according to the radar profile and their sequence for a given marker type. Double-tap a
marker in the radar data or map view to see a pop-up containing marker details.
Note:
It
’s
not possible to click a
marker when “quick marker mode” is activ
e. Markers can be deleted
when the Marker info window is open by simply tapping the trash icon. When a marker is assigned, an
automatic screenshot of the radar data with the marker assignment is saved for use in the PDF Field
Summary report and KMZ file.
Figure 23
Marker functionality


