96
iGage
iG8 User Manual
You can change the rest of the configuration values as
needed. Here are detailed descriptions for each of
them:
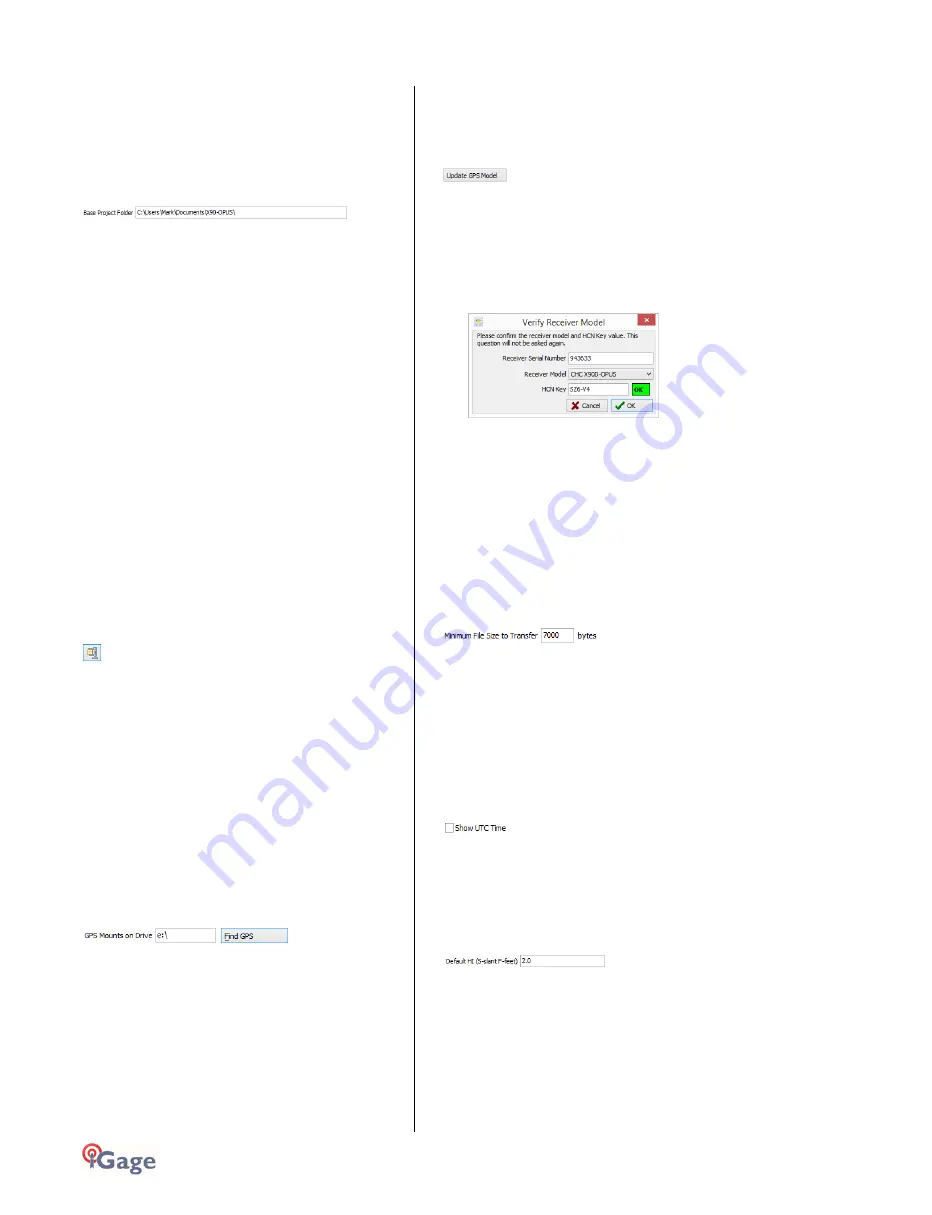
'Base Project Folder'
(Hidden when Simple)
This is the full Window’s path to the base folder where
all of the data is stored. The default location is in your
'Documents' folder in a folder named 'X90-OPUS'.
Double-click over the current path to change the folder
location.
The download tool will create a sub-folder for each
Project that you add. In addition there are always three
special folders:
_New
new occupation files downloaded from
the
receiver are placed here first
_Deleted
if you delete an occupation, it is not
really
deleted, just moved to the _Deleted
folder.
An undelete function is included in
Utilities.
_Error
sometimes short occupations won't
include
navigation records, these short files end
up
here.
'Archive All Projects'
(Hidden when Simple)
Pressing the 'Archive' button to the right of the Base
Project Folder entry will back up every occupation in
every project to a single ZIP file.
This is handy if you want to move all of your data to
another computer or make regular disaster backups.
There are similar Archive buttons on the main page:
one archives the current occupation and the other
archives the current project.
The download tool does not provide a method to
restore these backups, however they are standard ZIP
files and the Windows operating system does include a
tool to decompress them.
'GPS Mounts on Drive'
This is the drive letter that the GPS receiver was last
found on. Don't worry if the drive letter changes, the
program will automatically find the receiver when you
download data.
If you want to verify that the GPS receiver is connected
and has successfully mounted as a drive, press 'Find
GPS'.
Note: If you manually delete every single file and
folder from the GPS receiver, the program won't
be able to automatically find the receiver until
after the GPS has recorded at least one file.
‘Update GPS Model’
(Shown only when Advanced selected.)
The GPS Model is written into the receiver at the
factory. If you delete ALL of the files on the receiver or
format the receiver (it is a standard flash drive) it is
possible that it will lose its receiver type.
With the receiver attached to your computer with the
USB cable, click on the ‘Update GPS Model’ button to
display this dialog:
Use the drop down ‘Receiver Model’ to change the
receiver type. If the HCN Key has been lost, it is written
on a white sticker inside the battery compartment. You
cannot edit the ‘Receiver Serial Number’.
If the HCN Key has been correctly entered, the ‘OK’ will
be shown in a green box, otherwise it will display ‘????’
in a red box. The correct HCN key will be printed on a
white label inside the battery compartment.
‘Minimum File Size to Transfer’
(Hidden when Simple)
Every time you turn on the GPS receiver, it will attempt
to track satellites and open a new occupation file.
Often several small junk files will be created that don't
have any meaningful data and are of no value.
The download tool will automatically ignore files
smaller than this minimum value. This keeps useless
files from cluttering your computer.
‘Show UTC Time’
When unchecked (the default,) the download tool will
show the observation start and end times in your local
time zone. If you check 'Show UTC Time', then the
times are displayed in UTC time.
'Default HI'
When you download an occupation from the receiver,
this HI will be the default associated with every
occupation. You can change the HI for each individual
occupation later, this is just the default.
If you ALWAYS use a 2-meter range pole, then this
value will always be 2.000 and you won't have to worry
about HI blunders.
FEET: If you measure up in feet, you can enter the
height in decimal feet and put an 'F' after the


