Part 1 - Getting Started
25
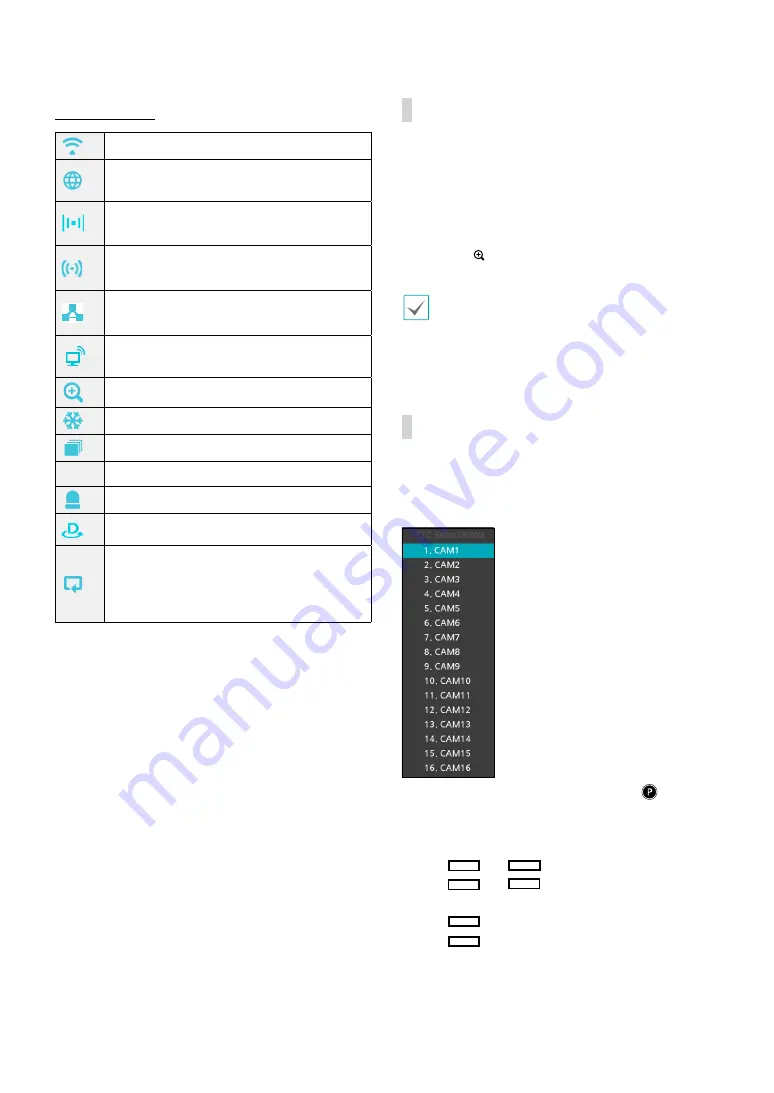
Status Indication
Indicates remote control receptivity.
Indicates connection to the NVR from a
remote program.
Indicates two-way audio connection
between NVR and PC.
Indicates two-way audio connection between
NVR and camera.
Indicates two-way audio connection among
NVR, PC and camera.
Indicates connection to the NVR using the
DirectNDC service.
Indicates a zoomed in state.
Indicates Freeze is in use.
Indicates Sequence is in use.
1/4
Indicates the current screen's group.
Indicates an event monitoring.
Indicates dewarping is in use.
Indicates HDD use. The icon to the left
is shown if using the overwrite setting.
Otherwise, remaining HDD space is shown as
a percentage value.
Zoom
Press the
ZOOM
button on the remote control or right-
click on the mouse to select a channel you wish to zoom
in on while in live mode or time-lapse mode. When a
zoom frame appears on the selected channel, right-click
on the mouse or press the
Enter
button to zoom in. Use
the arrow buttons to position the frame. When Zoom
is activated,
icon is on the status bar located on the
upper right corner of the system.
•
In Full Screen mode, activating Zoom automatically
selects the current channel.
•
To restore the channel to normal size, press the
Zoom button again.
PTZ Control
While in Live mode, right-click and select PTZ from the
context menu or press the
PTZ
button on the remote
control to display the PTZ camera selection window.
Select the camera you wish to control. The
icon will
begin to flash on the selected camera’s OSD window.
Use the
Arrow
buttons to pan and tilt the camera up,
down, left, and right.
Use the
1
2
3
4
5
6
and
1
2
3
4
5
6
buttons to zoom in/out.
Use the
1
2
3
4
5
6
and
1
2
3
4
5
6
buttons to shift focus from
nearby to far and vice versa.
Use the
1
2
3
4
5
6
button to load the preset window.
Use the
1
2
3
4
5
6
button to save current position as a
preset.
You can also change the direction by dragging on the
mouse.


