28
PREP
ARING THE
APPLIANCE
INSTALLING THE BRUSH (SCRUB 50D)
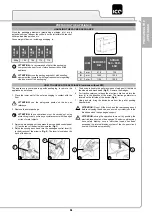
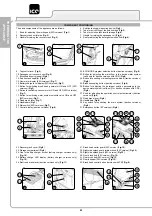
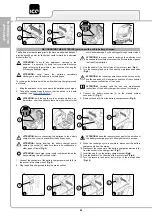
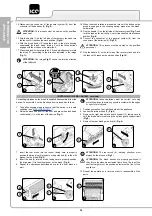
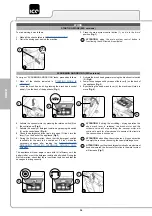
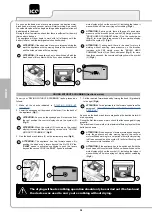
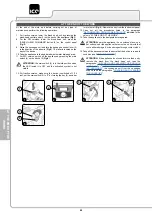
BRUSH ASSEMBLY (SCRUB 55-65 without PM)
For packaging reasons, the brush is supplied disassembled from the
device. To assemble it on the brush head unit, proceed as follows:
1. Take all necessary steps to ensure that the device is in a safe
).
2.
Raise the brush head unit off the floor and press the brush head
control pedal (1) on the rear of the device (
Fig.1
).
ATTENTION:
these operations must be carried out using
protective gloves to avoid any possible contact with the edges
or tips of metal objects.
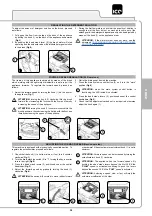
For packaging reasons, the brush is supplied disassembled from the
device. To assemble it on the brush head unit, proceed as follows:
1. Take all necessary steps to ensure that the device is in a safe
’”).
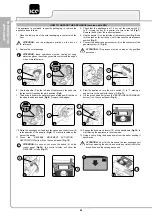
2. Position yourself at the rear of the appliance.
3. Lower the brush head unit by pressing the brush head control
pedal (1) on the back of the appliance (
Fig.1
).
4. Position yourself at the front of the appliance.
5. If the splash guard carters (2) are present, remove them (
Fig.2
)
and lay them gently on the ground.
6. Position yourself at the rear of the appliance.
7.
Raise the brush head unit off the floor and press the brush head
control pedal (1) on the rear of the device (
Fig.3
).
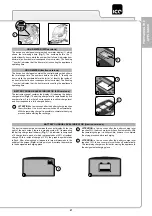
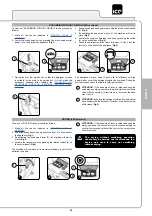
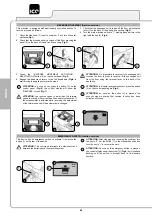
3. If the splash guard is present, release the retainer spring (2) on
the brush head splash guards (
Fig.2
).
4. Remove the retainer blade (3) and the splash guard (4) (
Fig.3
).
5. With the brush head UP, insert the brush in the plate housing
underneath the brush head, turning it until the three buttons
engage with the niches on the plate itself. Turn until the pin is
pushed towards the coupling spring and is locked into place. The
photo (
Fig.4
) shows the rotation direction for brush coupling.
6.
Replace the splash guard, inserting first the rear left part and then
the right part. Remember to fix it to the brush head using the
retainer blade.
7. Fix the retainer blade to the brush head with the aid of the spring.
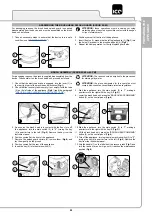
8. With the brush head UP, insert the brush in the plate housing
underneath the brush head, turning it until the three buttons
engage with the niches on the plate itself.
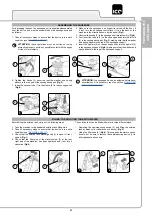
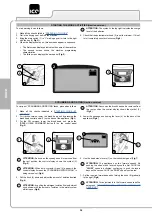
9. Press the brush-holder plate
latch
(3)
and
simultaneously rotate the brush (4) according to the direction
indicated in the image (
Fig.4
).
ATTENTION:
The image
Fig.4
shows the rotation direction of
the left brush.
10. When the brush rotation is prevented, turn until the button on the
brush is engaged in the coupling spring, present on the brush-
holder plate.
11. Reassemble the brush head splash guard carters.
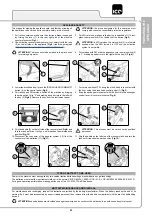
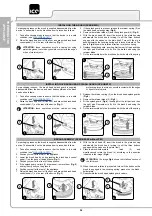
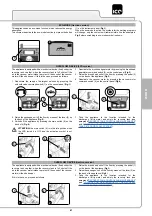
INSTALLING THE BRUSH HEAD SPLASH GUARD (SCRUB 50D)
For packaging reasons, the brush head splash guard is supplied
disassembled from the device, and must be assembled on the brush
head unit as follows:
1. Take all necessary steps to ensure that the device is in a safe
’”).
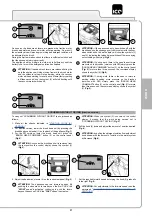
2.
Raise the brush head unit off the floor and press the brush head
control pedal (1) on the rear of the device (
Fig.1
).
ATTENTION:
these operations must be carried out using
protective gloves to avoid any possible contact with the edges
or tips of metal objects.
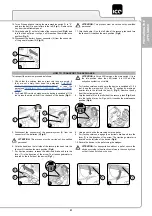
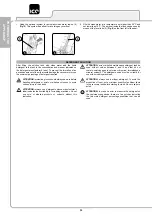
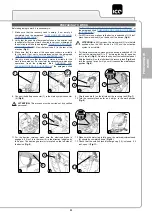
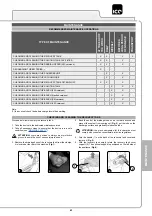
3. Release the retainer spring (2) on the brush head splash guards
(
Fig.2
).
4. Remove the retainer blade (3) (
Fig.3
).
5. Fit the splash guard (
Fig.4
), inserting first the left part and then
the right part. Remember to fix it to the brush head using the
retainer blade.
6. Fix the retainer blade to the brush head with the aid of the spring.
1
2
3
2
4
1
3
1
1
1
2
3
4
2
4
1
3
1
3
2
2
4
1
1

