36
WORK
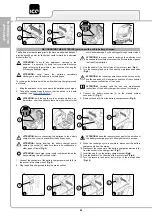
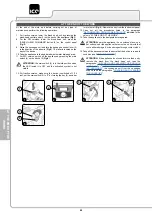
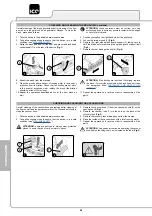
STARTING THE WORK ACTIVITIES (traction version)
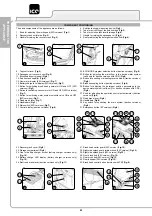
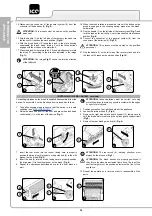
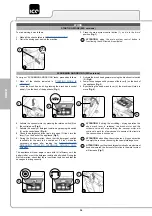
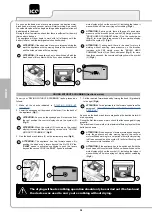
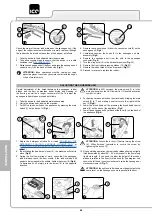
To start working, do as follows:
1. Make all the checks listed in “
2. Get in the driving seat, behind the machine.
3.
Bring the main switch (1) to "I", making a quarter turn to the right
with the key (2)
Fig.1)
).
4. When the display comes on, three screens appear in sequence.
•
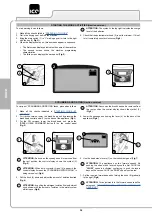
The first screen displayed indicates the name of the machine.
• The second screen shows the machine programming
characteristics.
• The third screen displays the work panel (
Fig.2
).
ATTENTION:
The symbol in the top right indicates the charge
level of the batteries.
5. Check that the potentiometer knob (3) is set to minimum. If it isn't,
turn it completely counter-clockwise (
Fig.3
).
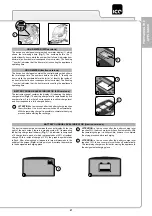
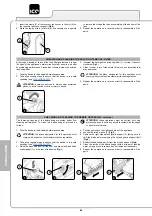
SCRUBBING AND DRYING (traction version)
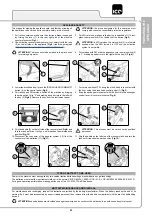
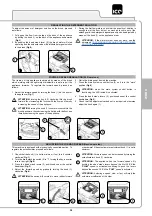
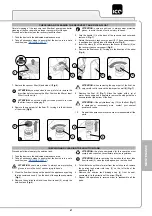
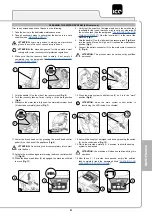
To carry out “SCRUBBING AND DRYING” tasks, proceed as follows:
1. Make all the checks indicated in “
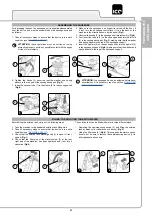
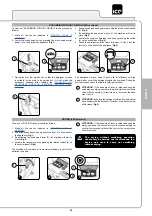
2. For traction version, lower the brush head unit by pressing the
brush head control pedal (1) on the back of the appliance (
Fig.1
).
3. For the PM versions, lower the brush head unit, press the
“BRUSH HEAD COMMAND” button (2) on the control panel
(
Fig.2
).
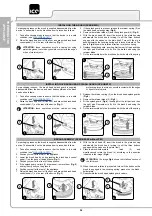
ATTENTION
:
As soon as the brush head unit is removed from
the rest position the control display shows the symbol (3)
(
Fig.3
).
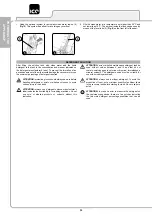
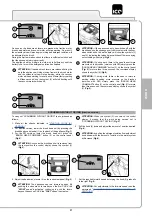
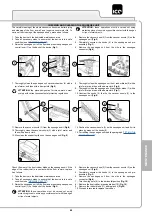
4. Lower the squeegee unit using the lever (4) on the back of the
appliance (
Fig.4
).
ATTENTION:
As soon as the squeegee unit is removed from
the rest position the control display shows the symbol (5)
(
Fig.5
).
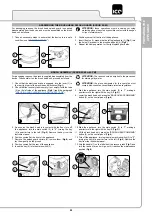
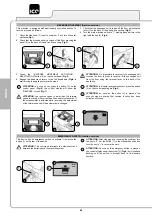
ATTENTION:
When both symbols (3) and (5) appear in the
control display it means that “SCRUBBING WITH DRYING” is
being carried out (
Fig.5
).
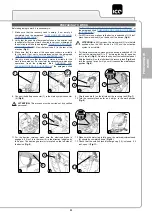
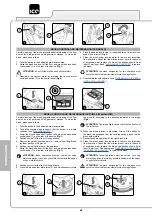
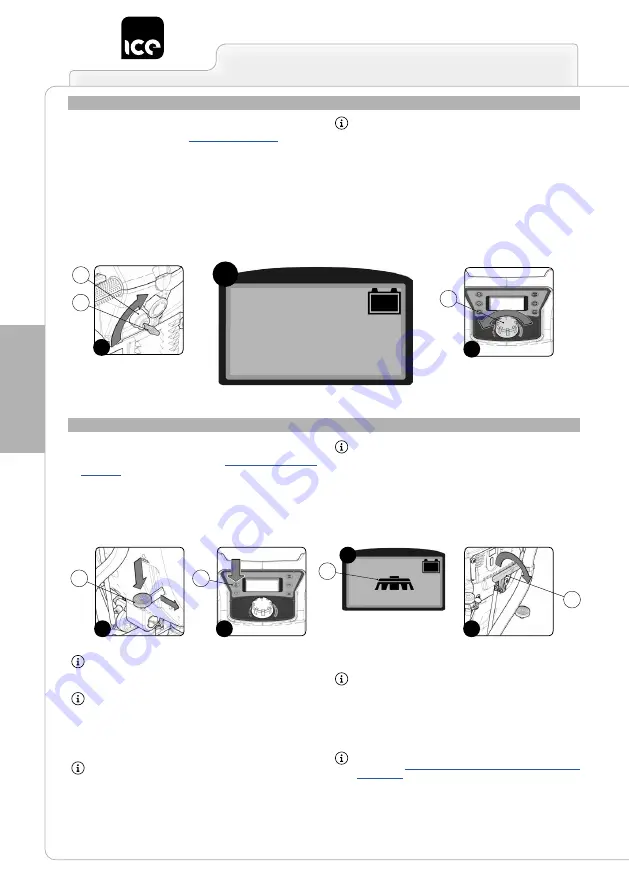
5. Pull the knob (6) down and adjust the amount of solution desired
(
Fig.6
).
ATTENTION:
by pulling the detergent solution flow adjustment
knob downwards, the amount of solution in the water system
will increase (
Fig.6
).
6. Use the dead man's levers (7) on the instrument panel (
Fig.7
).
ATTENTION:
The appliance has two forward speeds. By
pushing the dead man's levers beyond the first CLICK the
“
SLOW
” speed is activated, continuing to push the levers
beyond the second CLICK the “
FAST
” speed is activated.
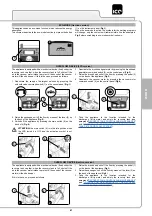
7. Set the required forward speed by turning the knob (8) gradually
to the right (
Fig.8
).
ATTENTION:
For adjustments to the forward speed read the
paragraph “
ADJUSTING THE FORWARD SPEED (BT
2
1
1
2
3
3
4
3
4
1
2
1
2
3

