Switch
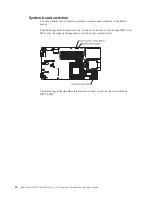
Description
SW2
Switch block 2 has the following switches:
v
1 - Boot block
v
2 - Force power on
v
3 - Wake On LAN disable
– On: Disabled
– Off: Enabled (default)
v
4 - Wake On LAN bypass disable
– On: Disabled
– Off: Enabled (default)
v
5 - Debug serial port
– On: Disabled
– Off: Enabled (default)
v
6 - RCTRST (I/O controller hub (ICH) real-time
clock (RTC))
– On: Reset RTC
– Off: Normal (default)
v
7 - Force PCIX 100
– On: Force PCIX frequency at 100MHz
maximum
– Off: PCIX frequency at 133 MHz maximum
(default)
v
8 - Bypass power-on password during next
server start
– On: Enabled
– Off: Disabled (default)
SW3
Switch block 3 is a system-reset switch
System-board LEDs
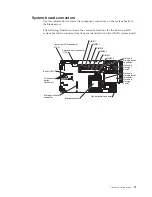
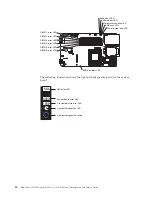
Use this information to locate system-board LEDs in the blade server.
The following illustration shows the LEDs on the system board.
You must remove the blade server from the BladeCenter unit, open the cover or
remove any optional expansion units, and press the light path diagnostics switch
(see “System-board switches” on page 12) to light any error LEDs that were turned
on during processing. Diagnosing problems using the light path diagnostic LEDs is
described in “Light path diagnostics” on page 127.
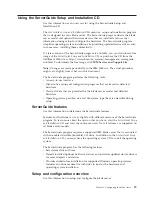
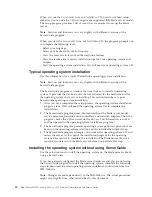
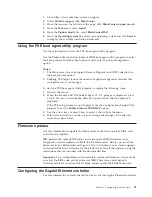
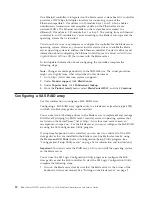
Note:
Some system boards are
not
equipped with the power jumper bad LED.
Chapter 2. Introduction
13
Содержание BladeCenter HS12 Type 1916
Страница 1: ...BladeCenter HS12 Type 8014 8028 or 1916 Problem Determination and Service Guide...
Страница 2: ......
Страница 3: ...BladeCenter HS12 Type 8014 8028 or 1916 Problem Determination and Service Guide...
Страница 36: ...24 BladeCenter HS12 Type 8014 8028 or 1916 Problem Determination and Service Guide...
Страница 186: ...174 BladeCenter HS12 Type 8014 8028 or 1916 Problem Determination and Service Guide...
Страница 190: ...178 BladeCenter HS12 Type 8014 8028 or 1916 Problem Determination and Service Guide...
Страница 198: ...186 BladeCenter HS12 Type 8014 8028 or 1916 Problem Determination and Service Guide...
Страница 203: ......
Страница 204: ...Part Number 60Y1601 Printed in USA 1P P N 60Y1601...


