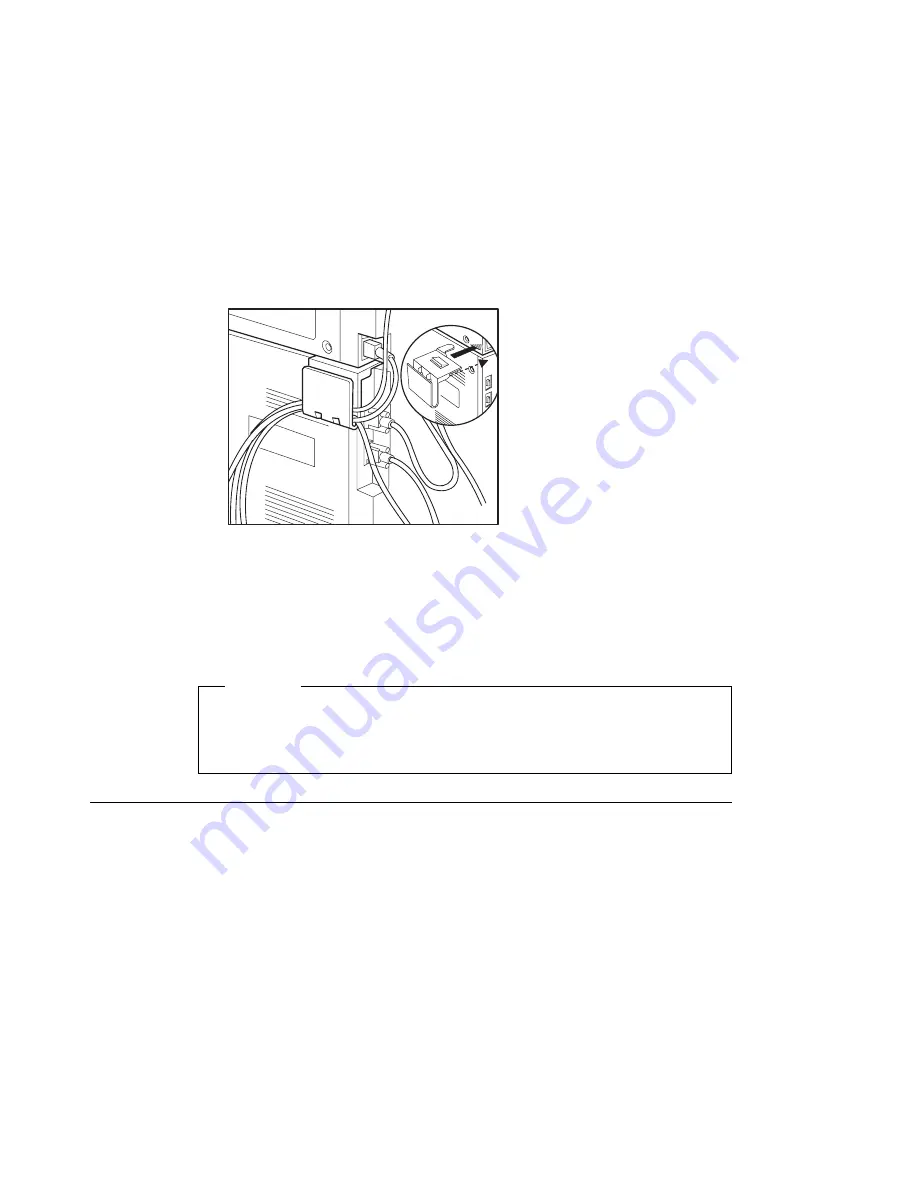
c9pu298
5. Connect the power cords to printer and 2000-sheet finisher and power source.
Note: A power cord is not supplied with 2000-sheet finisher.
6. After the printer warms up, the READY message displays on the operator panel.
Note: If message display area shows solid rectangles, make sure the I/O cable is
attached firmly to both the 2000-sheet finisher and the printer. Also make sure the
I/O cable connectors are plugged into the appropriate connector.
Important
To confirm that you have correctly installed the 2000-sheet finisher, print a
configuration page. The report will list the 2000-sheet finisher. See “Example 1 —
Printing the Printer Configuration Page” on page 32.
Installing a Staple Cartridge
Follow these steps:
1. Turn printer and 2000-sheet finisher power off.
2. Unplug the printer and the 2000-sheet finisher power cords.
3. Open the stapler cover (1) and review the instructions on the inside of the stapler
cover.
Chapter 7. Installing Printer Options
191
Содержание 24
Страница 1: ...IBM Network Printer 24 IBM Network Printer 24PS User s Guide IBM S544 5378 01 ...
Страница 2: ......
Страница 3: ...IBM Network Printer 24 IBM Network Printer 24PS User s Guide IBM S544 5378 01 ...
Страница 10: ...viii User s Guide ...
Страница 12: ...x User s Guide ...
Страница 16: ...xiv User s Guide ...
Страница 106: ...82 User s Guide ...
Страница 132: ...108 User s Guide ...
Страница 142: ...3 Remove paper from these areas by gently pulling the paper in the direction of the arrows 118 User s Guide ...
Страница 162: ...138 User s Guide ...
Страница 208: ...c9pu149 c9pu150 6 Open the front cover and remove spacers See Figure 3 on page 5 for locations c9pu151 184 User s Guide ...
Страница 219: ...5 Plug power cord in and turn printer power back on Chapter 7 Installing Printer Options 195 ...
Страница 220: ...196 User s Guide ...
Страница 230: ...c9pu210 2 Use 4324 as the machine type 206 User s Guide ...
Страница 238: ...214 User s Guide ...
Страница 281: ...c9pu261 1 16 Replace the toner cartridge and close the top cover c9pu262 Appendix D Installing the Usage Kit 257 ...
Страница 292: ...c9pu280 2 1 18 Lightly pull on each roller to make sure each roller is locked onto the shaft 268 User s Guide ...
Страница 295: ...c9pu285 23 Plug in the printer 1 and switch on the printer power 2 c9pu234 2 1 Appendix D Installing the Usage Kit 271 ...
Страница 296: ...272 User s Guide ...
Страница 318: ......
Страница 321: ......
Страница 322: ...IBM Part Number 63H4020 File Number S370 4300 9370 16 Printed in U S A S544 5378 ð1 63H4ð2ð ...


