


104
Section 2I. Experiencing Multimedia
Settings on the Advanced Options Screen
䢇
Resolution
. Select the resolution to use. See “Zooming” on page 99, and refer to the resolution and zoom
range table for the available resolutions.
䢇
Widescreen
(Photo mode). When set to
On
(default), you can use the entire screen as viewfinder. See
“Zooming” on page 99, and refer to the resolution and zoom range table for the available widescreen
resolutions.
䢇
Touch Focus
(Photo and Contacts Picture modes). Enables or disables the Touch Focus function. Touch
Focus is
On
by default. See “Touch Focus” on page 100 for details.
䢇
Review Duration
. Set a time length for displaying the captured image or video on the Review screen. Select
No Limit
if you do not want to impose a time limit. Select
No Review
to immediately return to the live camera
screen after capturing and saving.
䢇
Quality
. Select the image quality level for captured photos. Choose from
Basic
,
Normal
,
Fine
, and
Super Fine
.
䢇
Capture Format
(Video and MMS Video modes). Select the file format for recorded videos.
䢇
Time Stamp
(Photo mode). Include the date and time on captured photos.
䢇
Storage
. Select where to save photos and videos. You can either save the files to the main memory, or to a
storage card if available.
䢇
Keep Backlight
. Turn the backlight on or off. This overrides your device backlight settings while you are
using the camera.
䢇
Shutter Sound
. Choose whether you want the camera to make a shutter sound when you press the
Virtual
Camera
button.
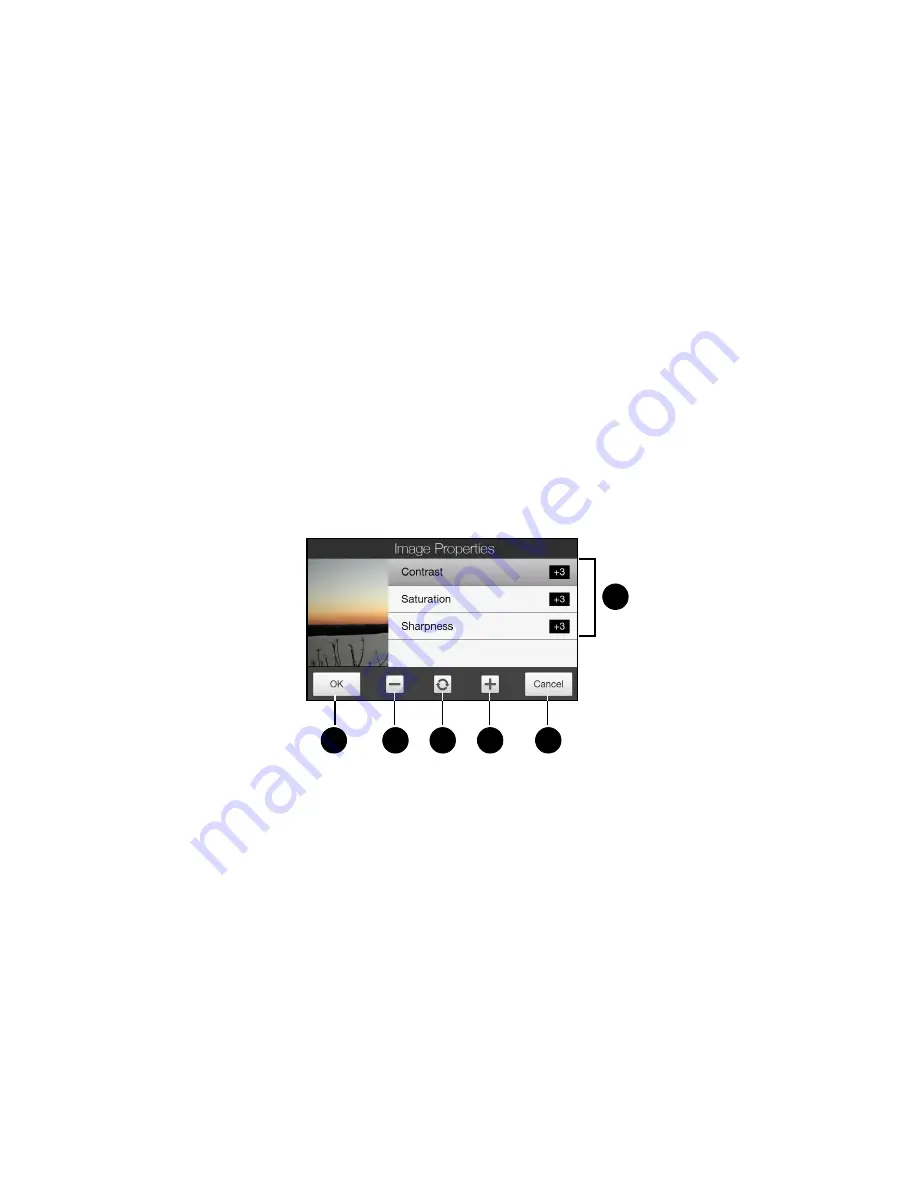
䢇
Image Properties
. Adjust properties, such as
Contrast
,
Saturation
, and
Sharpness
.
䢇
Effect.
Choose a special effect such as Grayscale or Sepia to apply to your photos or video clips.
䢇
Metering Mode
. Select a metering mode to allow the camera to measure the amount of light and calculate
the best-fit exposure value before capturing. Choose either
Center Area
to measure light using the center
area of the subject, or
Average
to measure light using the area around the subject.
1.
Tap a property to adjust.
2.
Save the settings.
3.
Decrease the value.
4.
Reset all properties to default.
5.
Increase the value.
6.
Close the Image Properties screen without applying and saving the changes.
1
3
2
5
4
6
Содержание RHOD400
Страница 8: ......
Страница 10: ......
Страница 11: ...Section 1 Getting Started...
Страница 17: ...Section 2 Your Device...
Страница 136: ......
Страница 137: ...Section 3 Sprint Service...
Страница 211: ...Section 4 Safety Regulatory and Warranty Information...


