Operations 36
4.
Do one of the following:
o
For tower models, place the server on a flat, level surface with the access panel facing up.
o
For rack models, extend the server from the rack (on page
33
).
5.
Remove the access panel (on page
31
).
6.
Locate the fan to be removed ("
Hot-plug fans
" on page
26
).
7.
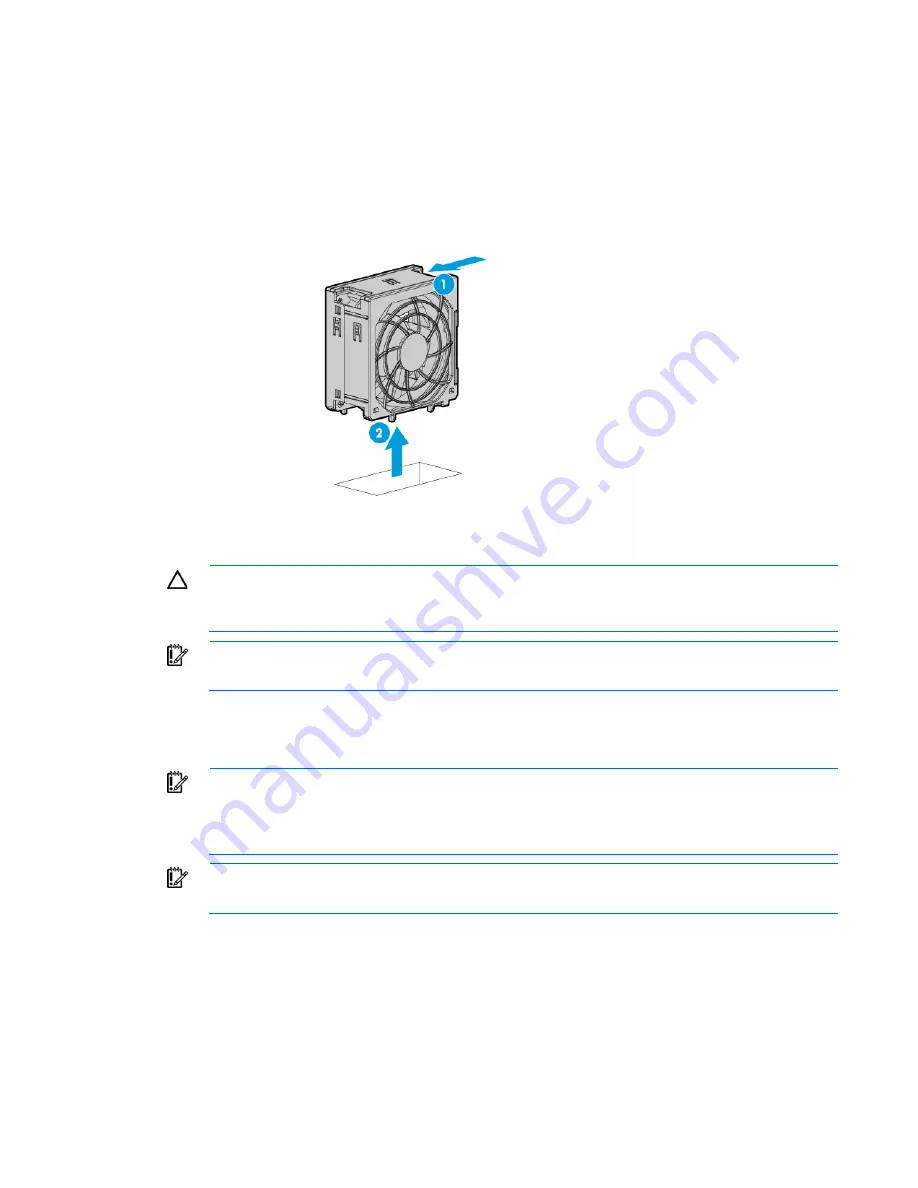
Remove a fan.
CAUTION:
Do not operate the server for long periods with the access panel open or removed.
Operating the server in this manner results in improper airflow and improper cooling that can
lead to thermal damage.
IMPORTANT:
For optimum cooling, install fans in all primary fan locations. For more
information, refer to the fan locations table ("
Hot-plug fans
" on page
26
).
Remove the fan cage
IMPORTANT:
When installing or replacing server components, one or more fans might need to
be removed. To prevent an orderly or immediate server shutdown, HP highly recommends
powering down the server during these procedures. To determine if powering down is required,
see the specific procedure.
IMPORTANT:
For optimum cooling, install fans in all primary fan locations. For more
information, refer to the fan locations table ("
Hot-plug fans
" on page
26
).
To remove the component:
1.
Do one of the following:
o
For tower models, open and remove the tower bezel ("
Remove the tower bezel
" on page
30
).
o
For rack models, if installed, remove the security bezel ("
Remove the security bezel (optional)
" on
page
30
).
2.
Power down the server (on page
29
).
Содержание ProLiant ML350 Gen9
Страница 21: ...Component identification 21 SFF drives o Tower orientation o Rack orientation LFF drives ...
Страница 22: ...Component identification 22 o Tower orientation o Rack orientation One SAS expander configuration SFF drives ...
Страница 23: ...Component identification 23 o Tower orientation o Rack orientation One SAS expander configuration LFF drives ...
Страница 24: ...Component identification 24 o Tower orientation o Rack orientation Two SAS expanders configuration SFF drives ...
Страница 40: ...Operations 40 o LFF model Use a flathead screwdriver to remove the blank from the box ...
Страница 122: ...Cabling 122 LFF media cage data cabling Optical device cabling SFF configuration ...
Страница 125: ...Cabling 125 Storage controller installed in slot 1 to 4 Storage controller installed in slot 6 to 9 ...
Страница 126: ...Cabling 126 HP Smart Storage Battery cabling Power supply backplane cabling GPU power cabling ...
Страница 128: ...Cabling 128 Embedded SATA cabling LFF configuration SFF configuration ...
Страница 131: ...Cabling 131 o SFF configuration o LFF configuration ...
Страница 162: ...Support and other resources 162 ...
Страница 163: ...Support and other resources 163 ...


