3.
Power off the server and remove it from the enclosure.
See
“Preparing the Server Blade for Servicing” (page 113)
.
4.
Remove the access panel.
See
“Removing the Right Access Panel” (page 116)
.
5.
Grasp the failed TPM and pull it straight out of the sever.
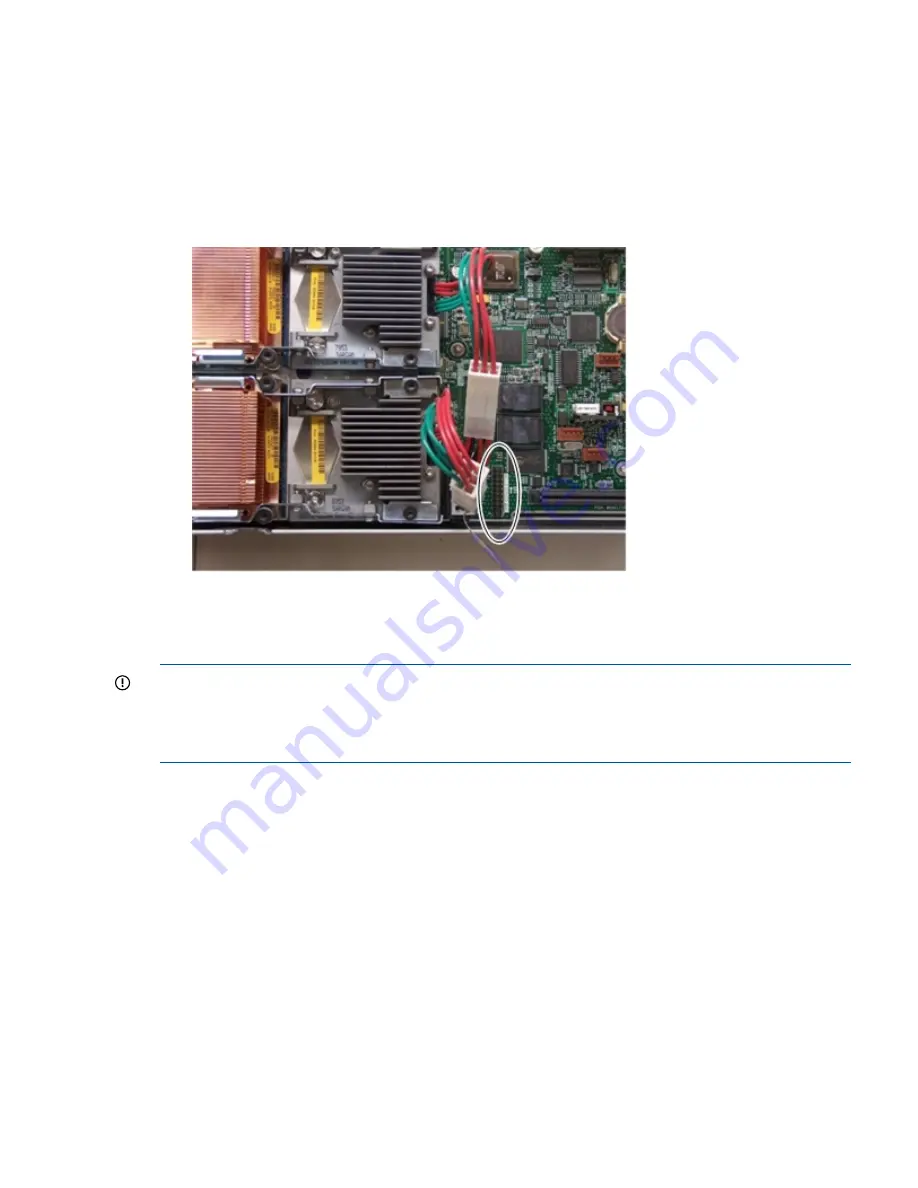
For the location of the TPM on the system board, see
Figure 63 (page 137)
.
Figure 63 TPM Port on the System Board
Replacing the TPM
Use the following procedure to install the TPM.
IMPORTANT:
The TPM is only supported on the HP-UX operating system. You must be running
the supported version of the HP-UX OS to use the TPM security component.
The TPM replacement
must
be performed by an authorized HP CE, but you can move the TPM
from a failed system board to a new system board.
1.
Install the new TPM on the system board by pushing it down onto the posts on the system
board.
For the location of the TPM on the system board, see
Figure 63 (page 137)
. The TPM is keyed
to fit only one way.
2.
Install the access panel.
See
“Replacing the Right Access Panel” (page 117)
.
3.
Place the server blade back into the enclosure and power it up.
See
“Replacing the Server Blade in the Enclosure” (page 115)
.
4.
Synchronize the TPM state with the system board by doing the following:
Examine the current TPM state at EFI by using the
secconfig
command.
•
If the TPM is enabled, disable it with the
secconfig tpm off
command.
•
If the TPM is disabled, enable it with the
secconfig tpm on
command.
Removing and Replacing the Trusted Platform Module
137


