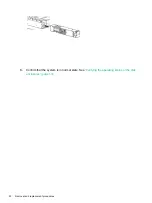
Removing and replacing the fan control card
This operation is performed after Hewlett Packard Enterprise Support determines that the
enclosure is the source of the issue and requests the fan control card to be replaced
WARNING!
Check to make sure data on the drives is backed up Back up data if required.
1.
Unplug the power cables.
2.
Remove I/O cables. See
“Removing and replacing I/O Cables” (page 17)
3.
Remove the fan modules. See
“Removing and replacing the fan module” (page 19)
4.
Remove the rear CTO hold down bracket.
5.
Remove the enclosure from the rack. See
“Removing and replacing the enclosure” (page 22)
6.
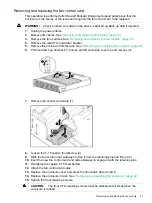
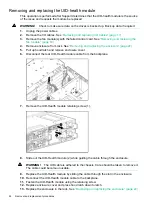
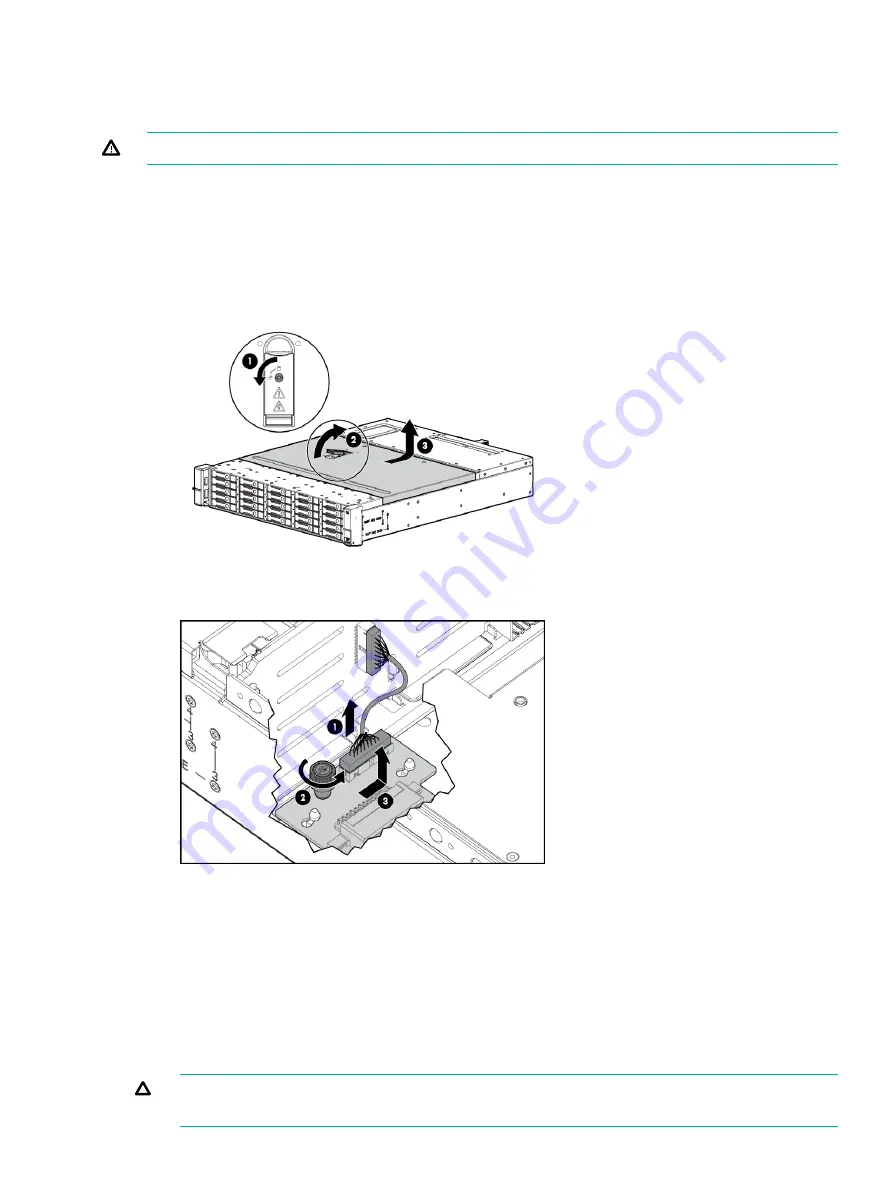
Pull hood latch up and back (1 and 2), and lift enclosure cover up and remove (3).
7.
Remove fan control card cable (1).
8.
Loosen the T-15 captive thumbscrew (2).
9.
Slide the fan control card sideways to free it from the retaining pins and lift out (3).
10.
Insert the new fan control card and slide sideways to engage it with the retaining pins.
11.
Re-tighten the captive T-15 thumbscrew.
12.
Attach the fan control card cable.
13.
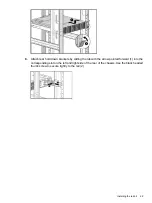
Replace the enclosure cover and press the hood latch down to latch.
14.
Replace the enclosure in rack. See
“Removing and replacing the enclosure” (page 22)
15.
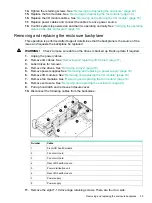
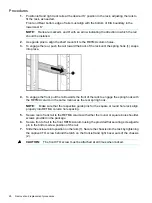
Tighten the front retaining screws.
CAUTION:
The front CTO retaining screws must be attached at all times when the
enclosure is racked.
Removing and replacing the fan module
21
Содержание D3600
Страница 8: ...8 Removal and replacement procedures ...
Страница 40: ...4 Component identification 40 Component identification ...

