


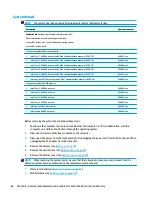
Solid-state drive
Description
Spare part number
256-GB solid-state drive
865902-003
128-GB solid-state drive
827560-025
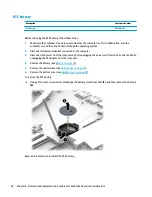
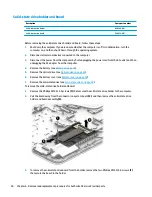
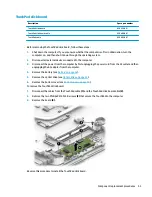
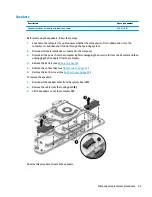
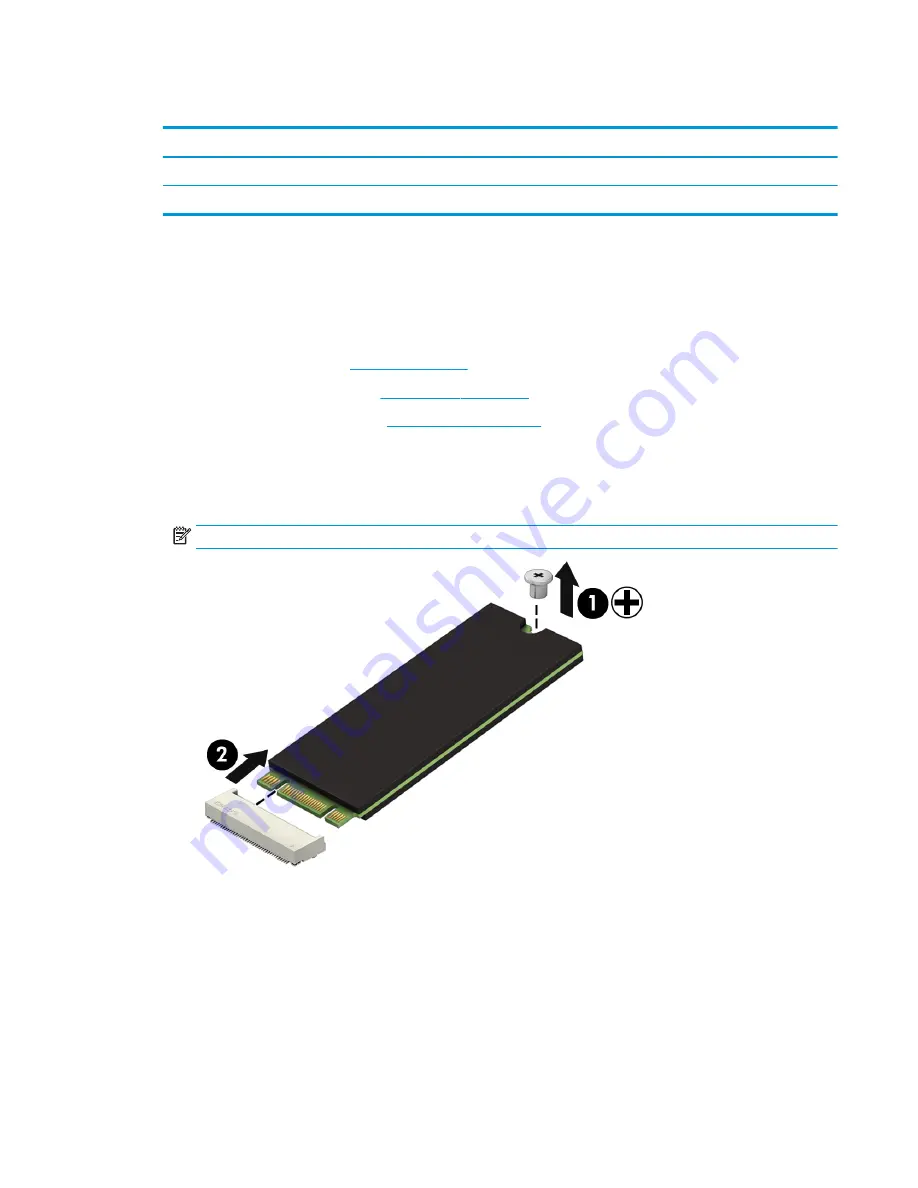
Before removing the solid-state drive, follow these steps:
1.
Turn off the computer. If you are unsure whether the computer is off or in Hibernation, turn the
computer on, and then shut it down through the operating system.
2.
Disconnect the power from the computer by unplugging the power cord from the computer.
3.
Remove the battery (see
Battery on page 32
).
4.
Remove the optical drive (see
Optical drive on page 33
).
5.
Remove the bottom cover (see
Bottom cover on page 39
).
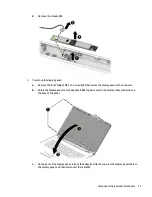
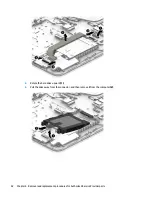
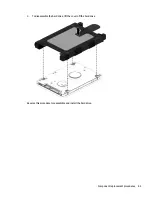
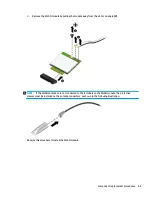
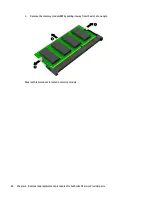
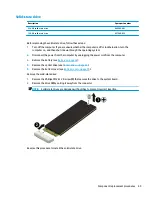
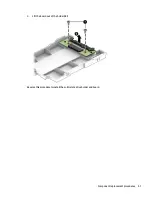
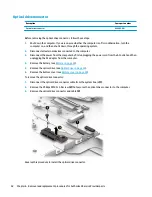
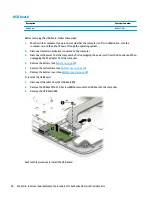
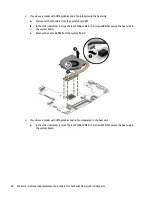
Remove the solid-state drive:
1.
Remove the Phillips PM2.0×2.0 screw (1) that secures the drive to the system board.
2.
Remove the drive (2) by pulling it away from the connector.
NOTE:
Solid-state drives are designed with notches to prevent incorrect insertion.
Reverse this procedure to install the solid-state drive.
Component replacement procedures
49
Содержание 17-x Series
Страница 1: ...HP Notebook PC Intel Models HP 17 x000 17 x099 Maintenance and Service Guide ...
Страница 4: ...iv Safety warning notice ...
Страница 8: ...viii ...
Страница 14: ...6 Chapter 1 Product description ...
Страница 29: ...Display assembly subcomponents Display assembly subcomponents 21 ...
Страница 34: ...26 Chapter 3 Illustrated parts catalog ...
Страница 68: ...60 Chapter 6 Removal and replacement procedures for Authorized Service Provider parts ...
Страница 96: ...88 Chapter 8 Backing up restoring and recovering in Windows 10 ...
Страница 102: ...94 Chapter 10 Specifications ...
Страница 106: ...98 Chapter 11 Power cord set requirements ...
Страница 108: ...100 Chapter 12 Recycling ...
Страница 112: ...104 Index ...


