


Chapter 3 - Installation
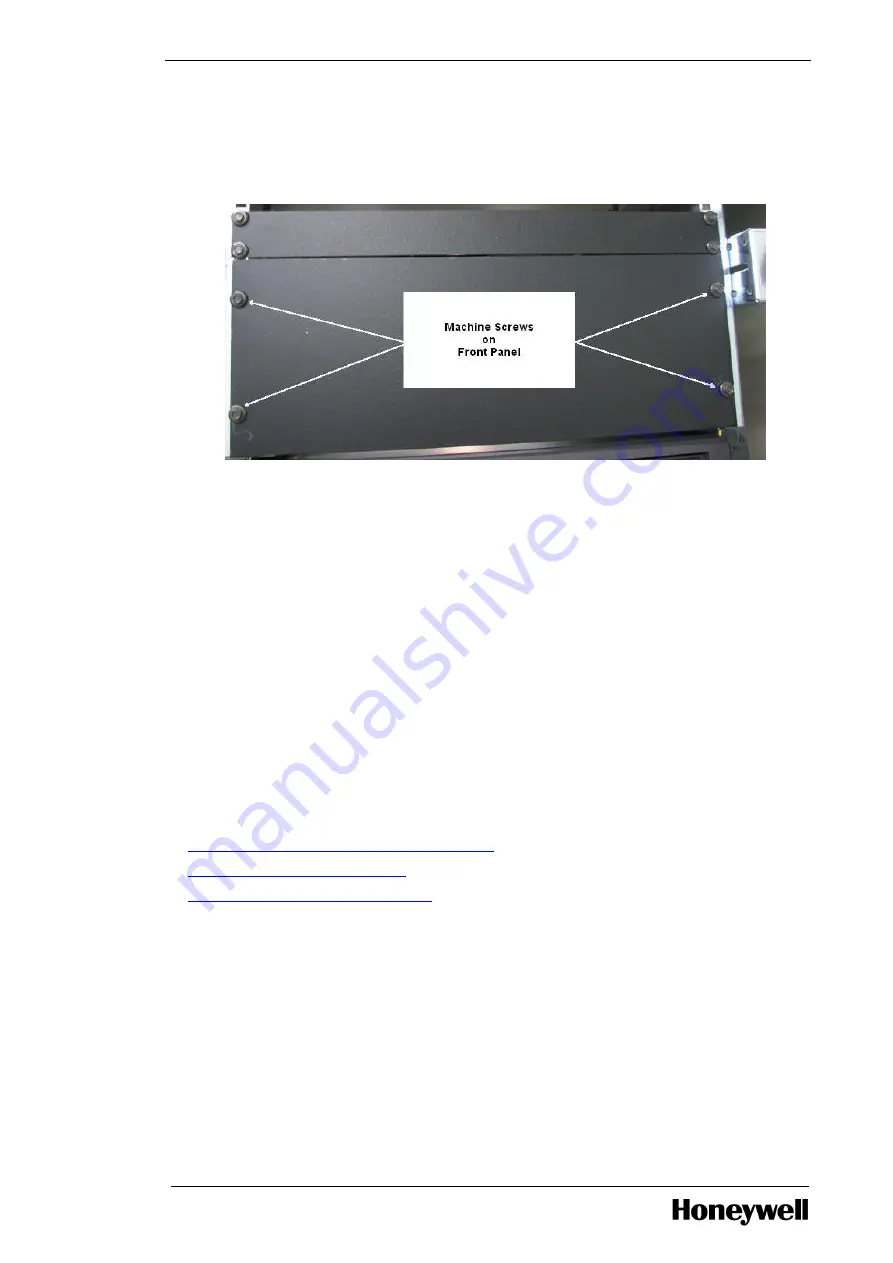
2. Place the blank front panel across the front of the cabinet rails. Attach it to the air duct baffle and
right cabinet rail using two machine screws and two external tooth washers threaded into the two
clip nuts, and then tighten the screws.
Figure 3.3 Secure Blank Panel Front Cover with Machine Screws
3. Attach the other side of the blank front panel to the left cabinet rail using two machine screws and
two external tooth washers threaded into the two clip nuts and tighten the screws.
4. Attach the rear mounting bracket to the rear cabinet rail using two thread forming screws and two
external tooth washers and tighten the screws.
5. Attach the air duct baffle to the rear mounting bracket using two machine screws and two external
tooth washers threaded into the two self clinching nuts. Tighten the screws.
3.5
Starting the server
3.5.1
To start the server
1. Press the power button on the front panel of Dell PowerEdge R710 server.
2. Wait for the power light to become solid green.
If the power light does not become solid green, refer to the troubleshooting section of the
Dell™
PowerEdge™ R710 Systems Hardware Owner’s Manual.
l
Configuring RAID in Dell PowerEdge T610 server
l
Starting the TDC emulator services
l
Checking the LCNP4e/LCNp4e2 status
3.5.2
Configuring RAID in Dell PowerEdge T610 server
Perform the following steps to configure a new virtual disk of RAID5 four physical disks and one hot
spare.
- 31 -