


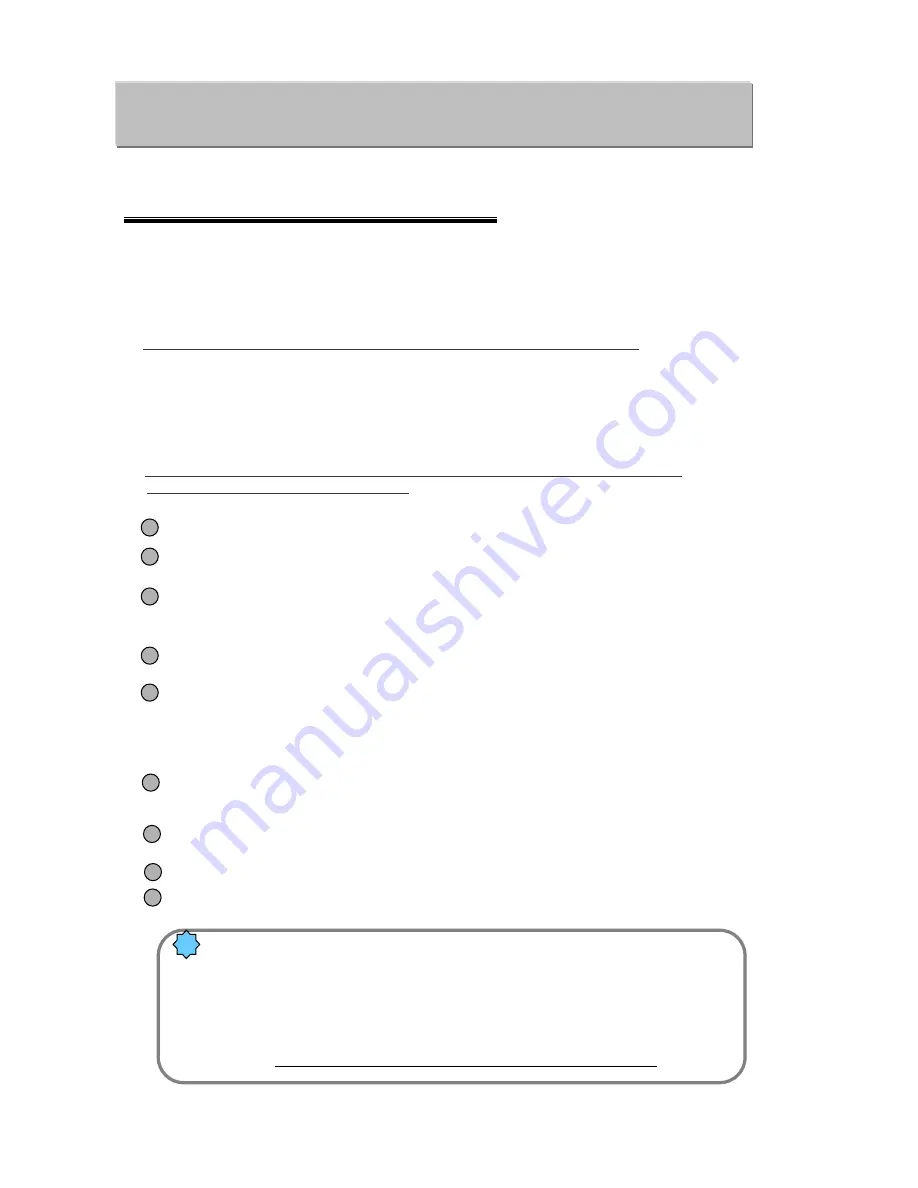
•
When HNDR-Net Program is successfully installed, click the Honeywell-Net icon on Desktop.
• “
Honeywell-Net
”
is executed, activating the
“
Login Connection
”
window.
•
Enter the login name and the password and press the
“
LOGIN
”
button to activate the HNDR-Net
monitor screen.
•
To create a new connection to the HNDR, follow the procedure described below:
(See the figures shown on pages 44~45.)
1. Connecting to HNDR-Net
43
Chapter 6. HNDR-Net
Chapter 6. HNDR-Net
Caution 11.
If a new connection fails, check to see if following items are correct:
- IP address (site) on the
“
Site Information
”
window
- User/Password on the
“
Site Information
”
window.
(User/Password should be identical with those in the
“
Setup (User
setting)
”
of HNDR.)
- Default values for both User name and Password are
“
1
”
.
!
•
Honeywell-Net Program is included in the HNDR system or in the enclosed CD.
HNDR => C:/Backup/HNDR-xxxx/Honeywell/HNDR-PROGRAM/HNDR-Net/Setup.exe
CD => CD:/HNDR-xxxx/Honeywell/HNDR-PROGRAM/HNDR-Net/Setup.exe)
•
See Chapter 8. Appendix to find out how to install the HNDR-Net Program.
1
2
3
4
5
6
7
8
Click the
“
New
”
button with the mouse on the
“
Connect on Login
”
window.
Enter the login name, description, password, confirm password on the
“
New Login Registration
”
window, and click the
“
OK
”
button with the mouse.
Click
“
New
”
button with mouse on the
“
Add, Delete and Edit site information
”
window.
Enter Site name, Connecting method, IP & Tel address, Site access user, Site access password
on the
“
Site Information
”
window, and press the
“
OK
”
button.
Check if all the site information are correct on the
“
Add, Delete and Edit site information
”
window
and click the
“
Close
”
button.
Click the third item or Setup Connection Mode on the
“
Configuration Setting
”
window with the
mouse.
Select Single site or Multiple site on the
“
Site Connection
”
window, and click the
“
OK
”
button.
On single site, select Site name and check Auto connection. On multiple site, set Connect on
login, Site selection, and Camera number.
Click the fourth item or Display Configuration on the
“
Configuration Setting
”
window with the
mouse. Set Initial view screen,Data location, Log file, Switching interval, On screen display, and
Name display, and press the
“
OK
”
button.
Click the
“
Close
”
button with the mouse on the
“
Configuration Setting
”
window. (Configuration
Setting has been completed.)
Enter ID/Password on the
“
Connect on Login
”
window.
9
Monitor screen is displayed when the login connection is successfully completed.
Содержание HNDR series
Страница 1: ......
Страница 45: ...44 1 2 5 4 6 7 8 3 ...
Страница 46: ...45 9 ...
Страница 60: ...59 1 2 3 ...
Страница 61: ...60 4 5 6 ...
Страница 62: ...61 7 ...
Страница 73: ...72 A B C D E F G ...
Страница 76: ...82 2 799 6109 ...